How to crochet a flat circle
There are many crochet patterns which start by creating flat circles (or flat-ish circles at least). From hats, to amigurumi , round rugs, bags, baskets, yoke garments and more.
If you like to improvise with crochet projects, then understanding how to create a flat circle by increasing evenly in the round, is a really useful addition to your crochet toolkit.
Once you understand the principle, you can use it with any of the basic crochet stitches, as well as more complex crochet stitch patterns.
In this post, I’m going to explain the basic formula for crocheting a flat circle, then discuss how you need to adjust that depending on which of the basic crochet stitches you’re using.
I’ll look at the rule of thumb first and then, for those who like to really dig into a topic, I’ll get into the maths of why it works the way it does and how you can use this to your advantage.


How to crochet a flat circle – the basic pattern
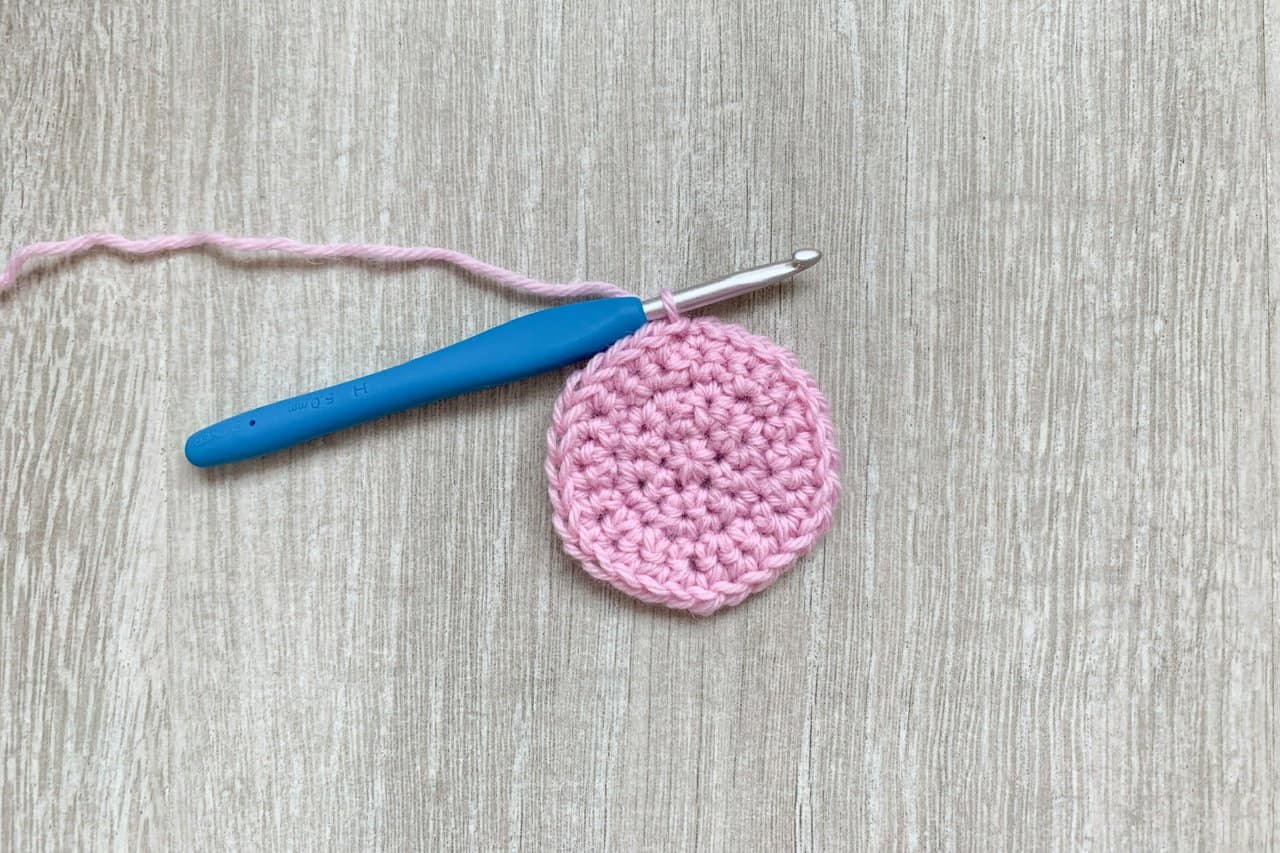
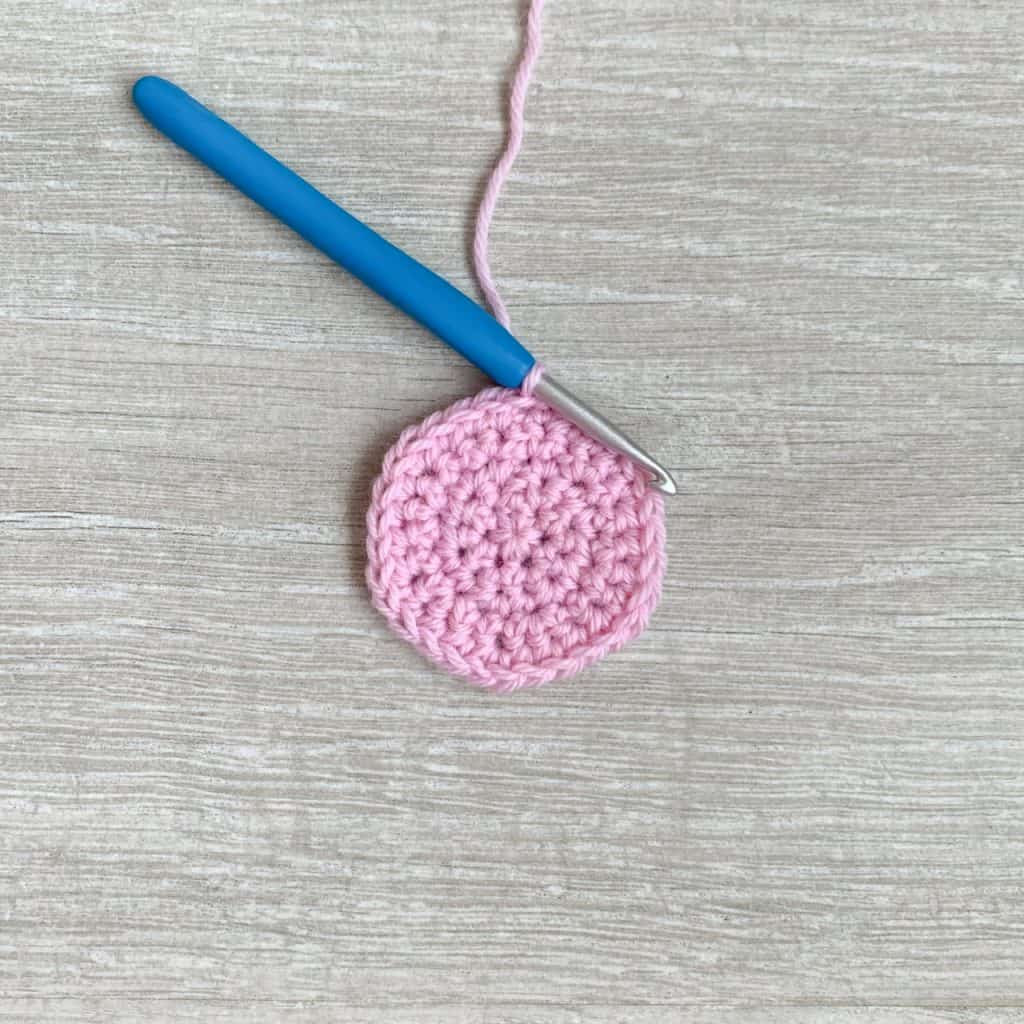
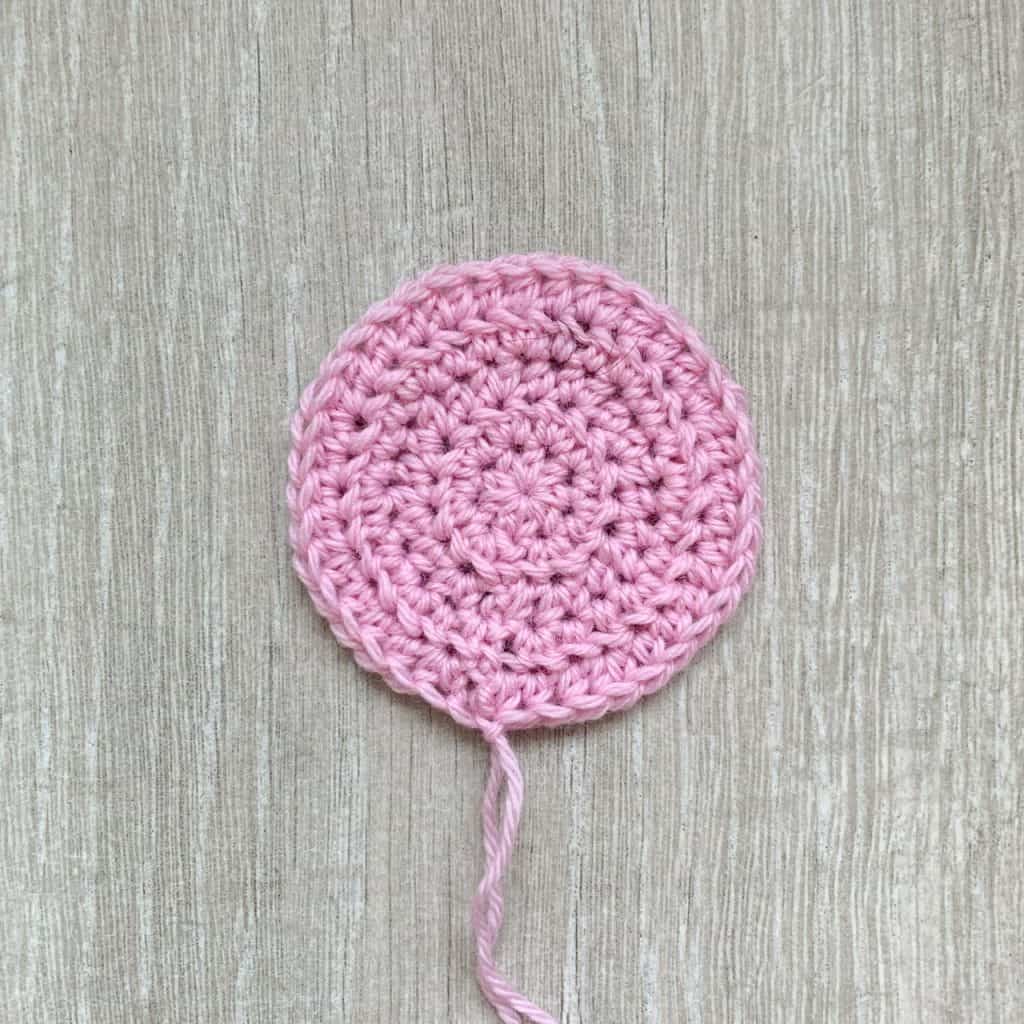
To crochet a flat circle, you start by making a round of stitches into a magic ring or a loop of chains. Each round, you increase evenly by the same number of stitches.
That’s it in it’s simplest terms, but let’s walk you through the details.
The number of stitches you work into that first round, and increase by each subsequent round, will depend on the stitch you are working.
In the pattern template below, I have replaced this number with an X. After the pattern I will go over what stitch count is suitable (what X is equal to) for different crochet stitches.
The same pattern applies for any of the basic crochet stitches, so I’ve just used the generic term of ‘sts’. You can substitute this with the stitch you want to work (single crochet, double crochet etc.).
Abbreviations used in this tutorial – US terms
- Chain = ch
- Single crochet = sc
- Half double crochet = hdc
- Double crochet = dc
- Treble crochet = tr
- Stitch(es) = st(s)
- Slip stitch = ss
Quick pattern notes
- The same principle applies whether you turn at the end of the round, work in the same direction or if you crochet in continual rounds of single crochet. (Learn about crocheting in rows v rounds here.). I have excluded the turn/don’t turn instructions from the description below
- I have also excluded the instruction to chain to start the round as the chain number will depend on which stitch you’re working.
- Instructions after * should be repeated as instructed.
Basic crochet pattern to make a flat circle
Round 1: Make X sts into a magic ring and join with a ss. X sts
Round 2: 2sts in each st around, join with a ss. 2X sts
Round 3: *2sts in next st, one st in next st; rep from * to end, join with a ss. 3X sts
Round 4: *2sts in next st, one st in each of next 2 sts st; rep from * to end, join with a ss. 4X sts
Round 5: *2sts in next st, one st in each of next 3 sts st; rep from * to end, join with a ss. 5X sts
Continue with this pattern, increasing the number of stitches between the 2 stitch increase by 1 each round. So for Round 6, you would work 2sts in the first st, then one st in the next 4 sts and repeat to the end of the round.
The number of stitches you have at the end of each round will be the number of stitches you started with multiplied by the number of rounds.
As an example, say that you started by working 10dc into a magic ring. Your X would = 10. Your stitch count for Round 1 would be 1X, i.e 10 sts. For Round 2 it would be 2X, i.e. 20 sts, Round 3 it would be 3X, i.e. 30 sts and so on.
How to keep your crochet circle round
You may find that as you work this pattern, your circle turns more into geometric shape such as a hexagon or octagon ec.) with corners rather than smooth curves.
If you don’t turn at the end of each rounds, this will be more pronounced. You get this effect because all of your increases are stacked on top of one another.
The simple way to rectify it is to stagger your increases so they no longer stack, but are spread evenly over different rounds.
For example, using the 10 dc example, without turning at the end of your round, you could rework the first 5 unturned rounds as follows;
- Round 1: 10dc into magic ring, ss to top of first st, do not turn throughout
- Round 2: Ch2 (doesn’t count as a st), 2dc in each st to end, ss to top of first st
- Round 3: Ch2, starting in first st, *2dc in next st, 1dc in next st; rep from * to end, ss to top of first st
- Round 4: Ch2, starting in first st, *1dc in next 2 sts, 2dc in next st; rep from * to end, ss to top of first st
- Round 5: Ch2, starting in first st, *2dc in next st, 1dc in next 3 sts; rep from * to end, ss to top of first st
- Round 6: Ch2, starting in first st, *1 dc in next 4 sts, 2dc in next st; rep from * to end, ss to top of first st
You can see that in each round, the increases are moved around so they are not stacked on top of one another. Rounds 3 and 5 start with an increase, but round 4 and 6 do not, so you’re not going to get that hint of a corner, but a rounded circle.
There are many ways to do this (the above is just one example) and the arrangement will change if you’re turning at the end of your round.
As your circle gets bigger, you might want to mix it up even more, so say you have 8 sts between each increase, you could start the round with 4 sts then increase, then make 8 sts, then increase, finishing the round with 4 sts to balance out the 4 at the start. Then the next round you could start with an increase. This is the approach I use in the flat-out crochet bag pattern which is worked in continuous rounds.
Whatever approach you’re using, the key thing to remember is this: Offset the increases each round (so they aren’t stacked) and to keep an equal number of non-increase stitches between the increases.
Oh and check your stitch count at the end of each round to make sure you’ve not added or omitted an increase somewhere along the line.
So now you have the basics, here’s the really important question;
How do you know how many stitches do you start your circle with?
(or what should X be in the pattern template above)
This is a question I’ve asked myself over and again through my years of making and designing. Never quite having an exact answer was the reason I wrote this blog (so I would make myself find one!)
I’ve come up with two ways to answer it; one is to give you the general rule of thumb and the second is to use maths. (I’ll do both.)
Crocheting flat circles with different height stitches
The number of stitches you start with to keep your circle flat will depend on what stitch you are working, more specifically how tall it is.
The taller the stitch, the more of them you will need to work each round to keep the circle flat (the maths will explain why below).
Here’s an example to illustrate this point.
Below are 3 crochet circles I have made using 3 different stitches; sc, hdc and dc (from left to right). In each case I started with 8 sts in the first round and increased by 8 sts each round. I worked 5 rounds following the basic pattern given above.

You can see that in the first example below, where I have started with 8 single crochet, the circle is not flat. It ruffles up because there are too many stitches to ‘fit’ in a flat circle.

In the second example, I have worked the pattern starting with 8 hdc. This one sits pretty flat after 5 rounds. A green tick here!
In the last example below, I have worked the same pattern a third time, starting with 8 dc.
You can see that this circle is starting to curl up. This is because there aren’t enough stitches to stretch around to make a flat circle. Because each stitch is taller, the edge of the circle needs to be bigger. i.e. it needs more stitches to ‘fill’ it.

As you see, the number of stitches you start with (our X value) needs to be appropriate for the stitch height.
How many stitches do you start with to crochet a flat circle?
Here is a rough guide of how many stitches you need to start with (and increase by each round) to create a flat circle using the most common basic crochet stitches (US terms).
- Single crochet: 6 -7 sts
- Half double crochet: 8 – 10 sts
- Double crochet: 10 – 12 sts
- Treble crochet: 14 – 18 sts
Note that these are a guideline only. The numbers will vary, mainly depending on your tension and whether you are turning or not turning (as this does impact stitch height – see this post for details on that one!)
Different sources may give slightly different guidance to what you see here (though from my research, these are not easy numbers to find).
Some of the guides give larger margins than I have here, some give a single definitive number. I have arrived at my recommendations based on my experience and a bit of maths…
The math of crocheting a flat circle
Because I like to look beneath the surface, I want to get into the maths of why I have given these numbers. Understanding why it works the way it does will help you to make adjustments based on your own crochet style.
Just like with my approach to hat sizing, I have gone back to some school geometry for this one.
I’m going to walk through an example of how you can calculate the number of stitches you need to start with, based on your gauge. That way you can tailor your project to your own tension.
Definitions:
- Diameter (d) = the measurement across the circle at its widest point
- Pi = a standard unchanging mathematical number = 3.14
- Circumference = length around the outside edge of the circle (calculated by multiplying the diameter by Pi – sometimes stated as 2Pir – (where r is the radius) which is the same thing as Pi * d, because the radius is half the diameter)
How to calculate the number of stitches needed for a flat circle
I will use a gauge measurement to calculate the height of each round. Your gauge should be based on a circular swatch using the same method you’ll be using for your project (i.e. turn or don’t turn). You might want to use the general guide above to create a swatch to get started.
Step 1: Use the stitch height (based on row gauge) to calculate the diameter and circumference of the circle.
Step 2: Use the stitch gauge to calculate how many stitches are needed to fit into the circle circumference to keep it flat.
Step 3: Use the row/round count to calculate how many stitches you need to increase by each round.
Worked Example
Let’s say we’re working with single crochet in the round and our gauge is 20 sts and 20 rows in 10cm. This would suggest that each stitch measures 0.5cm tall and 0.5cm wide.
We’l use that info to calculate how many stitches we would need in a flat circle of 5 rounds.
Step 1: First off we need to work out the diameter. Because you’re measuring across the middle circle, 5 rounds would be equivalent to 10 rows.

Based on our gauge, this is going to give us a diameter of 5cm (10 rows * 0.5cm)
Next we can calculate the circumference by multiplying the diameter by Pi:
5 * 3.14 = 15.7cm circumference
Step 2: Now we know the circumference is 15.7cm, we can use the width of the stitch (0.5cm) to work out how many stitches would be needed to ‘fit’ around the edge of the circle (It might help to imagine this length as a straight line).
To do this, we divide the circumference by the width of each stitch:
15.7 / 0.5 = 31.4 stitches
So we need 31.4 stitches after 5 rounds to get a flat circle. (don’t worry that we’re talking partial stitches at the moment).
Step 3: Lastly, we use this to calculate what our round multiple should be. (i.e. how many stitches we should start with and increase by each round.)
To make this calculation, we divide the total number of stitches by the number of rounds:
31.4 / 5 = 6.28 stitches per round
So according to the maths, to create a flat circle with single crochet in the specified gauge, you would need to start with, and increase by 6.28 stitches each round.
Obviously we can only work in whole stitches so I would round this to 6, which aligns with our rule of thumb mentioned above (yay!).
The maths here is not perfect in reality, because, if you think about how a stitch works, especially in circles, the stitch may be narrower at the bottom than the top. But it’s a solid start! You can use this same process with any of the stitches, so long as you have a gauge measurement.
Crocheting a flat circle with more complex stitch patterns
You can use this process with any stitch type, whether it’s another basic stitch, or something a bit different, like a bobble, or even more complex stitch patterns which use stitch multiples like shells.
The key is knowing what your gauge measurement is. Then you just follow the maths.
If you’re not familiar with measuring gauge, I strongly recommend you learn the best practices for making and measuring a gauge swatch.
If you like this kind of logical approach but the maths is newer to you, then you might want to check out this post which explains how to use your gauge measurement to calculate your stitch and row counts.
It’s similar to what we have done here, but without the circle part. It’s a really useful skill to have if you like to freestyle it!
If you want to create something using stitch patterns and understand how many repeats to fit into a circle then you can use this process, but you’ll need to have a thorough understanding of stitch multiples.
There are endless ways to work circles using crochet patterns with different stitch multiples. There isn’t one approach that fits all here. Each stitch pattern will have it’s own little puzzle to solve!
Crocheting a flat circle using the Pi circle method
So far we have looked at making flat circles by increasing by the same number of stitches each round. This is the most common approach in crochet, but there is an alternative called the Pi circle method, which is more commonly discussed in knitting.
With the Pi circle approach, you double your stitch count on each increase row, but spread your increases out, working non-increase rows in between.
For example, you might start with 6 sts, work 1 non-increase round, double the next round to 12 sts, work 2 non-increase rounds, then double again to 24 sts, work 4 non-increase rounds, double the next round to 48 sts. And so on and so forth.
Because you are doubling your stitch count each round, the number of non-increase rounds between will double in each section.
This is a basic summary of the approach. You can read more about pi circles and pi shawls here.
I’ve never designed an item using this method but it’s something I would like to experiment with in the future.
You can also blend approaches between the classic approach and this pi circle method. This is the approach I take when working with crochet patterns using more complex stitch patterns, such as the round yoke ‘Circles in the sand’ top. This uses filet crochet but I don’t really want increases to interfere on my filet crochet pattern rounds, so I place them where the pattern is not. A bit of blocking then hides any wobbles where the increases are distributed asymmetrically.
Why do crochet circles start to ruffle as they get bigger?
If you’re starting with the right number of stitches then your circles should stay flat… Up to a point at least.
If you’ve ever crocheted a large flat circle (maybe a rug or a blanket), you may have noticed that your circle starts to get wavy and you end up with excess fabric as it reaches a certain size.
A couple of years ago, my friend asked me to make her a Christmas Tree Skirt, which I did using a circular pattern. As it got bigger these ruffles started to appear. Ever since then I have been preoccupied with why this happened.
I will be honest. I haven’t come up with a definitive reason why it happens, but here are some ideas.
Firstly, the maths is not precise. In the example, or calculation came to 6.28 stitches needed to keep our single crochet flat, but we were working 6. This small difference may not make a difference after 10 rounds, but after 100 it probably will.
Crochet stitches do not behave as precise units of measure. They are made with love by a hand that might have had a bad day, so there is always going to be some variation. Although I like my numbers to add up, I have come to embrace this feature!
This brings me to the next possible reason for this ruffling behaviour:
Stretch and tension.
As you work, the weight of the work will begin stretch the fabric. The curves are more like lines on the rounds so the stitches have more space to spread than in smaller, tighter rounds and your tension will inevitably relax.
Looser tension means that the stitches take up more space, meaning you need less of them to fit in that circle we discussed back at the start. So you end up with excess fabric.
Although it’s useful to understand (for me at least) the reason for the ruffling, what I’m sure you really want to know is: How do you stop it happening?
How to stop your large crochet circles from ruffling
I have two suggestions here.
The first is stop increasing as soon as you notice this ruffle starting to appear. Or, better yet, pull back a couple of rounds so you can catch it before it happens. From then on, only increase every 3 or 4 rounds instead. Eyeball it and adjust it on the fly. It’s not precise I know, but it’s what I can offer!
The second suggestion is blocking. Normally if you stretch out and block your circle, you’ll find that it should flatten out nicely (unless the ruffle is really severe). This article will explain blocking if it’s new to you.
I do love how crochet is a combination of maths and art. One moment you are following the rules happily, then suddenly those same rules stop applying.
It is frustrating and challenging (in a positive way) at the same time.
Most humans find problem solving fulfilling on some level (it’s what our brains evolved to do), even though it doesn’t always feel like it in the moment. But for me, it just adds to the list of reasons crochet ticks my boxes!
I hope your have found this very Doralosophy habit hole style explanation useful and now see your simple crochet circles as the little mathematical wonders they are!
Happy Hooking!
Dx
More foundational crochet tutorials
Copyright Dora Does Limited, Registered in England, Company Number 13992263. This pattern is for personal use only and may not be shared or reproduced in written, photo, video or any other form without prior written consent. All rights reserved. Terms of service.


This is very useful. I was thinking about making a sort of beanie hat like one I have in fleece which has a flat circular top and straight sides and wondering how to go about it, so this will get me on my way! Cross fingers as I have only ever followed patterns before now. Thank you!
I’m so glad you found it helpful. Best of luck with your crochet hat experiment. This article all about how crochet hats are made might help yo too https://doradoes.co.uk/2022/11/28/all-about-crochet-hats-how-to-crochet-a-beanie-14-free-hat-patterns/
This is an amazing guide!!! Thank you so much. I always find instructions that only give a precise way do things and this explanation with the opportunity to calculate according to the specific size of my stitches is amazing. Loved! Thank you again!
You’re so welcome. I’m glad you found it useful!
THANK YOU!! This was exactly the comprehensive explanation I was looking for. Going to try to make a circle rainbow snuggle blanket for my granddaughter, using a variety of stitches and patterns. This is extremely helpful in setting up in my mind how to approach it!! 🥰
You’re so welcome. I’m glad you found it useful. It’s a very helpful concept to have for the project you’re looking to create. Remember to think about your stitch multiples too if you’re working different stitch patterns. Good luck!
What a wonderful, thoughtful post. Thanks so much.
You’re welcome – I’m glad you enjoyed it!