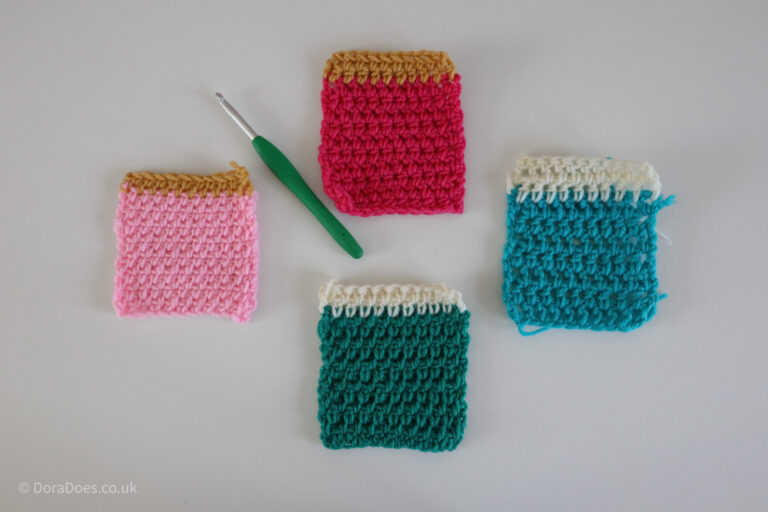
The Crochet Magic Ring – Photo and Video Tutorial

In the style of those therapists who tell you to write a letter to your former self (normally telling you not to sweat the small stuff), I’ve been thinking about when I started crocheting and what would have made life easier if I knew then what I know now.
There is no substitute for experience of course, but in an effort to help beginner crocheters, I decided to start a series showcasing the most useful ‘little’ things I have learned along the way.
You know, those easy (once you know how) tips and tricks which lead to a disproportionate improvement in the look of the finished work.
One of those is the Foundation Chains which you can read about here in an earlier post, but the one I want to talk about today is the Magic Ring.
I sometimes also call this the magic loop or magic circle, depending what other thoughts are going through my mind at the time!
What is the magic ring used for?
The Magic Ring is used to create a sealed centre join when working in the round, for example when starting a hat, an amigurumi (toy animals/ dolls etc.) pattern or even a granny square.
The common abbreviation (US and UK terms) for a magic ring is MR, you you may also see it called a magic loop or circle.
A lot of patterns start with something like “Ch4, join with a slip stitch to form a loop, work 12dc into the loop”. This is a great way to start but it does leave a little hole in the centre.
Now that may be what you want. If you’re putting a pom pom on the top of your beanie no one is going to see the hole and it might even be part of the design on a granny square blanket or rug. It’s not better or worse, just different!
However, the neat-freak in me likes to have the centre all closed up and tidy.
As I tried more patterns I started to notice this “Magic Ring” modification option given and, being endlessly curious, I had to find out what it was. After some internet searching I discovered a miracle! The aforementioned neat-freak in me did a big uncoordinated happy dance!
To give you a visual idea of what I mean, the pictures below show what the difference between the “Ch4 join” approach (on the left) and the magic ring (on the right).

“Enough talking already Dora” I hear you cry, “How do you do it?”
I started trying to write down the instructions but quickly realised it would be a lot easier to show you so I made a short video tutorial for my YouTube Channel, which you can see below (a reminder that I am left handed and use US terms).
Magic Ring Video Tutorial
I also added some picture guides to my written instructions below. You can use this technique with any hook and yarn. I’ve used double knit with a 4.5mm hook in the pictures below.
Enjoy!
Magic Ring Written and Photo Tutorial
Once again, I am left handed so you may well see a mirror image of the photos below if you are right handed!
Wrap the strand of yarn twice around your ring and middle fingers.
With the palm facing up, the end should be pointing towards your little finger on the fingertip side of your hand

Tuck the yarn under your little finger to keep tension

Hold the yarn down with your thumb and turn your hand over

Insert your hook underneath the loop closest to the fingertips and over the second loop
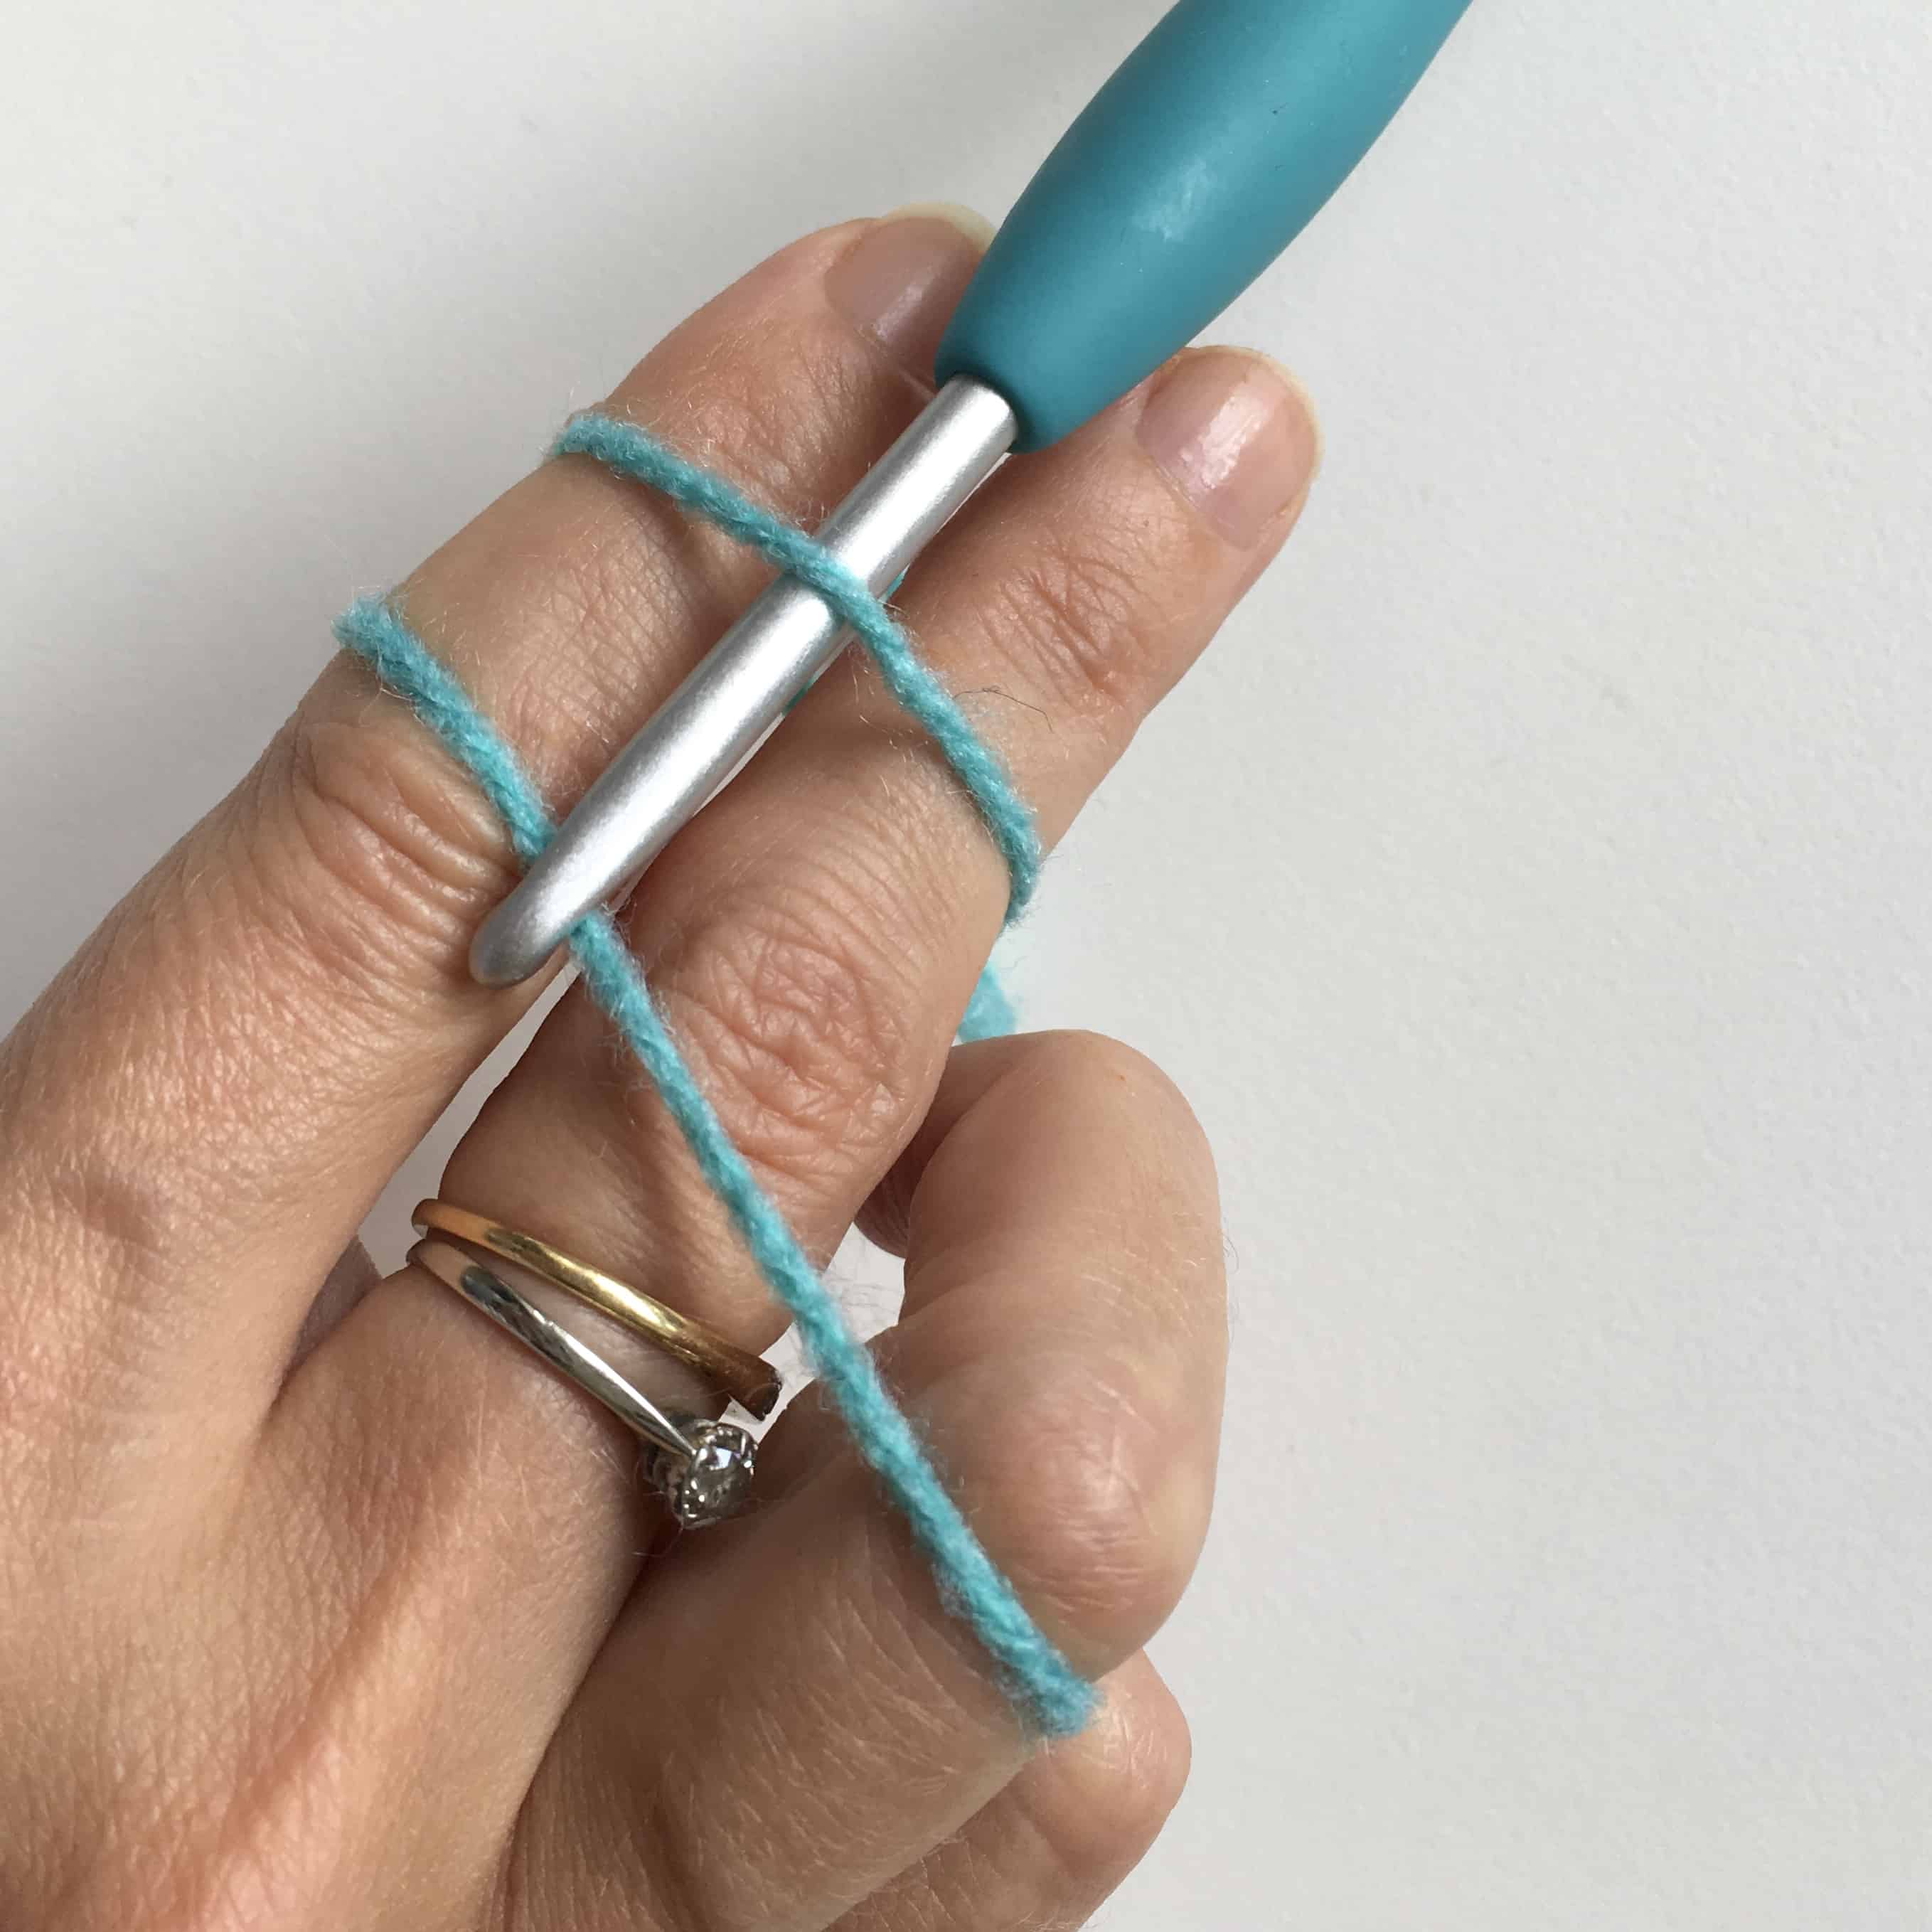
Pull the second loop under the first towards your fingertips to create a loop

Now. This is the bit that takes a bit of practice!
Twist your palm up removing your fingers from the loop you have created and yarn over your hook

Pull through the loop you created with the twist to create a stitch which holds the loop together.
Chain 2 (if you are working dc in US terms) or ch1 for sc

Start working your stitches into the loop over the tail.
As you go you can pull the tail tighter to close the loop


Do not pull the loop fully closed whilst you are working
Once you have finished the required number of stitches, join to the top of the first stitch

You still have a hole in the centre (below left) so now is the time to take the tail and pull it really tight. You will feel when it is as tight as it can go (below right)


Place a couple of stitches in the underside and fasten off

Et voila!
Two magic circle eyes and a standard nose

I hope you could all follow that – it’s too good a technique not to learn!!
If you have any questions, please comment below
Subscribe to my youtube channel for more tutorials
Happy Hooking
Dx