How to seam crochet panels using mattress stitch
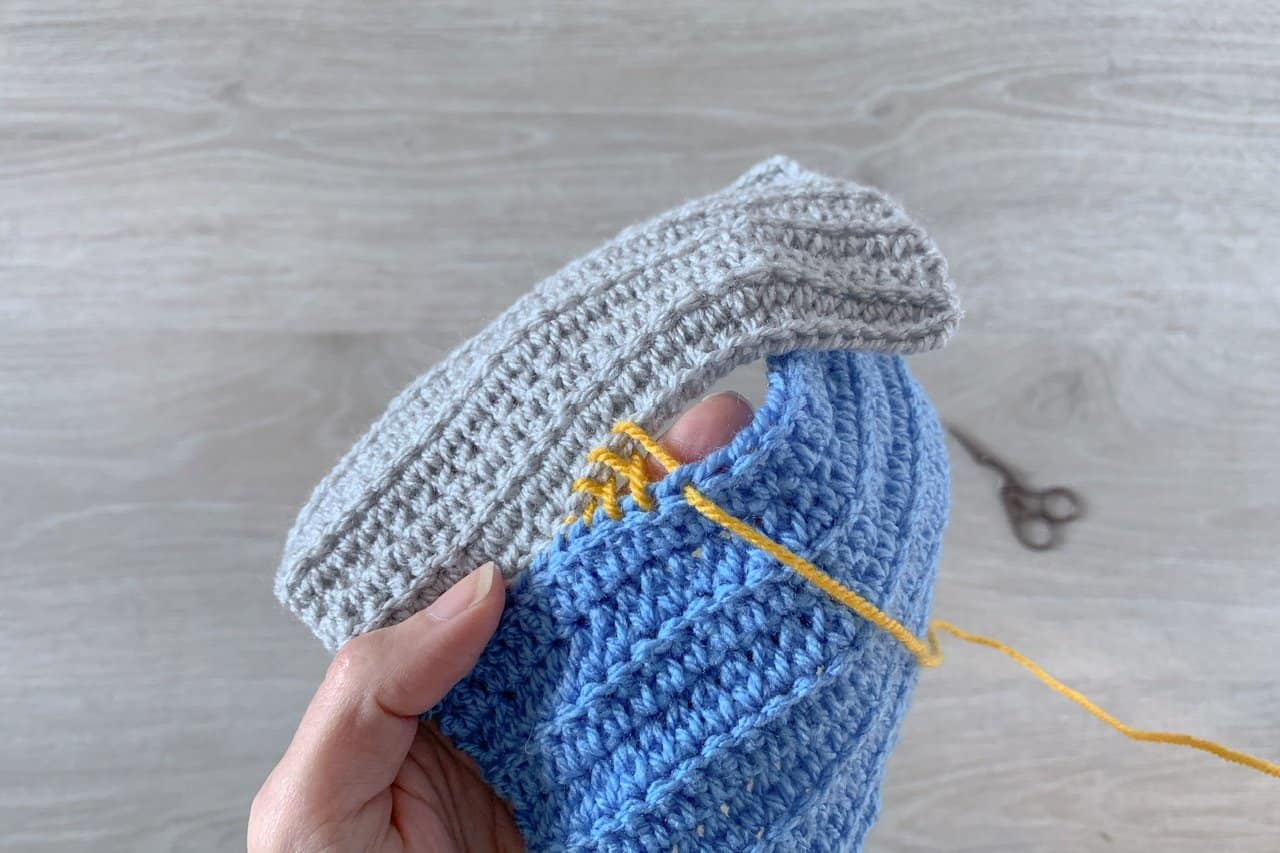
When I first started crocheting garments, I was put off by having to seam pieces together. I’m not great at sewing and am generally pretty clumsy. I always felt that my seams were a bit wobbly and bulky or to tight or too loose.
Then I learned how to use the mattress stitch and all that just went away!
In this post I will show you how to work this simple stitch, so you too can seam crochet squares and pattern pieces together with ease.
What is Mattress Stitch?
The Mattress Stitch creates a flat almost invisible join which leaves you with a subtle and neat seam between your crochet pieces. Even when you are joining row ends!
I will say it up front – I am not a great seamstress! This is the version of mattress stitch that works for me. There are other variations out there, but I’m all about keeping it simple and doing what works.
This easy joining technique can be used in all kinds of crochet projects. Common examples include sewing together pattern pieces for garments, making crochet pillows, or joining crochet squares for an afghan blanket.
Mattress stitch is also a great way of joining crochet pieces of different colours as the seam itself is almost invisible and lays really flat.
This stitch works well for seaming together row-ends (which I always find harder) just as well as it works for joining tops or bottoms of rows (where it is easy to align stitches).
There are a couple of tips in the video on how I sew together row-ends, but you will see in the pictures that it is really all about aligning your rows accurately.
Below is a written and photo tutorial for the mattress stitch followed by a video which will walk you through the process from start to finish.
How to sew crochet pieces together with mattress stitch
For this tutorial, I made two swatches of crochet fabric in different colours and used a third, contrasting yellow yarn to sew them together. This was so you can get an idea of what ends up where and how the seam is hidden.
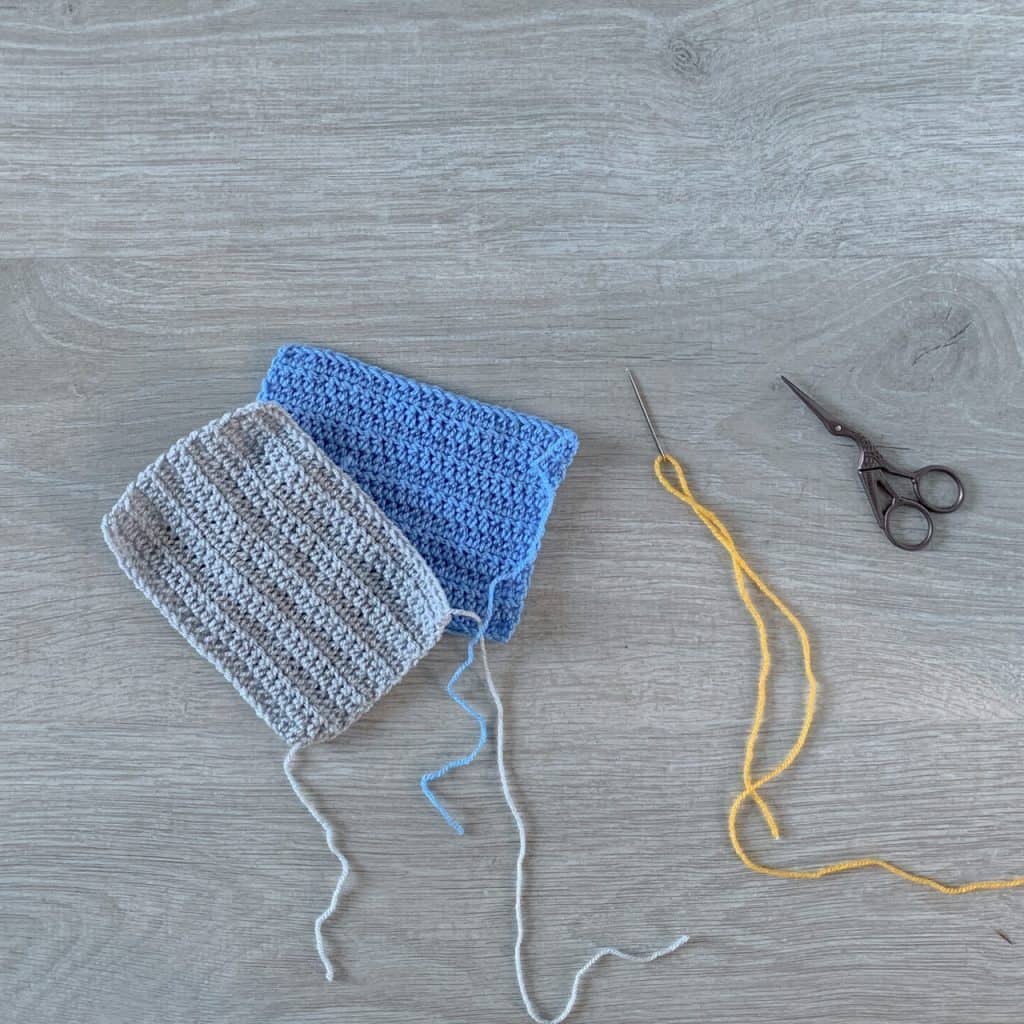
Often when you are making something like a blanket, you will be using squares of different colours, so I wanted to demonstrate how useful and invisible mattress stitch is in that context. Watch the video for the magic in motion.
Let’s get started!
Take your two pieces and place them with right sides together, and wrong sides facing outwards.
Line up the stitches together, or if you are working row ends together, line those up by matching the ‘bumps’ made by the turning chains. (I have some pictures showing this below).
Thread the yarn you’re using to sew the pieces together onto a yarn needle and thread it through the two end stitches to make a secure join.
It may be you are using the tail to join your pieces, in which case you can get into the mattress st right away. I love using tails for sewing seams as it kills two birds with one stone; make your seam and sew in your ends at the same time!
Working from the inside out, thread your needle through the top two loops of the next stitch on one side/panel and pull the yarn through.
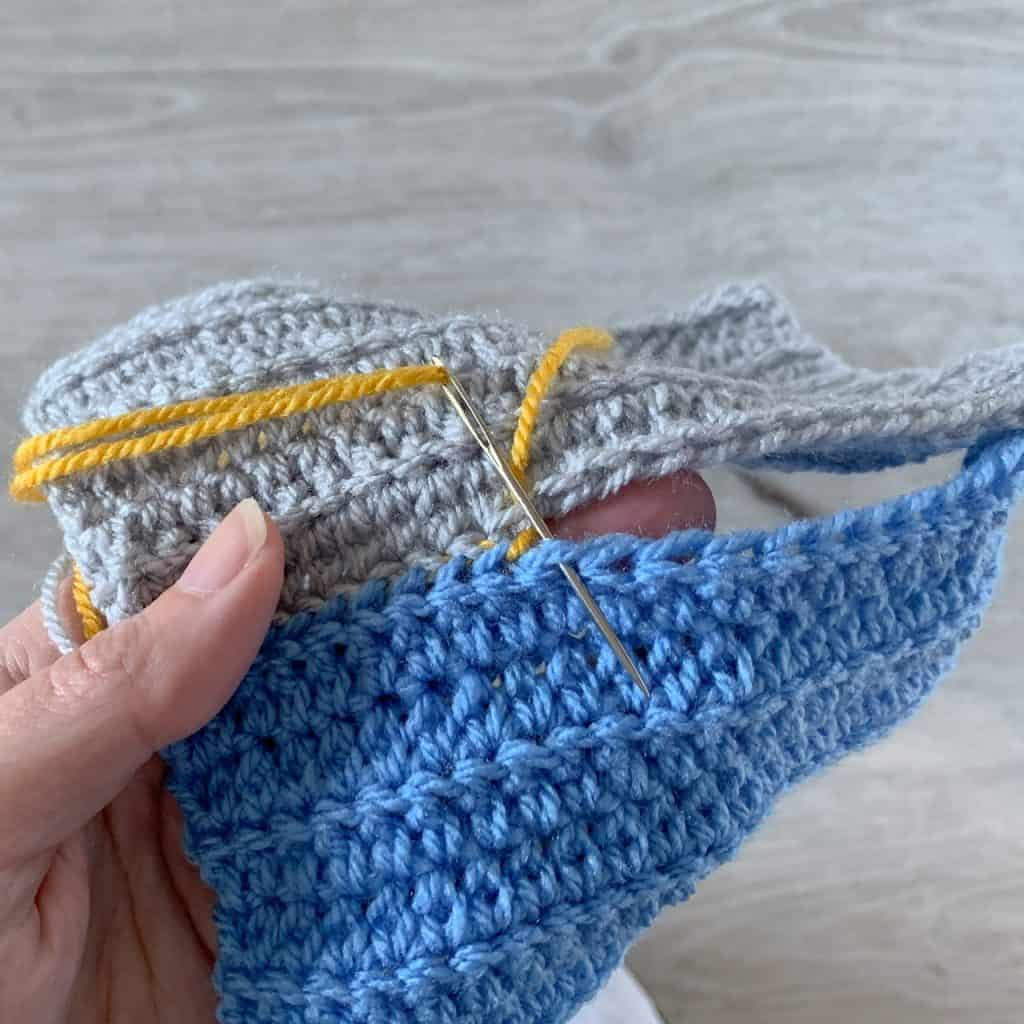
(Note that in these pictures, I have already worked a few stitches as it makes it easier to see)
Then insert the needle through the two loops on the top of the corresponding stitch on the other panel and, again, thread it through from the inside outwards.
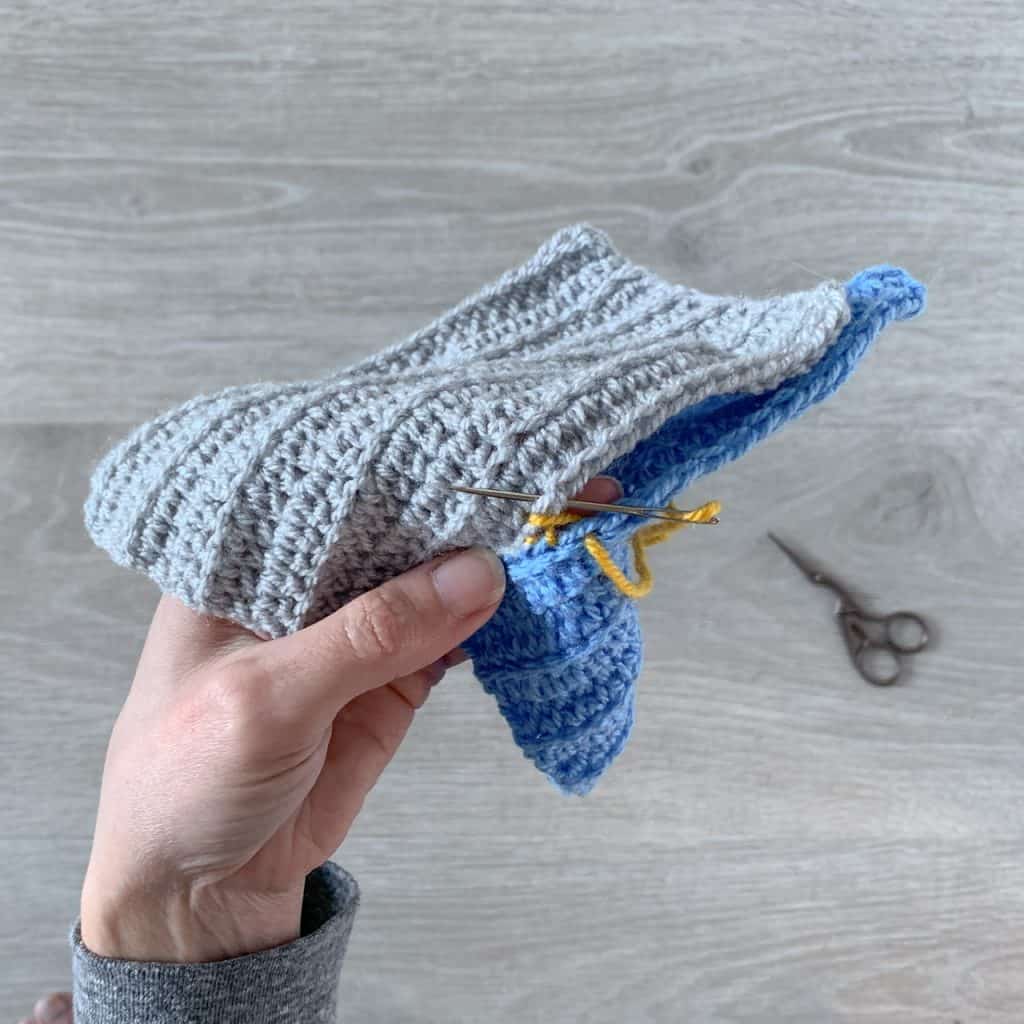
The two images below show a close up of this technique being used to seam the sides of the Winter Solstice Dress. In this case, the seam is being worked into the top of the final row and the back of a foundation row (the top of the two pieces).
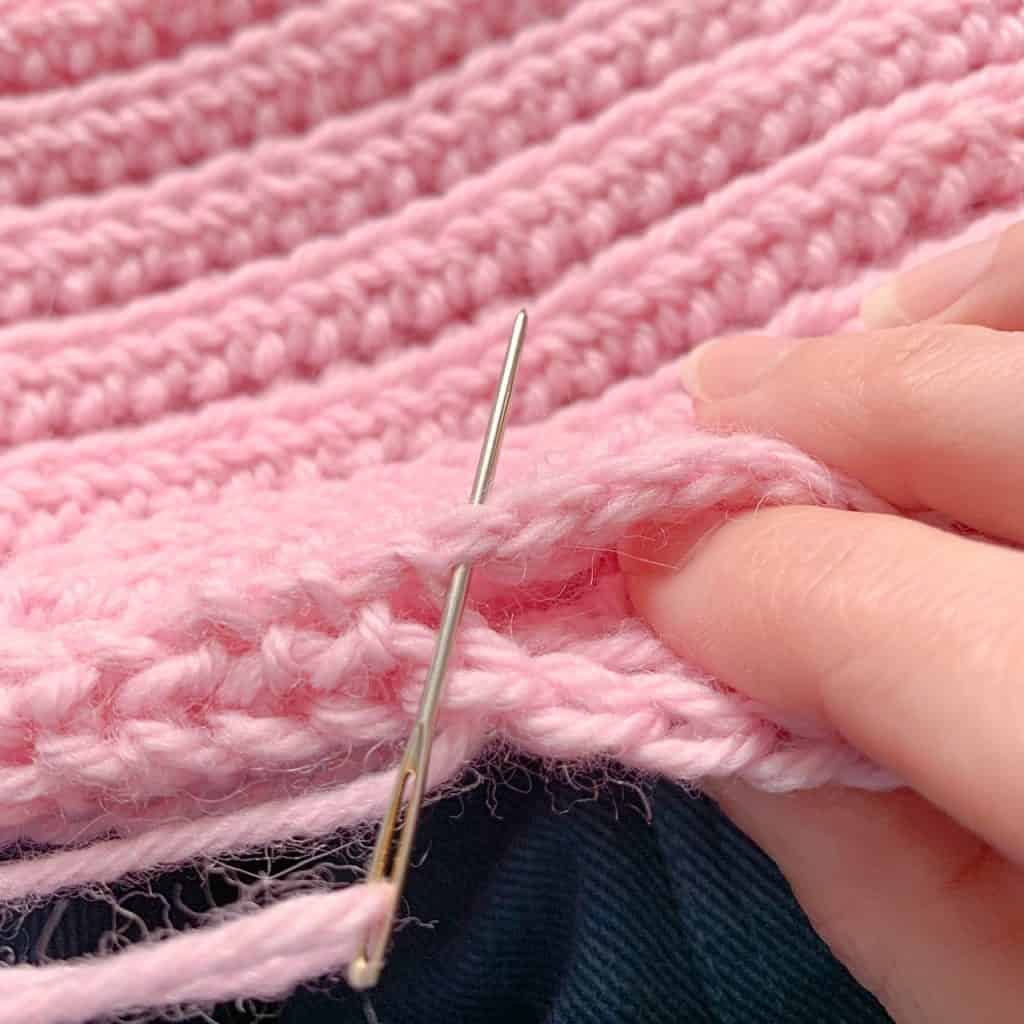

Move to the next stitch and repeat the process. You will end up with a criss cross lace-up kind of look.
I have left the stitching loose here so that you can see where it is going.

Every few inches, you should pull your yarn tight, but not so tight that the seam puckers. Place your thumb and index finger either side of the seam when doing this to stop the fabric stretching.
As you pull the yarn to tighten it up, the seam will become almost invisible.
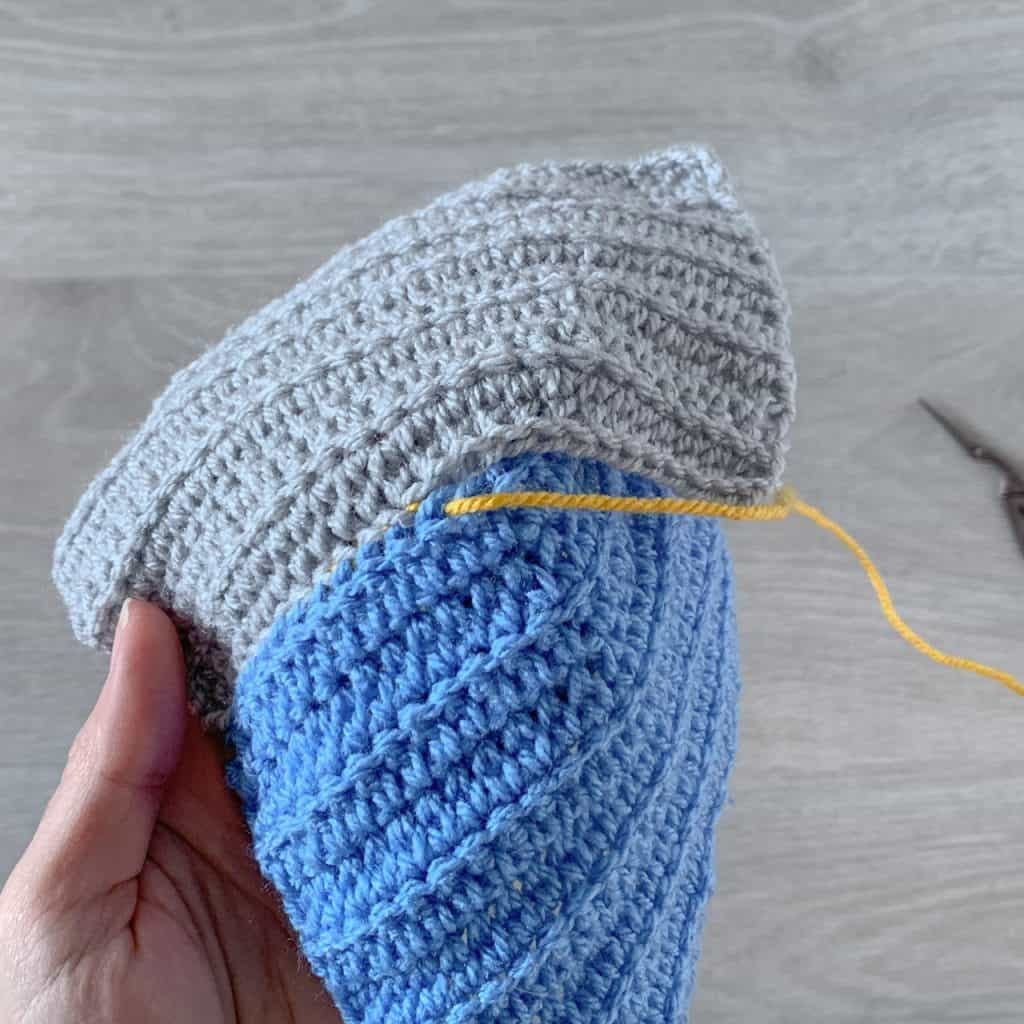
Continue in this way until you get to the end of the row or have joined the appropriate number of stitches.
In this demonstration, I sewed the swatches together along the top, then turned at right angles to work the next side. You might use this technique to sew together the pieces for a crochet cushion, for example.
Work down the row-ends in the same way, sewing from the inside out in corresponding places, matching row end to row-end.
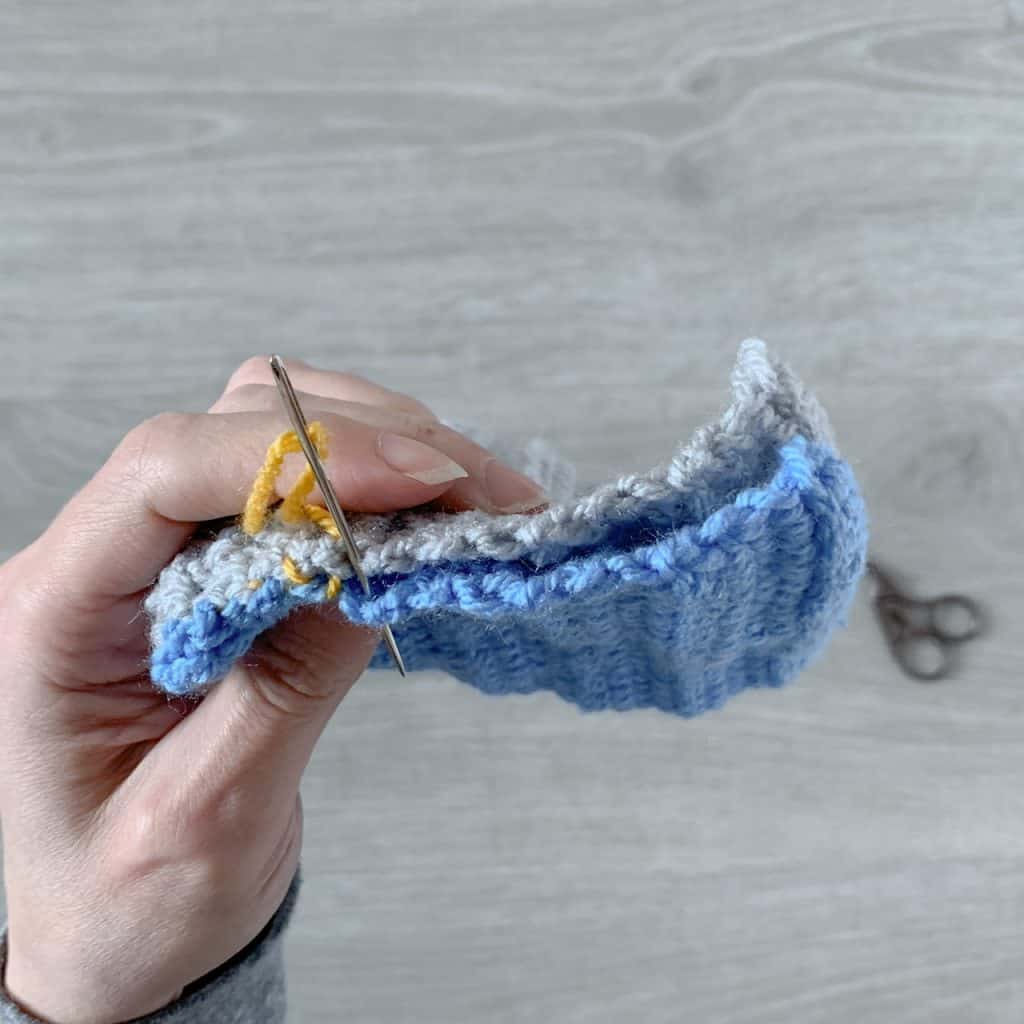
Matching row ends can be tricky, but with practice you can see the same ’parts’.
Depending on what I am making, sometimes I will work right at the edges of the turning chain, sometimes I will work further into the stitches.
Whatever I choose, the cat wants to chase the tails…

You can check as you work that you’re happy with the look of the seam by turning the work so the right side is facing.

When you have finished, secure the last stitch or row-end, then sew in your yarn tail and fasten off.
That’s it – no stress!
How to join crochet squares with mattress stitch – Video Tutorial
Below you will find a video tutorial for the mattress stitch which shows this technique in more detail. You will also see how to keep track of the tension on your seam and an example of how I sew row ends together.
I hope you find this tutorial helpful and that, once you have tried it, you will leave those worries about seaming behind you!
Happy Hooking
Dx
More foundational crochet tutorials
For more tips on crocheting garments, why not join the My Crochet Wardrobe Facebook group, or check out my other articles, tips and tricks relating to crocheting garments.


But how did you attach the yarn to begin?
That’s a great question! For the swatch I think I just attached it like I would when sewing – threaded it through the first stitch a couple of times, then I’d sew in the end when I’m finished. In reality, I often leave long tails for seaming when fastening off from my crochet fabric, then use these to join the seams – less ends to sew in that way (though it obviously depends on the specific crochet project you’re working on).
Dora, you are brilliant! My sewing “could make a cat laugh” as they say. But this, i think i could do, and i actually look forward to trying it on a small project i am working on. Thank you for being awesome.
Haha… What a great expression! I’m so glad you found this useful. It’s actually a really satisfying stitch to work – you can definitely do it!
Ah, mattress stitch ! I found it when, having KNITTED (!) a plain cardi upon a friend’s demand, I wanted to learn how better to put it together than I had the last time I knitted a garment. It was bloody brilliant for knitting, just as you show it to be for crochet. I just don’t know how I managed to do without it for all these years .. 😀
It really is a game changer isn’t it – and perfect for the non sewers!!