How to calculate stitch and row counts for any size crochet project
I often get asked ‘how many stitches do I need to make an xxxxx?’
This tutorial is designed to answer that question for any crochet project of any size. So long as you know the size you want and you know what your gauge is for the crochet stitch pattern you’re using.
Gauge is essential to good crochet design.
I can’t emphasise that enough. It’s the reason I’ve written about it a lot over the years, including why gauge matters, when you should swatch and how to make and measure your gauge swatch.
This blog post came off the back of my popular posts which answer the questions ‘how many crochet stitches do I need for a hat to fit?’ and ‘how many stitches to I need to start my crochet blanket?’. These posts talk about hat and blanket sizing respectively and include charts for the number of stitches you will need for a range of different sizes over a range of gauge measures – so you can look up the answer on the chart.
The difference in this tutorial is that I teach you how to do the simple calculations involved, so you can easily work out the answer for yourself.
Using gauge to calculate stitch and row counts for made to measure crochet projects
This tutorial will explain how to use your gauge measurement to create a piece of crochet fabric made to your desired measurements.
In other words, I’ll teach you how to work out how many stitches and rows you need to crochet to make a specific size of fabric. This is the essence of crochet design.
In the example I go through, we’ll keep it to a simple rectangle, but once you get the concept, you can apply it to other shapes and sizes and get on your way to creating your own crochet designs!
Understanding these principles will also allow you to adjust or adapt existing patterns to suit your needs. This is incredibly useful if you want to adjust crochet clothes to fit!
For illustration purposes, lets say you have a stitch pattern you like and you want to make a scarf with it. I’ll walk you through the steps you need to take to calculate your stitch and row counts.
If you have a project in mind then I encourage you to work along side with your own numbers.
1. Gather the information
I have learned over my years of designing that if you have all the information you need before you get started then the making process will go a lot smoother.
I know it is the less fun side, but believe me, it will save you a lot of time if you start from a solid foundation. So before you start, you’ll need to answer some basic questions:
What size do you want to make?
Firstly decide on the size of fabric you want to make. This can be any size or shape.
However, for the purpose of this example, let’s imagine you’re going to make a scarf that’s 150 cm long and 28cm wide, where the length is in rows and the width is in stitches. So you’re first row will be the short end of the scarf.
Choose your stitch pattern
What stitch pattern are you using and what multiple is it worked to?
Choose a stitch pattern you want to work with and ensure you know what stitch multiple it is worked with. You need to know this so you know how many stitches to round your foundation row up (or down) to.
You can learn more about stitch multiples here, if you’re not familiar with them. But essentially, the stitch multiple is the number of stitches needed to make one full pattern repeat plus any additional stitches you may need to fit the pattern into a row.
You may see this written as something along the lines of 3+2 so this would mean that you need 3 stitches for each repeat and 2 more to complete the row (e.g .one extra stitch on each end of the row).
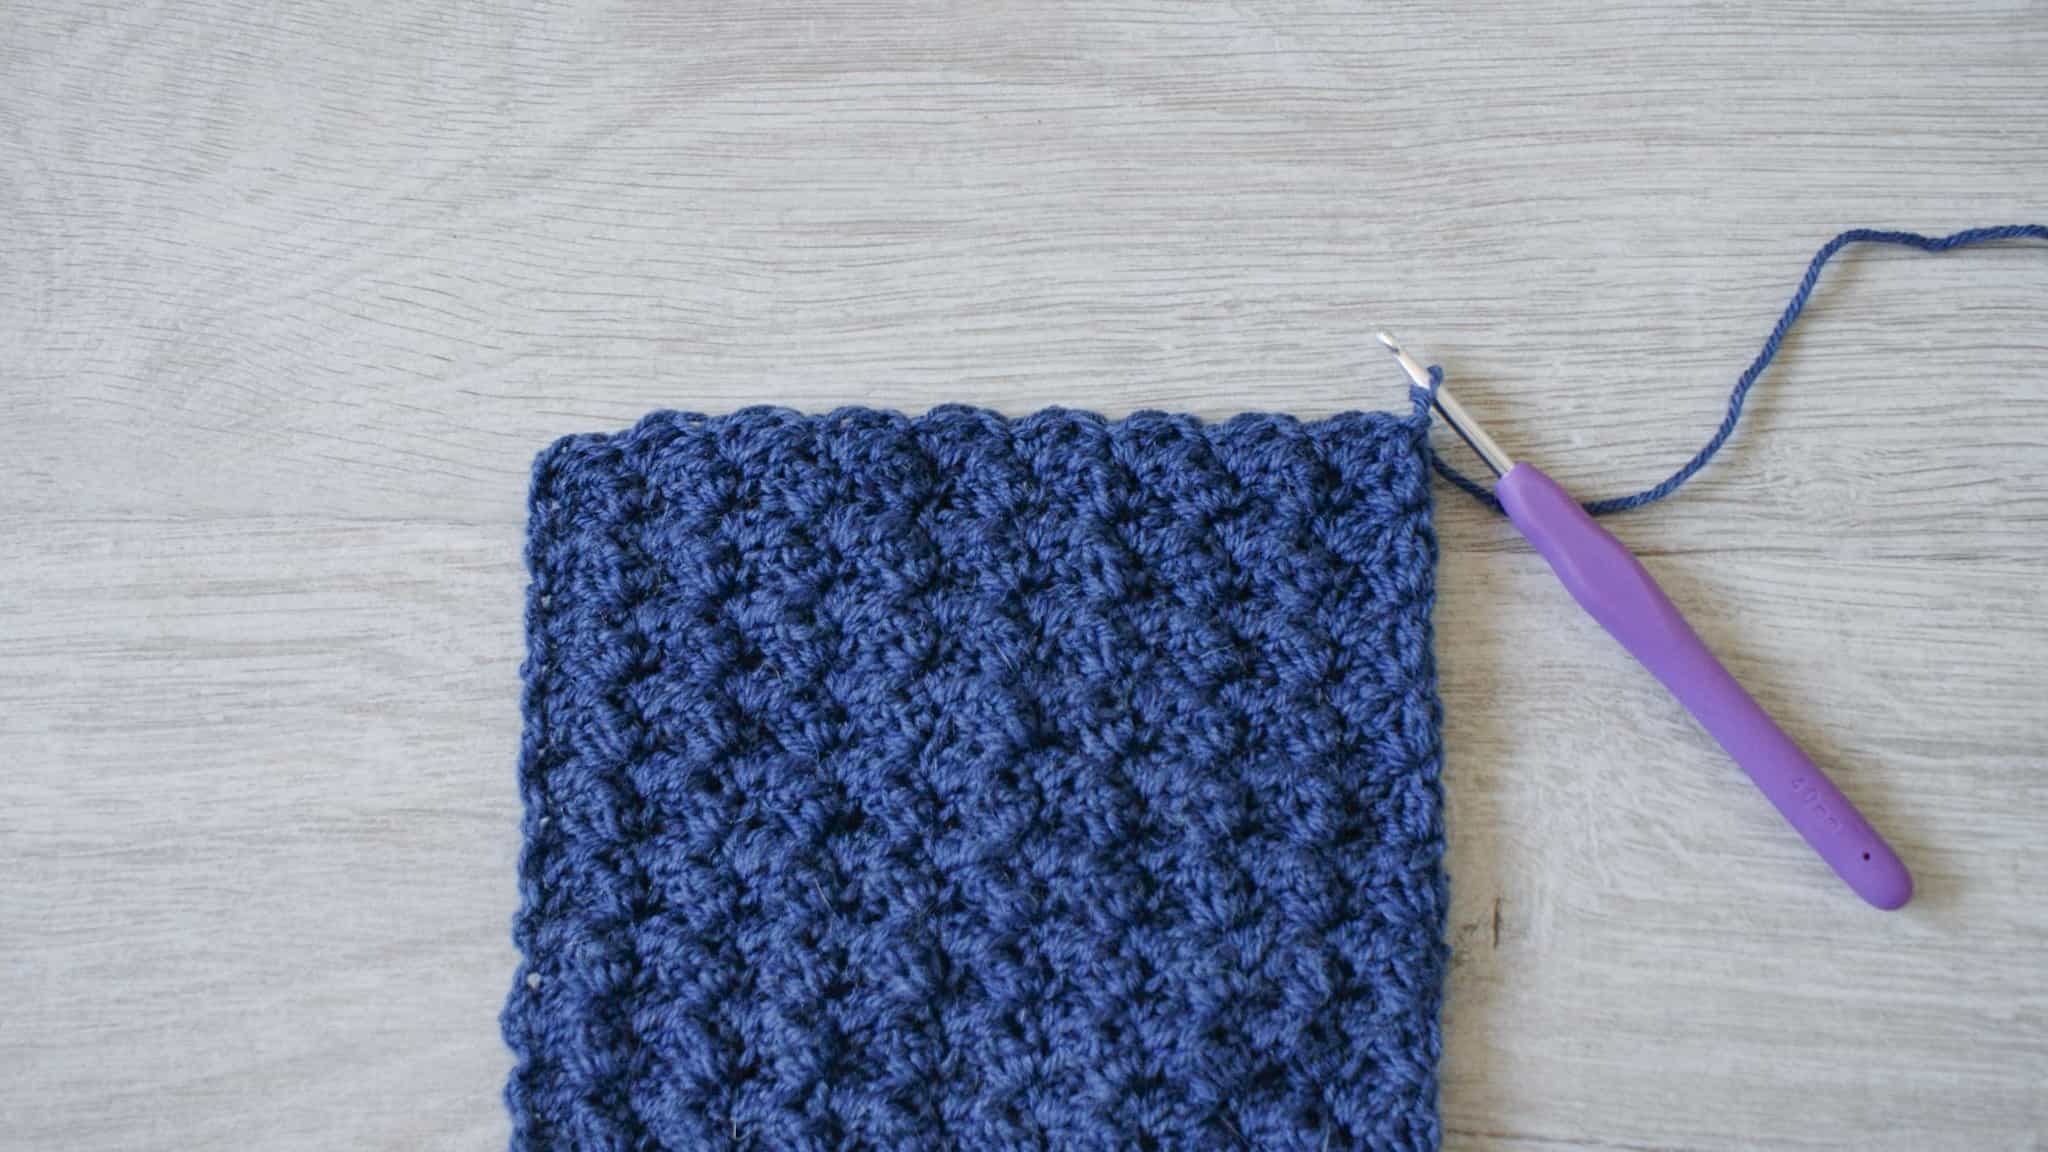
In the swatch you see pictured I’ve used a version of sedge stitch (sometimes called blanket stitch), which works 1sc, 2dc into the same stitch, skips 2 sts and repeats.
This stitch pattern is worked with a multiple of exactly 3 stitches.

Depending on your pattern repeat, you may also have a row multiple. This stitch pattern doesn’t, but think about whether your pattern needs to finish on a certain row or on the wrong or right side. Your row repeat may also have a plus or minus to account for set up rows etc.
What is your gauge?
To find out your gauge, you will need to make a gauge swatch in your chosen stitch pattern using the same yarn and hook size you intend to make the project with, and measure it accurately.
You can learn how to make and measure a gauge swatch here, if you’ve not made one before or you’re not sure you’re ‘doing it right’.
Measure your swatch and write down your gauge. This is what the gauge statement looks like for the stitch pattern we’re working with.
18 sts and 13 rows over 10cm of sedge stitch using a 4mm hook.
I haven’t brought blocking into the mix here, but I would recommend blocking your swatch and using the blocked gauge to achieve a more accurate measure. Especially if you will be blocking the finished piece. Learn all about blocking here.
2. Do the math(s)
Please don’t be scared by the word math (or maths for my British kin). I promise it’s not as daunting as it can sometimes seem.
Note that there are various ways to do these sums. I am sharing the way I approach it. I use centimetres rather than inches because I find the numbers are simpler.
Now you have all the information you can work out how many stitches you need to work across to achieve the width of your scarf and how many rows you will need for the desired length.
Work out your stitch count
I want to know how many stitches I’ll need to work 28cm for the width of my scarf.
My stitch gauge is 18 stitches in 10cm, so dividing 18 by 10 tells me that each centimetre of fabric across requires 1.8 stitches.
So to meet the required width of 28cm, I need to multiply 1.8 by 28 which is 50.4 stitches.
Now obviously you can’t work part of a stitch so you’ll need to round off to the nearest whole number which, in this case would be 50.
We’re not done yet though. Remember our stitch multiple of 3? 50 is not a multiple of 3 so I’ll need to adjust to the nearest multiple which, in this case, would be 51 – giving me 17 stitch pattern repeats (51/3=17).
So let’s summarises the formula for stitch count:
Stitch gauge (18sts) / gauge measurement (10cm) x required measurement (28cm) = number of stitches needed (51)
A note about rounding
You can choose whether to round your stitches up or down. For me it depends on the stitch pattern and item that I’m making.
With a garment I am more likely to round down because crochet fabric tends to stretch. But with something like a scarf, I’d rather go a little bigger so I round up, as I have with the final stitch count here. Unless of course I’m worried about the amount of yarn I have, in which case I might round down (though I would use my swatch to work out how much yarn I need too)
You discretion and preference as the designer comes into play here. It won’t be the last judgement call you’ll need to make!
Work out your row count
Now we do the same calculation for your rows using your row gauge.
Let’s start with the formula first this time. I’ve added the example numbers into the brackets. Remember you’re looking for a scarf length of 150cm.
The formula for row count:
Row gauge (13) / gauge measurement (10cm) x required measurement (150) = number of rows to be worked (195)
As you can see, each cm of length requires 1.3 rows (13/10), so to find out the number of rows needed to reach your desired length of 150cm, you multiply 1.3 by 150cm, which gives you 195 rows.
We don’t have a row multiple here, but if you do, remember to account for it in your rounding.
Put it all together
So now you know that you need to work 51 stitches and 195 rows to make your scarf measuring 28cm wide by 150cm long.
All there is to do now is get comfy, pick up your hook and start crocheting!
You can use this method to work out the stitch and row counts for any crochet fabric.
Using gauge to adjust patterns
You can also use this method to adjust existing patterns to fit your needs.
You just need to make sure of your gauge and the stitch and row repeat multiples.
Decide you want to increase the width by 10cm, then you can make the calculations to decide how many stitches (or rows) to add to adjust the pattern. Deciding where to put these increases is a whole other tutorial but this article on distributing increases and decreases might be helpful to you if that’s the route you want to go down.
How to use gauge for shaping
Once you’ve got the basics of using gauge to calculate your stitch and row counts using the method described, you can use it to shape crochet fabric.
I have outlined the basic approach to shaping below;
This time, lets you’re making a skirt in rounds and you want it narrower at the waist than the hem.
Use the method above to work out the number of stitches you need around the waist and the number you need at the hem.
Subtract the waist count from the hem count and you’ll know how many stitches you need to increase by (assuming you’re working waist down) over the length of the skirt.
Calculate the number of rows you’ll need for the skirt (based on how long you want it to be).
Decide how you distribute those increases over the length of the skirt. For example, 1 increase row every 4 rows (this is designers prerogative again!), and you are away!
That is a basic introduction to shaping only as the focus of this post is to learn the principle of using gauge to work out your stitch counts. I have added it just to give you an idea of what is possible once you understand the basics!
I hope you found this post useful and it has increased you’re understanding about how to use gauge.
If you’re interested in crochet design, you may also want to check out my other posts for freestylers and budding designers by selecting design tips from the drop down menu.
Happy Hooking!
Dx
Copyright Dora Does Limited, Registered in England, Company Number 13992263. This pattern is for personal use only and may not be shared or reproduced in written, photo, video or any other form without prior written consent. All rights reserved. Terms of service.


when i used my gauge to calculate how many stitches would be in the width of my final project i made the chains but they measure much longer than my required measurement. im not doing any shaping this time just a shapeless body piece. the gauge is 18 stitches and 19 rows over 4 inches and the required width is 23 inches. everytime i start the chains equal to 28 inches in width. am i doing something wrong?
The gauge of your starting chain is never going to match the gauge of your stitch pattern. This is part of the reason gauge is measured over a 10cm / 4in area – because it will vary row by row, so measuring just one row is meaningless really. You need to wait until the fabric is larger. The edges of your swatches should never be included in your gauge measurement for this reason too. If you are working with the same materials as you swatched in then I would trust the process. Check your gauge again after you’ve worked a few inches to see if it more closely matches your swatch. I hope that helps.