How to crochet ribbing with post stitches (A directory of rib stitches part 2)
In part 2 of my crochet ribbing directory, I look at how you can crochet ribbed fabric using front and back post stitches. I include written instructions for each technique, photos from above and close up, and any tips or tricks to help you make the most of the stitch pattern.
If crochet ribbing is new to you, I recommend you start with the first part of this series which introduces the concept, including what to think about when crocheting rib stitches. It also shows you how to crochet ribbed fabric using front loops, back loops and slip stitches.
Post stitches, referred to as Raised stitches in UK crochet terms, are created by working your stitch around the ‘post’ of the stitch in the row below, rather than into the top loops as you would with a traditional stitch.
This post will assume basic knowledge of post stitches, but I will also share some tips on how I work with them throughout.
If you’re new to crocheting post stitches, you can find a tutorial for front and back post stitches here and for those not sure about the terminology used for the parts of a crochet stitch, this article on stitch anatomy might help.
You can also find a range of crochet patterns using post stitches here.
As with the original post on ribbing, all the swatches you see below are worked with the same number of stitches and rows: 12 stitches and 20 rows for each swatch (which is what the instructions relate to). Equally, the overhead images of the swatches are taken with the camera in exactly the same position.
This helps give you an idea of how the different techniques compare to one another. Though for the best direct comparison, I recommend you check out the video which also illustrates how the move, stretch and bounce back.

This post contains affiliate links. This means if you click a link to a product and go on to make a purchase, I receive a small percentage of the sale at no extra cost to you. You can read my full affiliate disclosure here. As an Amazon Associate I earn from qualifying purchases.
Horizontal vs Vertical Crochet Ribbing
There are two ways to approach crocheting ribbing using post stitches. You can either make rib run vertically or horizontally. This is important to know as it will impact where and how you might want to apply the techniques.
Horizontal ribbing is where the rib is created by the stitches. So the length of the rib depends on the number of stitches. All of the techniques in part one were worked horizontally.
Vertical ribbing is where the rib is created in rows. So the number of rows determines the length of the rib.
You can create some really interesting pattens when you combine these two together, as with the Building Blocks pillow and throw pattern. But best not get disappear down that rabbit hole right now!
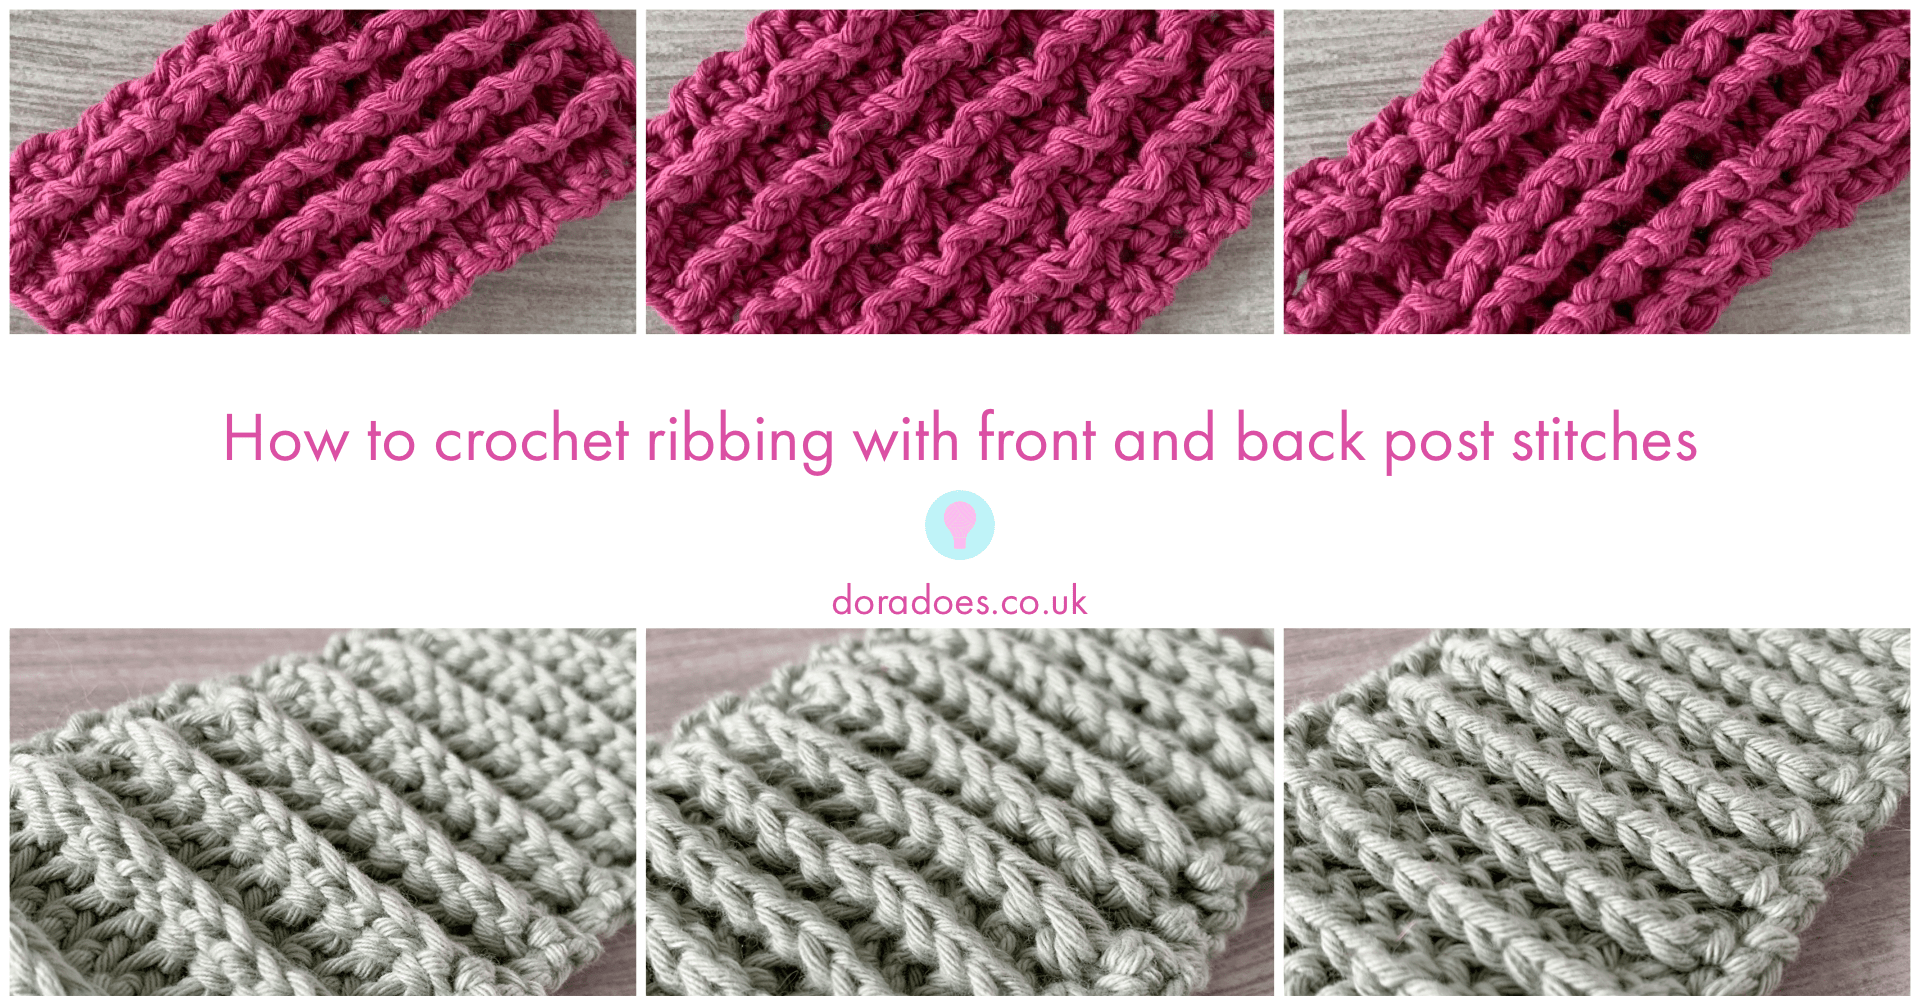
I’ve split this guide into vertical and horizontal ribbing stitches, with the horizontal rib swatches in ‘Pistachio Green’ colour cotton and the vertical rib made in the Raspberry Pink cotton.
In both cases, I have used Paintbox Aran Cotton and not blocked or prettied up the swatches in any way. This is to ensure you see the stitch pattern in its rawest form. You will find that the look of the rib will change slightly with different fibres and hook sizes (a smaller hook gives a tighter rib).
I have also added some images of the stitch patterns crocheted in a beige coloured aran wool yarn so you get an idea of how the look can change with different fibres.
I’ve started with the vertical ribbing techniques as these are where the post stitch most differentiates itself – in my opinion at least!
Stitches and Abbreviations
Below are the stitches and abbreviations used in this post, which are given in US terms (UK terms in brackets)
- ch = chain
- dc = double crochet (UK treble crochet)
- hdc = half double crochet (UK half treble crochet)
- sc = single crochet (UK double crochet)
- fpdc = front post double crochet (UK raised treble front)
- fphdc = front post half double crochet(UK raised half treble front)
- fpsc = front post single crochet (UK raised double crochet front)
- bpdc = back post double crochet (UK raised treble back)
- bphdc = back post half double crochet(UK raised half treble back)
- bps = back post single crochet (UK raised double crochet back)
- st(s) = stitch(es)
Turning chains do not count as stitches.
Front and back are used here as relative terms and always relate to the front or back whilst your work is facing you.
Note that the images you see are worked left handed so if you’re a right handed crocheter you will se a mirror image. Though in this case there is no significant difference.
Crochet Tip: Mixing post stitches with non-post stitches
Lastly, before I get stuck in, I wanted to talk about how you can successfully combine post stitches with traditional stitches. This isn’t specific to ribbing but it’s worth mentioning.
You will see in the first example below, that I have worked an hdc at the start and end of each row of double crochet post stitches. This is because the height of the stitch is shortened when you work it around a post. So a front post double crochet is actually about the same height as a normal half double crochet.
When mixing post stitches with traditional stitches, I recommend working the traditional stitch one ‘step’ shorter than the type of post stitches . This will stop any post areas pulling in.
In the examples using half double crochet, I have worked hdc at the edges of rows using hdc post stitches as a way to illustrate the difference this can make. I’ll point this out as I go. It’s not super obvious over a small swatch but if you’re working something larger this will become quite noticeable so it’a definitely something you will want to be mindful of.
Video: Crochet post stitch ribbing techniques compared
This video shows you how the ribbing techniques I discuss below look, move and stretch. This can express more than the static images so is definitely worth a look!
Crochet Ribbing Video Tutorial
You can find a video tutorial for the main rib stitches described here and in Part 1 of my crochet rib stitch directory in the video tutorial below.
Each of the different styles is timed stamped so you can watch them all or jump right to the one you prefer.
Right handed crochet rib stitch tutorial:
Left handed crochet rib stitch tutorial:
Vertical crochet ribbing techniques with post stitches
Technique 1: Alternating front and back post crochet stitches
Alternating between front and back post stitches is probably the most common way to create a ribbed fabric with post stitches. It has a nice stretch and a reasonable amount of elasticity (it bounces back). The smaller the hook you use relative to your yarn, the more elastic the rib should be.
Below I will show you swatches for this technique using 3 of the most basic crochet stitches, and remind you that this post is an exploration so not every swatch turned out as expected. You’ll learn why as you read!
For the vertical post stitch ribbing, I have worked a non-post stitch at the beginning and end of each row to ‘frame’ the stitch pattern and keep it neat.
Alternating front and back post double crochet – fpdc/bpdc (UK raised treble front / raised treble back – RtrF / RtfB)
I’ve started with dc as this is probably the most common form of front/back post crochet ribbing.
Row 1: Ch14, 1dc in third ch from hook and each st to end, turn. 12 sts
Row 2: Ch2, 1hdc in first st, *1fpdc in next st, 1bpdc in next st; rep from * to one from end, 1hdc in last st, turn.
Repeat Row 2 for pattern.

You can see that as your rows build up, the post stitches stack on top of each other to create columns of ribs.
This creates a thick reversible fabric with deep troughs between the ridges of ribbing.

The stitch multiple I have worked with here is 2+2 for this one but can work with any numbers – just keep alternating and make sure front post sts are worked in back post sts and vice versa when you turn.
This type of ribbing stretches horizontally (along the stitches) rather than vertically along the rows.
Alternating front and back post half double crochet – fphdc / bphdc (UK raised half treble front and back – RhtrF / RhtrB)
Row 1: Ch14, 1hdc in third ch from hook and each st to end, turn. 12 sts
Row 2: Ch2, 1hdc in first st, *1fhdc in next st, 1hpdc in next st; rep from * to one from end, 1hdc in last st, turn.
Repeat Row 2 for pattern
Here you see the technique in a wool yarn

Here’s what the same technique looks like when using front and back post half double crochet.

You can see that this is a more compact version of the double crochet swatch. I love this for it’s neatness and I think you get a little better elasticity with it. You certainly get fewer gaps when it is stretched.

This too is a reversible dense fabric which can be worked with any stitch multiple.
Again, seen below using a wool yarn

Tips for working half double crochet post stitches
When I was creating these swatches, I had a bit of a brain freeze about working half double crochet post stitches. I feel like I may not be alone with this, so I wanted to take a diversion and share this before continuing with the rib techniques.
When working round the post of a single crochet, you actually work kind of into the top loops front to back / back to front (a bit like you would when working a slip stitch). When working a front or back post double crochet, you work a little lower down the post, under what is called the 3rd loop.
When I started the half double crochet post stitches, I started just working under the top loops (above the 3rd loop), then had a moment and switched to working under the 3rd loop.
I began to question myself as I couldn’t remember which was ‘right’. I even text a crochet friend for a sense check. I ended up looking up some tutorials on YouTube to check myself… interestingly of the three I watched, two worked under the 3rd loop and one worked above it.
Hopefully the images below show the difference – the first image shows the hook under the 3rd loop, the second above it. (Again, if you’re not familiar with the 3rd loop, check out this post on crochet stitch anatomy)


In the end, I ripped out the swatch and started over. I chose to work under the 3rd loop as this gives a more pronounced post. But so long as you are consistent, you do what you prefer. The difference between the two is visible but not huge.
Okay. Back to ribbing!
Alternating front and back post single crochet – fpsc / bps (UK raised double front and back – RdcF / RdcB)
To continue in the back post front post theme, I made a swatch alternating front and back post single crochet.
I won’t go into detail more than that because this one is not really for me…

It creates an interesting texture for sure, but I’m not sure I would call it ribbing. Really there just isn’t enough ‘post’ on a single crochet to create the cable look you get with taller stitches
I also find working back post single crochet very fiddly, so I’ll be saving myself that frustration!
Double front post / back post ribbing
I wanted to give you some further ideas on how you can use this alternating front and back post stitch technique in other ways. So I tried another variation.
I hooked up a swatch of what I’ve called double post ribbing (there may well be a better / existing term!). Here I worked 2 fpdc next to each other then 2 bpdc. Then on the next row, I worked bpdc into the fpdc and fpdc into the bpdc.

This one has 3 rows of double ribbing on the side you see, but when you turn it over there are 2 rows of double ribbing (these are the inset parts between the sticky out ribbing on the image you can see).
If I had worked with a multiple of 4+2 then it would be reversible. My swatch it isn’t quite the same both sides, but you get the gist I hope!

I love the definition that this technique brings. I think it would look great in a big blanket or maybe even as a feature on a sleeve. All the ideas!
Technique 2: Alternating post stitches with normal stitches
This is another great way to create a ribbed effect. However, it can really only be used for decorative purposes. The stitch combo does not create the density and resistance between stitches to create the elasticity the front/back stitch combinations have.
Alternating post double crochet and half double crochet (Raised trebles and half trebles)
Row 1: Ch14, 1dc in third ch from hook and each st to end, turn. 12 sts
Row 2: Ch2, 1hdc in first st, *1fpdc in next st, 1hdc in next st; rep from * to one from end, 1hdc in last st, turn.
Row 3: Ch2, 1hdc in first st, *1hdc in next st, 1bpdc in next st; rep from * to one from end, 1hdc in last st, turn.
Repeat Rows 2 and 3 for pattern.


I do really like the look of this stitch. it would look great in blankets, accessories or sweaters, and is a great way to practice working with post stitches.

Here’s what it looks like on the back. It’s quite a pretty texture in itself, but the smooth finish means this stitch would work well with something that needs to lie flat on one side.

This one works with any stitch multiple, just make sure you work hdc in hdc and fp in bp and bp in fp as you alternate rows. You can also used this technique with half double crochet, treble crochet or taller stitches.
I tried this one with a front post single crochet too… like the front post back post option, it just came out a mess of meh… I didn’t even get through the swatch so I won’t waste internet space with an image!!
Crocheting horizontal ribbing with post stitches
Now I want to look at creating ribbing using horizontal stitches. These swatches build ribs along the rows so the length of the row (number of stitches) = the length of the rib
Once again, as a reminder each swatch is made of 12 sts and 20 rows with a non post stitch at either end of the row for a neater finish. (This is with the exception of the hdc swatch, but you’ll see why when you get there!).
Technique 3: Working front post stitches in rows
Much like the first part of my crochet rib directory, I will go through the classic crochet stitches in post version to show you the differences. This time I start with front post single crochet and work with progressively taller stitches.
This approach produces a ‘knit-look’ effect similar to some of the back loop only techniques, though the fabric is generally denser. That’s because the rib look is created by pushing the top of the stitches from the previous rows out to the front.
Front post single crochet rib stitch – fpsc (UK raised double crochet front – RdcF)
Row 1: Ch13, 1sc in second ch from hook and each st to end, turn. 12 sts
Row 2: Ch1, 1sc in first st, 1fpsc in each st to 1 from end, 1sc in last st, turn
Repeat Row 2 for pattern

At last… a super effective way to use front post single crochet in ribbing! I really like how this one looks.
The dense fabric is reversible and stretches between the rows, with good elasticity.


Front post single crochet are worked around the top part of the stitch (as mentioned when l talked about working half double crochet post stitches), so you can get away with working single crochets at the beginning and end of the rows and still keeping the work flat.
Front post half double crochet ribbing – fphdc (UK raised half treble front / RhtrF)
Row 1: Ch13, 1hdc in second ch from hook and each st to end, turn/ 12 sts
Row 2: Ch1, 1hdc in first st, 1fphdc in each st to 1 from end, 1hdc in last st, turn
Repeat Row 2 for pattern

In this example, I worked hdc at the beginning and end of the rows and, as a result, the centre of the swatch pulls up compared to the edges. It illustrates why you need to shorten the non-post stitches to match the height of the post stitches.

It also shows the potential there is in the swatch for elasticity!
When you get close up like in the image below you get a good idea of the density of the fabric.

Front post double crochet rib stitch – fpdc (UK raised treble crochet front / RtrF)
Row 1: Ch14, 1dc in third ch from hook and each st to end, turn. 12 sts
Row 2: Ch2 (does not count as st throughout), 1hdc in first st, 1fpdc in each st to 1 from end, 1hdc in last st, turn
Repeat Row 2 for pattern
Here is the version using front post double crochet:


I’m fond of the depth in this one. It’s reversible and I think, worked with a large hook, it would make a lovely chunky winter scarf.

Front post single crochet alternating with single crochet rows
Always one to experiment, I wanted to explore whether combining post stitches and non post stitches between rows (not just between stitches as with technique 2) would work.
I tried alternating rows of single crochet with rows of front post single crochet. I did achieve a beautiful ribbed pattern (on one side only), but that infamous lean was back and after just 10 rows, I ended up with a rhombus!

This lean may block out to some degree, but if you are looking for straight edges over a larger area then this may prove problematic. I would use it for a couple of rows but not much more.
So there we have it!
I hope you have found this post useful and if there are any other ribbing techniques that you know about which I haven’t covered here or in part 1 of my directory, I would love to know about them! Drop me a comment!!
Happy Hooking
Dx
Crochet patterns using post stitches
Copyright Dora Does Limited, Registered in England, Company Number 13992263. This pattern is for personal use only and may not be shared or reproduced in written, photo, video or any other form without prior written consent. All rights reserved. Terms of service.


