
The Building Blocks cushion: Free crochet pillow pattern

How do you build something great? By starting with a single block!
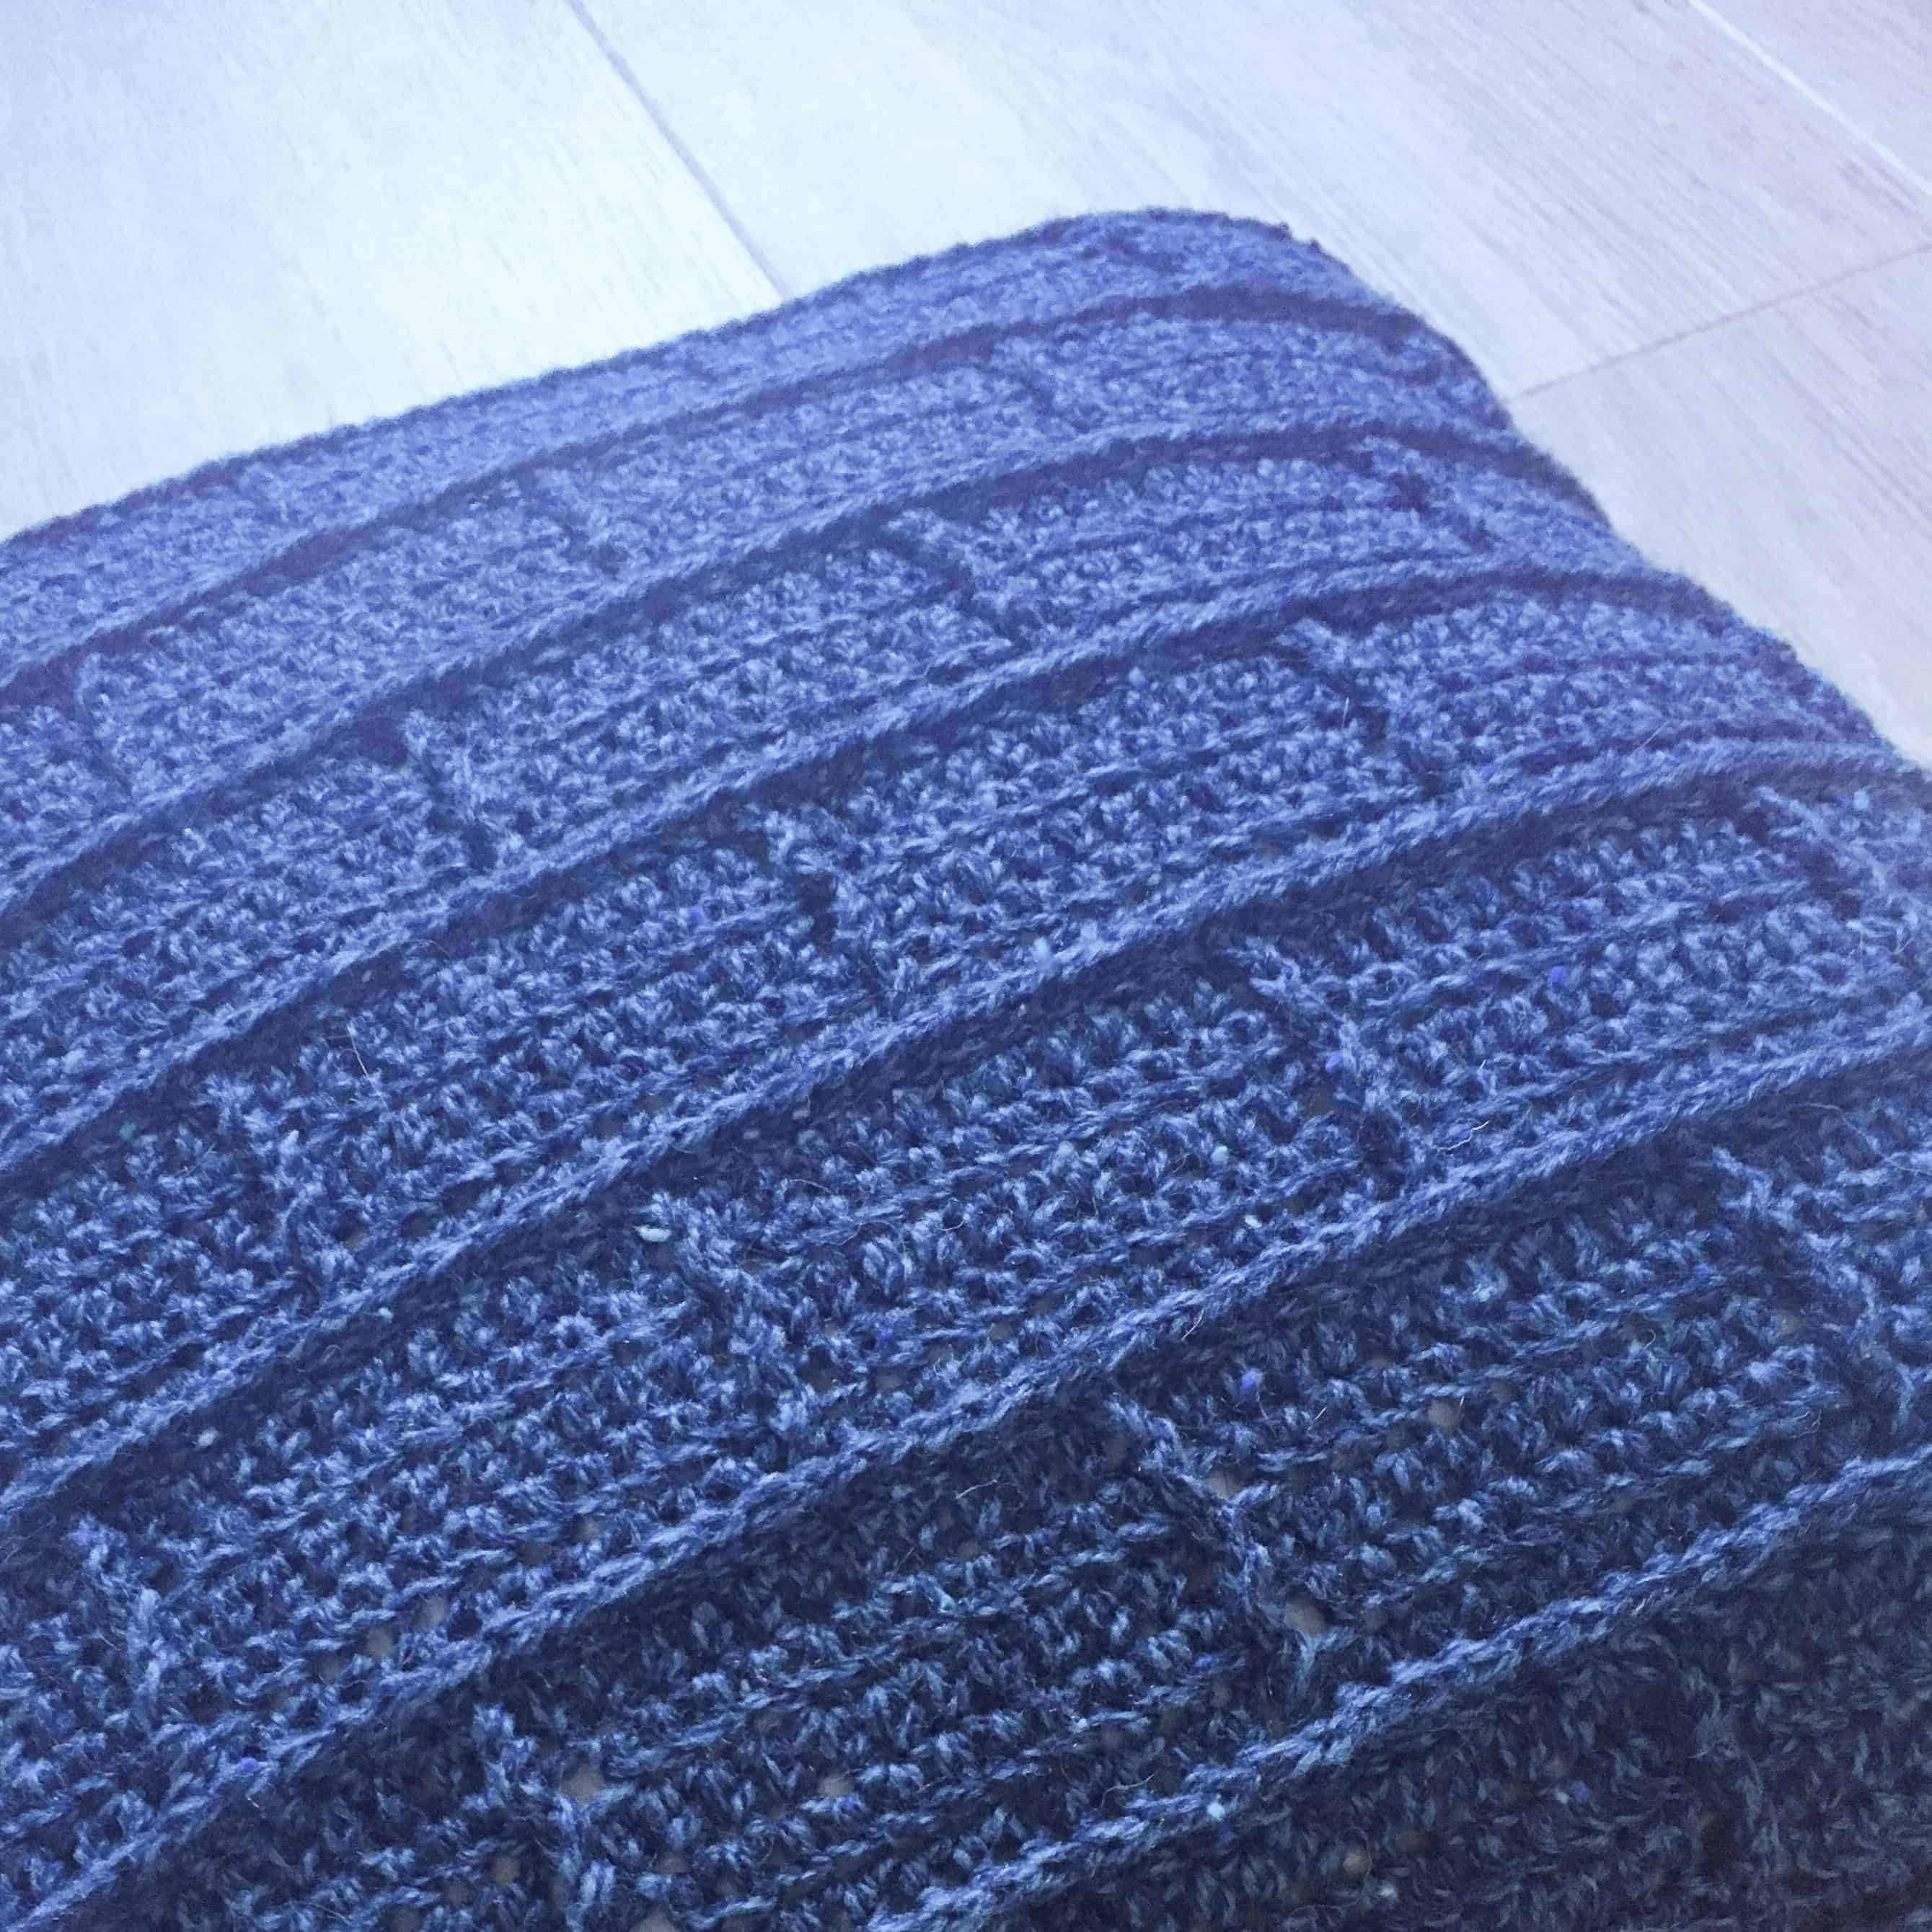
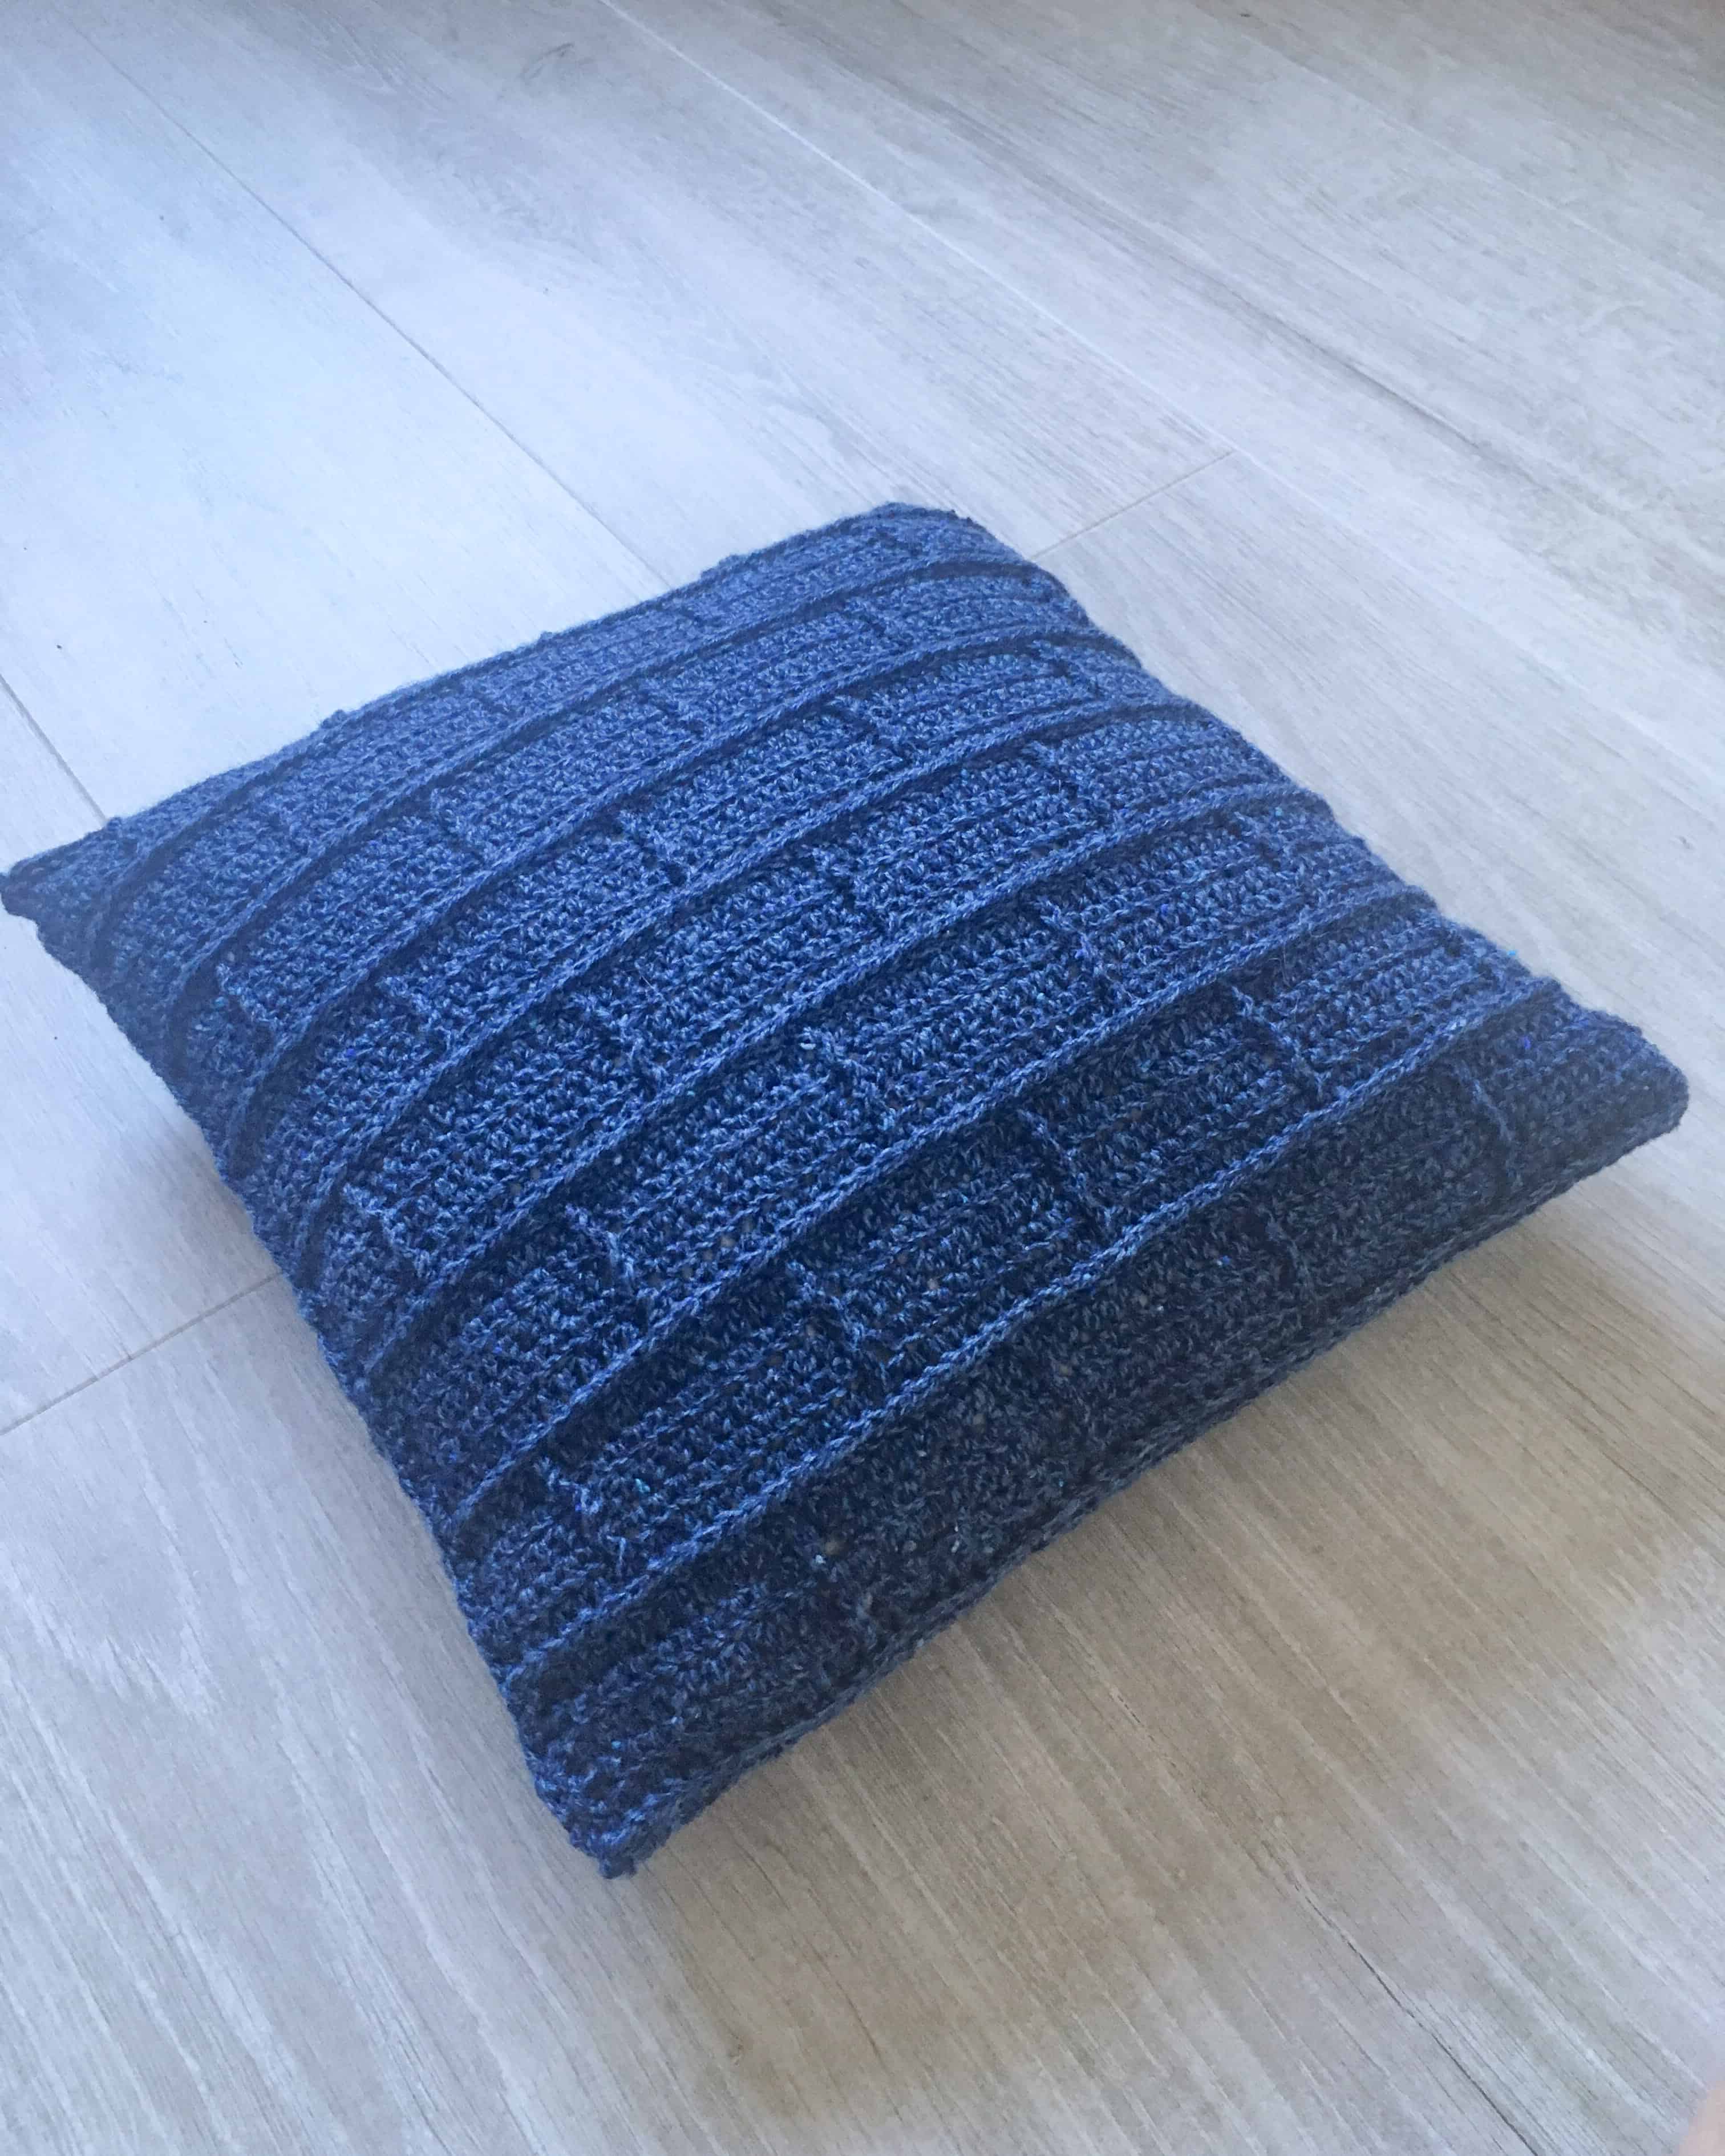
This tactile cabled crochet scatter cushion makes a home decor building block brick wall look for any contemporary living or bedroom.
This tactile crochet pillow pattern creates a simple, masculine brickwork effect which will look great in any modern home. Change up the yarn fibres and colours to create a different aesthetic to suit your personal style and preference.
I gifted the crochet pillow pictured to one of my brothers, and chose the colour to suit his style. It was right up his street and sits in pride of place on his couch! (I just need to crochet him a throw to go with it now!)
If you want to adjust the free crochet pattern yourself to crochet a blanket using the same stitch pattern, you can adjust the starting row by the stitch multiple listed in the pattern notes. This post on crochet blanket sizes by gauge may also help you in deciding what size to make,
You can also purchase an ad-free PDF version of the pattern on Ravelry, Love Crafts Crochet or Etsy, which includes more specific instructions to crochet a throw using the same stitch and yarn.


This post contains affiliate links. This means if you click a link to a product and go on to make a purchase, I receive a small percentage of the sale at no extra cost to you. You can read my full affiliate disclosure here.



Pattern Notes
- This pattern uses US crochet terms
- Numbers at the end of a row indicate the number of stitches in that row
- Turning chains to not count as stitches
- Instructions written between [square brackets] should be repeated the number of times indicated
- Unless otherwise indicated stitches should be worked in consecutive stitches
- The pattern is worked using a foundation row in a stitch multiple of 12 plus 1sts (learn how stitch multiples work here)
- The pattern is worked in two identical pieces from the bottom up which are then joined together using the single crochet join as you go method to seam them (with a modification given)
Skills used
Once you get used to the pattern repeat this is a relatively easy crochet pillow pattern that works up quickly using simple stitches for the majority of the pattern.
It’s also a chance for you to practice working with post stitches without any complex cabling.
- This pattern is suitable for adventurous beginners and intermediate crocheters
- Knowledge of basic crochet stitches is assumed
- Foundation rows are used – you can see a tutorial, including videos for this technique here and a full description in the special stitches section below. Modifications are given for those preferring to use chains to start their work instead
- This pattern uses the join as you go method. A modification option is included if you do not wish to use this technique
- Front and back post (UK Raised stitches) stitches create the cable pattern – learn about post stitches here

Materials
Crochet Hook
You will need a 4mm crochet hook or size needed to match gauge (I used my clover amour).
Yarn Requirements
For the cushion only you. Will need approximately 465 m / 510 yards double knit yarn. If you wish to make a large throw too (as described in the PDF version of the pattern), you will need a further 3100m / 3400 yds.
The item pictured used Sirdar Harrap Tweed Dk, 40% nylon, 30%wool, 24% acrylic, 6% viscose, 50g = 155m / 170 yds, Shade: Hepworth (For the Cushion pictured, that is equivalent to 3 x 50g balls / 150g)
Yarn Substitution Options
Any similar dk yarn can be used which meets the gauge.
Other weight yarns can also be used but this will change the size of the panels or the throw, so make sure it fits your cushion pad.
If you’re looking to make a blanket, you may prefer to work with a heavier yarn weight as this will work up faster!
You may find this post helpful when choosing your yarn.
Other materials and notions
- 40cm / 16in square cushion Pad – The item pictured is made to fit a 40cm / 16in square cushion pad
- Tape measure
- Yarn needle
- Scissors
- You may wish to block your panels, in which case I suggest blocking mat and pins – learn more about blocking here
How to purchase a Dora Does crochet pattern:
I sell my PDF crochet patterns in my Etsy, Ravelry and Love Crafts stores. You can purchase this pattern on any of these platforms, depending on your preference. Simply click the relevant links throughout this pattern page to be taken to the listing, or visit the store homepages in the links at the start of this paragraph.
Finished Measurements
Cushion: Each of the two pieces measures around 15in (37.5cm) square and will stretch to fit a cushion or 16in (40cm) square
To change the size of the throw / blanket, add or remove a stitch multiple of 12 from the foundation row and alter the number or row repeats as required.
You can learn more about stitch multiples here.
Gauge
16 sts and 12 rows in 10cm / 4in of half double crochet (hdc) worked in rows with a 4mm hook or size needed to obtain gauge.
In order to ensure that your cushion fits the same size cushion pad, it’s important to check that you match gauge for this pattern. Changes in tension / gauge will lead to changes in the finished size of your item.
Learn how to make and measure a gauge swatch here.
Stitches & Abbreviations: US terms
(UK Equivalent in Brackets)
- ch = chain
- bpdc = back post double crochet
- fpdc = front post double crochet
- fphdc = front post half double crochet
- hdc = half double crochet (UK half treble)
- jayg = join as you go
- rep = repeat
- RS = Right Side
- sc = single crochet (UK double crochet)
- ss = slip stitch
- st(s) = stitch(es)
- WS = Wrong side
- yo = yarn over
Special Stitches
Foundation Half Double Crochet (fhdc)
This is used to replace a foundation chain. You create the base chain and fist stitch (hdc) at the same time so you don’t need to work into a chain. It gives a very neat finish and has more stretch than a standard starting chain.
You can find tutorials and read more about foundation rows here.
Ch 3, yo, insert hook into 3rd chain from hook, yo and pull up a loop (3 loops on hook). *Yo and pull through 1 loop (this creates the base stitch of the next fhdc). Yo and pull through all 3 loops. To start the next st, yo and insert the hook into the v of the base stitch, yo and pull up a loop (3 loops on hook)*. Repeat from * for required number of st.
Modification: This technique can be replaced with making a chain of the number of stitches plus 2, working an hdc in the 3rd chain from the hook and across to achieve the required number of stitches.
Post stitches
The pattern works with front and back post stitches (UK raised stitches) of various heights. You can learn more about post stitches in this article.
Front Post Double Crochet (fpdc)
Yo, insert hook behind the post of the stitch from the row below (from front to back, so the post is in front of the hook), yo pull up a loop, *yo, pull through two loops* twice
The post will pull towards you as you work to create the cable effect.
Front Post Half Double Crochet (fphdc)
Yo, insert hook behind the post of the stitch from the row below (from front to back, so the post is in front of the hook), yo pull up a loop, yo, pull through all three loops.
The post will pull towards you as you work to create the cable effect.
Back Post Double Crochet (bpdc)
Yo, working from the back of the fabric, insert hook in front of the post of the stitch from the row below (from back to front, so the post is at the back of the hook), yo pull up a loop, *yo, pull through two loops* twice.
Join As You Go (JAYG)
You will join the two pieces using the single crochet join as you go method. Place the two pieces together right side out and work a single crochet through the front piece, inserting the hook into the back piece before the last yarn over and pulling through all 3 loops to finish the stitch.
Modification: If you are not familiar with jayg, work a row of single crochets around each piece and stitch together using a tapestry needle.
See joining section for more detailed instructions.
Purchase the ad-free PDF crochet pattern on Ravelry, Love Crafts Crochet or Etsy,
The Building Blocks Cushion Pattern
Pillow Panel
Make 2
With 4mm hook
Row 1: (RS): Work 61fhdc (61 sts – stitch count does not change throughout)
Row 2: Ch2 (does not count as stitch here or throughout), 1fphdc in each st to end, turn
Row 3: Ch2, 1hdc in next 6 sts, [1fpdc, 1hdc in next 11 sts] 4 times, 1fpdc, 1hdc in next 6 sts, turn
Row 4: Ch2, 1hdc in next 6 sts, [1bpdc, 1hdc in next 11 sts] 4 times, 1bpdc, 1hdc in next 6 sts, turn
Row 5: Rep row 3
Row 6: Rep row 4
Row 7: Rep row 3
Row 8: Rep row 2
Row 9: Ch2, starting in first st, [1fpdc, 1hdc in next 11 sts] 5 times, 1fpdc in last st, turn
Row 10: Ch2, starting in first st, [1bpdc in first st, 1hdc in next 11 sts] 5 times, 1bpdc in last st, turn
Row 11: Rep row 9
Row 12: Rep row 10
Row 13: Rep row 9
Row 14: Rep row 2
Rows 15- 50: Rep Rows 3-14
Row 51: Ch2, 1hdc in each t to end
Fasten off
You may wish to block your pieces to ensure they are of equal size, that the cabling is straight and you have a clean and neat brick effect.
Joining
JAYG
Place two pieces with RS facing outwards.
Join using jayg single crochet along the top, working 3 sts in the corner, down the side, working approximately 3 sts for each 2 rows, work 3 sts in the corner, join along the bottom, work 3 sts into the corner, insert cushion pad without fastening off, continue joining the final side with the cushion pad inside, work 2 sts in final corner and join with ss to the first sc.
Using Single Crochet and Tapestry Needle
With RS facing you, work a row of sc around the square piece, working 1sc in each st along the top and bottom, 3 sts in each corner and approx 3 sc for each two rows along the sides. Make sure you have the same number of sts on each piece.
Using a tapestry needle, stitch together the two pieces with RS facing around 3 sides, insert the cushion pad and sew up the final side
Fasten off, sew in ends
Plump up your pillow and get comfy!
Happy Hooking!
Dx
Copyright Dora Does Limited, Registered in England, Company Number 13992263. This pattern is for personal use only and may not be shared or reproduced in written, photo, video or any other form without prior written consent. All rights reserved. Terms of service.
I’m probably being thick, but I can’t get the math to work out for this pattern. There are 61 stitches in total. Row 3 instructs 6 hdc at the beginning and 6 hdc at end. That’s 12 stitches. In between there are 4 repeats of 11 stitches which is 44. That equals 56 stitches in total. Please help! Is there a typo? Thanks
I think you hav just forgotten to count the post stitches 🙂
Doh, I had missed the comma after 1fpdc 🙄. Thank you ☺️
easily done 🙂
Thank you for sharing. That’s a nice, textured pattern. I think it would make a nice house-warming or off-to-college gift in whatever color suits the recipient.
Absolutely! I’m glad you like it 😊