Thank Scrunchie it’s Friday! – Free crochet Scrunchie Pattern
Another Friday has come around, which is fast becoming my new release day, and this week it’s a 100% free pattern!
One of the things I love about crochet is it’s versatility. There’s not much you can’t make with it and if you can’t make it then you can yarnbomb it.
After a very random conversation, sparked by an Instagram story about scrunchies making a come back along with the rest of the 90’s, I realised I could totally just crochet one.


Disclaimer: Whilst I endeavour to ensure all patterns are error free, occasional typos or errors may slip through. No liability is accepted for this or subsequent variation in finished projects. However, please do contact me if you think the pattern contains an error or you are unsure about interpreting the instructions.
Information in this crochet pattern is given for reference only. Any reliance on information given in this document and associated reference materials is at your own risk. This pattern falls under Dora Does Terms of Service
I often get what I refer to as “hair headaches” from having my hair up too tight all day and find that scrunchies are a good way round this.
Is that just me or does anyone else get this, or just me?
How good does it fell to literally let your hair down at the end of the day?
So anyway, I gave it a go… and it worked!
The crochet scrunchie is such a fun, easy project that I had to share it asap. It’s a really nice make for beginners and only uses a small amount of yarn so is also a great stash-buster.
Is it too early to mention it would make a great stocking filler?
I’ve written the pattern with picture guide below, and I also recorded a tutorial when I made the second one.
You can see the video tutorial on my YouTube channel or by scrolling down. Like me, it is left handed but so long as you have the crochet basics down, it’s easy to follow either way round!
There are a lot more tutorials currently in editing so go ahead and subscribe to my channel and watch this space for more! Oh, and if there’s anything you want to see, please let me know and I’ll see what I can do!
Self promo over, have all the scrunchie fun with this make and let me know how it works out for you. As always you can contact me on any of my socials!
Have a great weekend.
Happy Hooking!
Dx
You can buy an ad-free printable pdf of this pattern on Ravelry. For the free pattern, continue reading!
Materials
You can use any yarn you like with an appropriate hook. I have used a hook on the small end of what is recommended to keep the fabric dense.
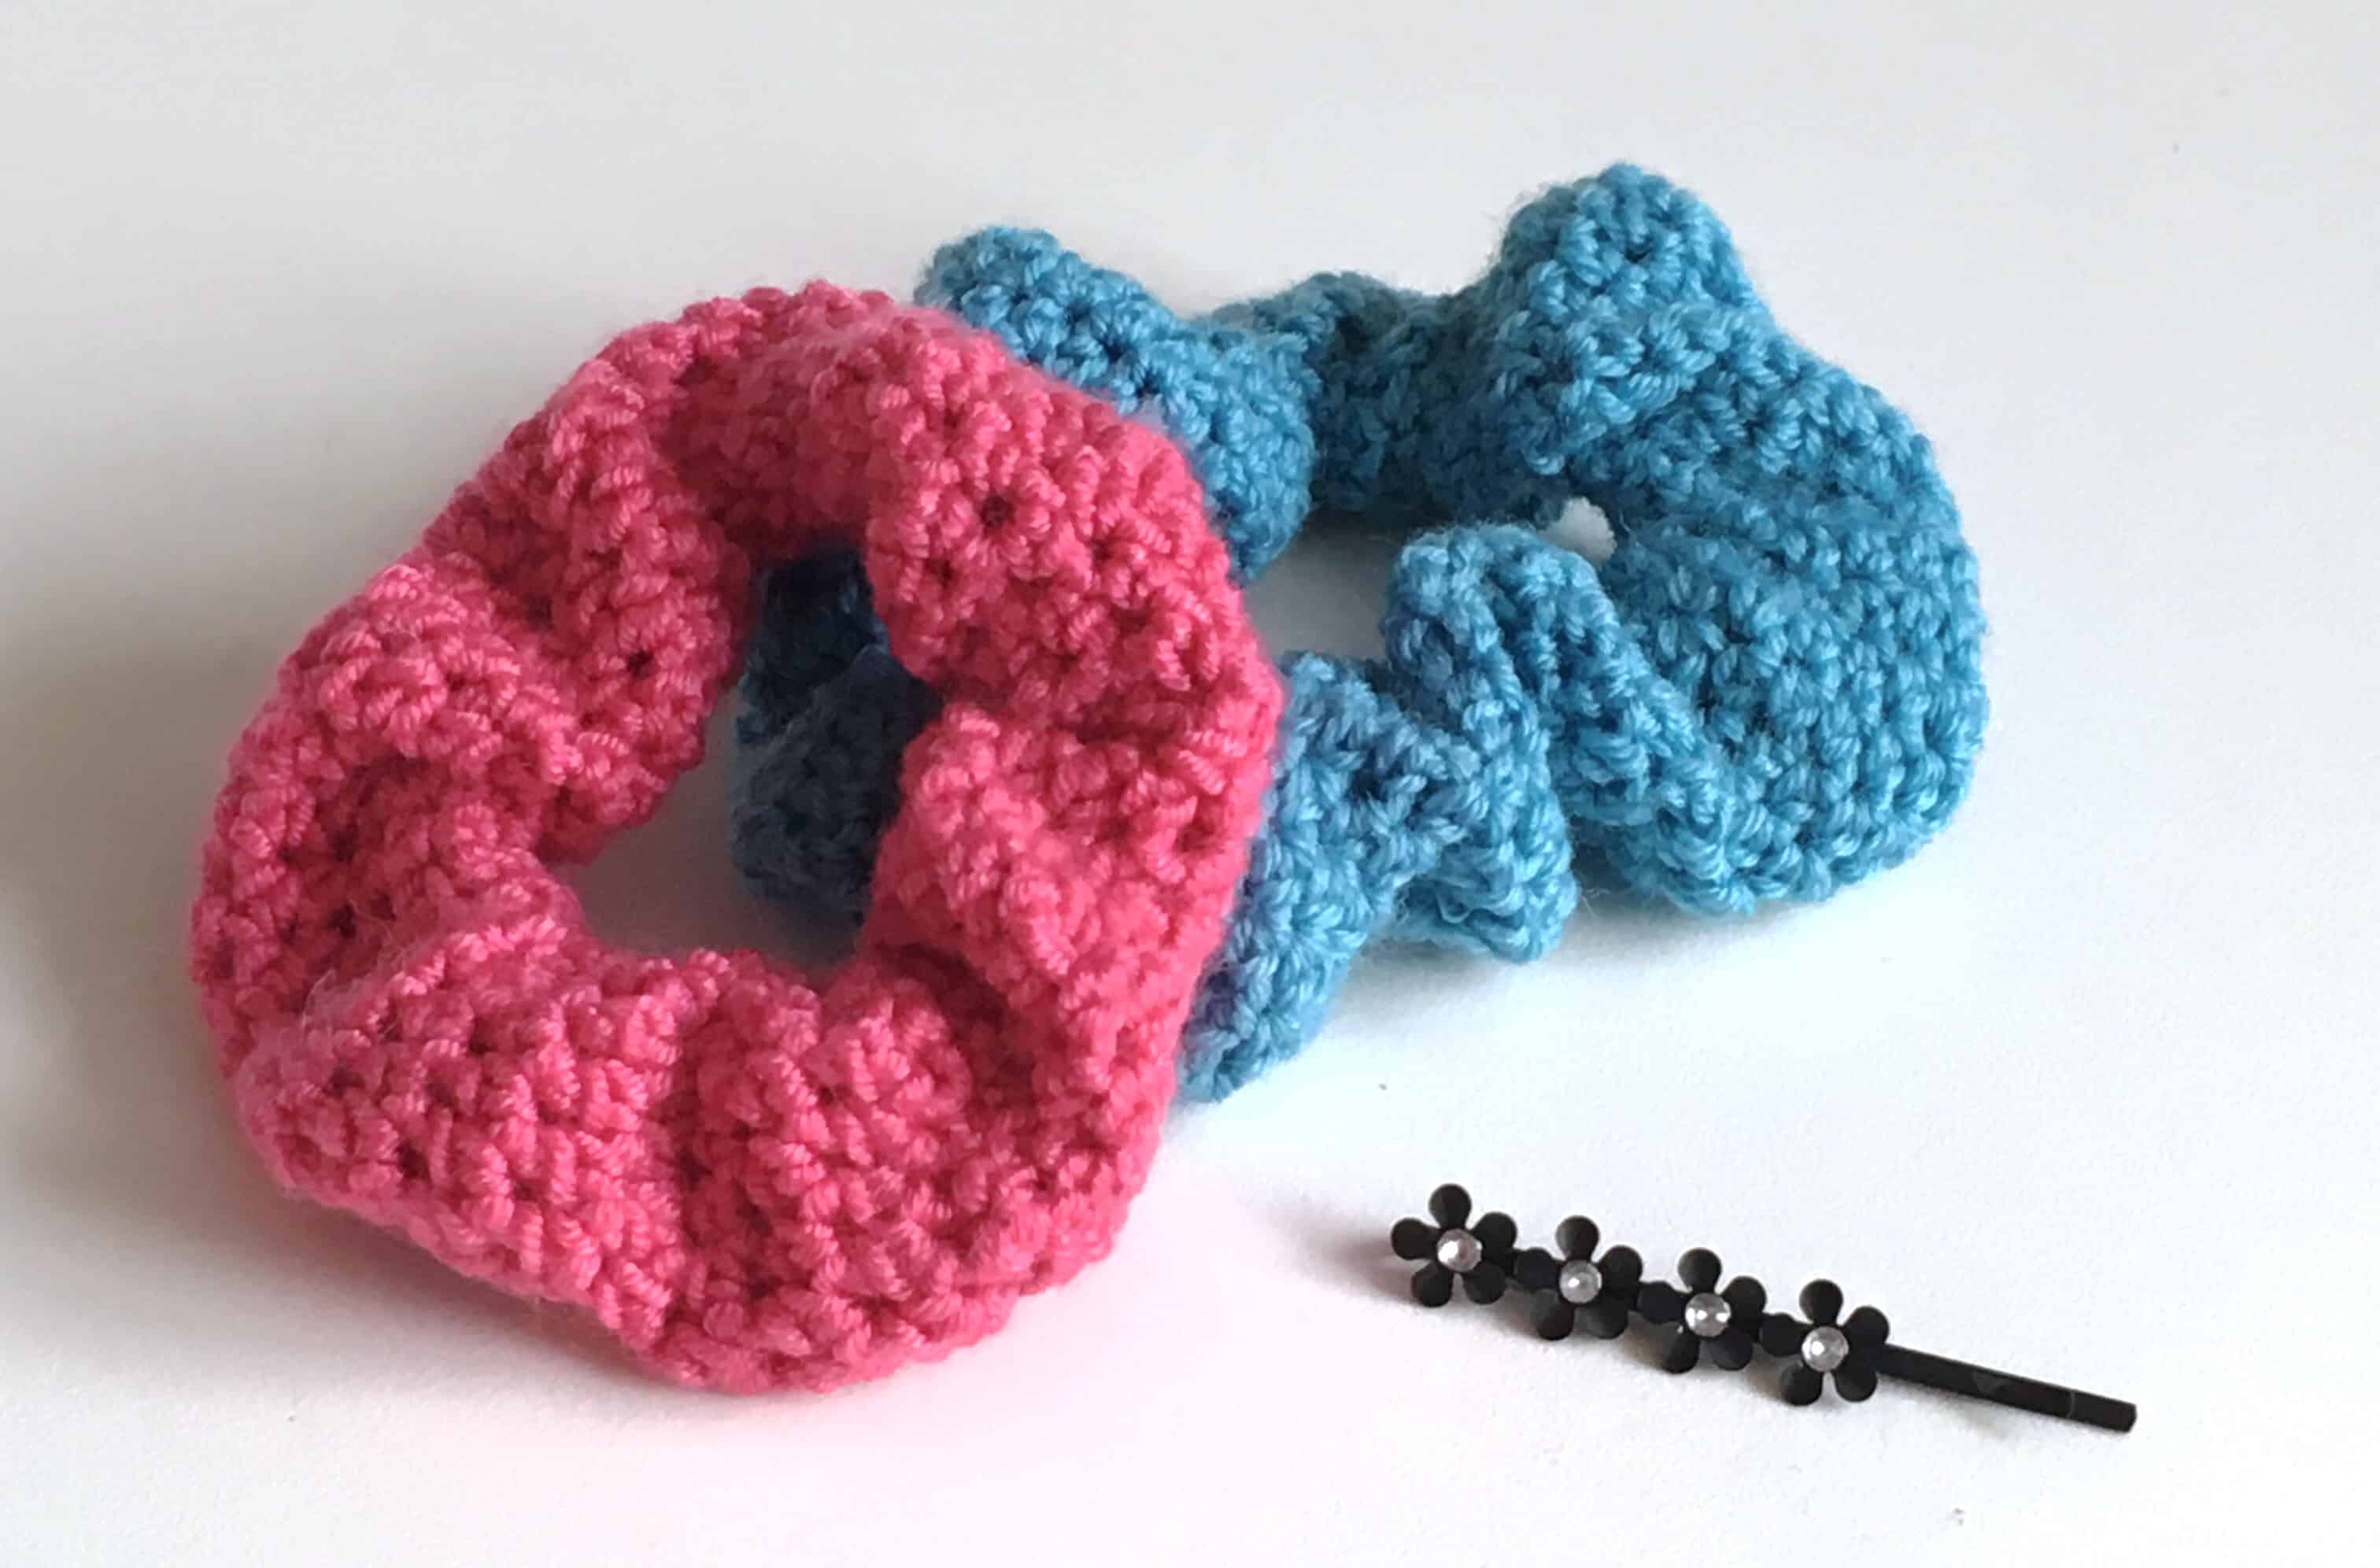
The pink scrunchie in the video was worked with acrylic double knit and a 3.5mm hook and the blue one was worked with 4 ply wool and a 3mm hook.
You will also need a hair elastic. Any size will do.
Stitches and Abbreviations (US Terms)
- ch = chain
- fsc = foundation single crochet – learn how to make chainless foundation rows here
- hdc = half double crochet
- sc = single crochet
- sl st = slip stitch
Special Stitches
Foundation Single Crochet (fsc)
You can find a tutorial for this the chainless foundation single crochet here both for left-handed and right-handed crocheters.
The Crochet Scrunchie Pattern
For the blue crochet scrunchie in the picture tutorial, I used a foundation chain of 12 stitches.
The Pink scrunchie in the youtube video used a foundation chain of only 10 because it was thicker yarn. You can adjust to fit your yarn and personal taste!
Crochet Scrunchie Video tutorial
Crochet Scrunchie written pattern and photo tutorial
Row 1: Leaving a tail, make 12 fsc (or ch 14, work a sc into the third chain from the hook and across to the end). Thread the chain into the hair elastic.

Join to first st with a sl st, ensuring you avoid any twists

Row 2: Ch 1, work 12 hdc, do not join!

Row 3 onwards: Continue to work 12hdc around in a spiral around the hair elastic, turning as you go.


Once you reach the end, keep going so the fabric ruffles up.

Once the two ends meet around when the elastic at it’s full stretch, fasten off leaving a long tail and sew the end row to the first.

I worked around 70 rows for the blue and about 50 for the pink, but there is no need to count, you can just work it until you think it’s long enough!
And there you have it – your crochet scrunchie complete!
If you’ve made it this far then you also get ‘treated’ to an unedited picture of me ‘modelling’ it.
This is as stripped back as it gets! A no-make-up-selfie taken in amid the chaos of my renovations, in a mirror which should be on the wall, just after I had got back from a yoga class where I gave it a trial run!
It passed the test but sadly no one told me I looked like an extra from the Flintstones!

I hope you enjoy this crochet scrunchie pattern, and as always, don’t forget to tag me in your finished makes! Nothing makes me happier than seeing my designs brought to life by others. I love the colour choices and personal touches you add to the patterns!
On Instagram, you can use the hashtag #HookMeHappy or just tag @doradexplored. You can tweet me your pictures, or add your them to my Facebook page. And if socials aren’t your thing, feel free to email me your efforts. It really does make my day! I’m also a huge fan of Pinterest so if you like my patterns I’d love it if you pin them, or visit my Pinterest page which showcases some wonderful inspirational crochet patterns – the talent out there blows my mind!
Until next time.
Happy Hooking
Dx
(C) DoraDoes 2018. You may sell what you make from my patterns, but please credit me as the designer. The pattern is for personal use only and may not be shared. My photos may be shared with credit.


Thanks for the pattern! 🙂
You’re welcome!! I hope you enjoy it ???