
How to use Tapestry Crochet in pattern design: The basics
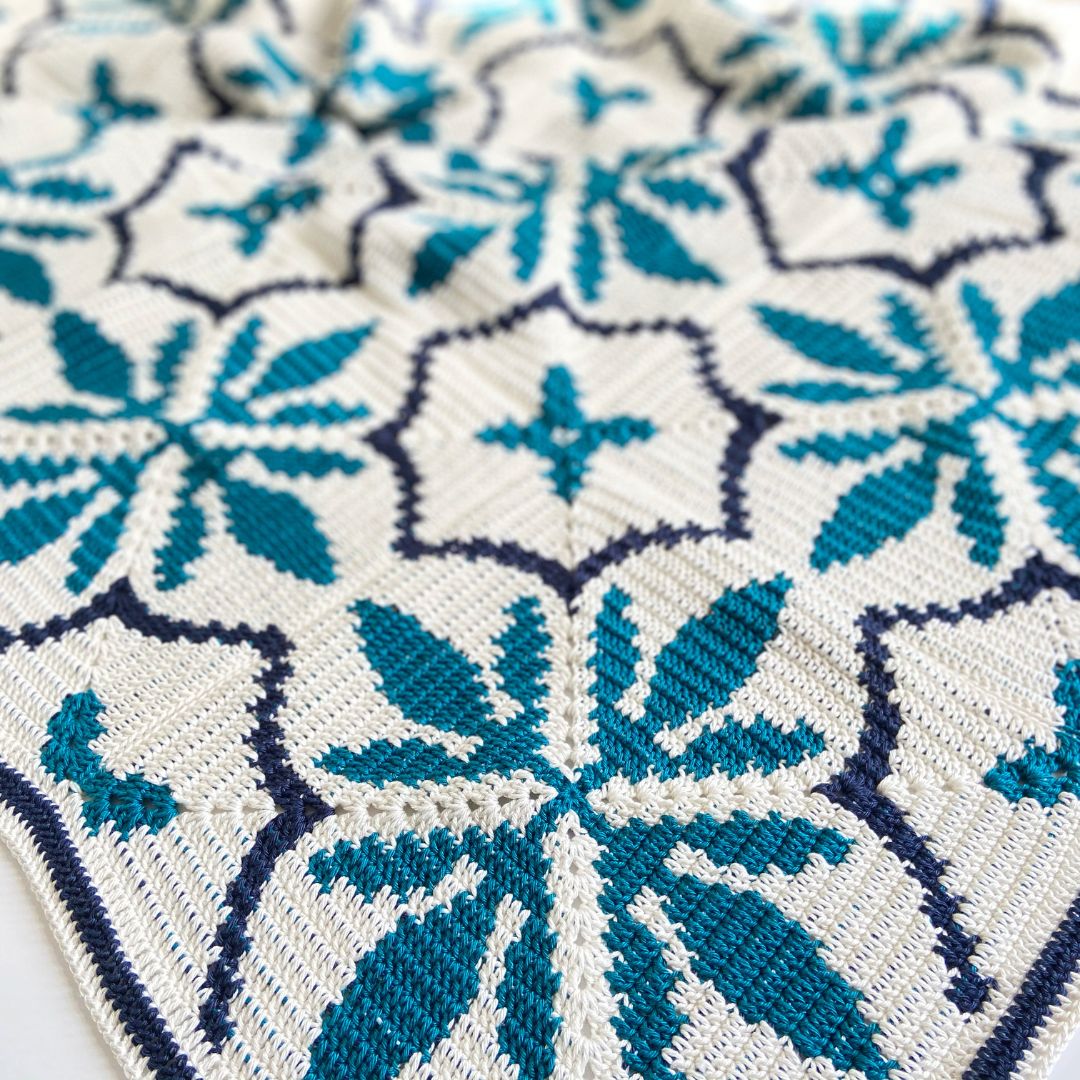
In this post, I am very excited to present my first ever featured crochet specialist; Catherine from ‘Catherine Crochets‘.
Catherine creates the most incredible crochet blanket patterns using the Tapestry Crochet technique. In this two-part series, she has been kind enough to share her experience when it comest to stitch selection and blanket construction, explaining why these design decisions really matter.
I love digging deep into crochet techniques and have really learned a lot from reading through this guidance. If you’ve enjoyed other articles I’ve written on crochet design, then you’ll love this one – Catherine has a similar curiosity and love for getting into the nitty gritty as I do!


For those of you who have never heard the term before, Tapestry Crochet is a colour-work technique which allows you to change colour mid-row for one or more stitches. You crochet with one strand of yarn whilst carrying a different colour (or colours) along the row.
Catherine goes into more detail during the article, and offers some great beginner resources, but I always like to get important definitions clear at the start.
The guidance is tailored to blanket design but the considerations apply to all kinds of tapestry crochet projects. So without further ado, let’s get into Catherines guide to using and designing with Tapestry Crochet (Part 1).
Working with Tapestry Crochet
Tapestry crochet is one of those techniques where the more you work with it, the more it gives back.
You start by learning the basics such as changing colour, carrying yarn, and then, gradually, you begin to notice all the ways the stitch you choose, the construction method you use, and the small technical decisions you make along the way change what you’re able to create.
It becomes less like following a method and more like working with a system.
I’ve been designing tapestry crochet blankets for several years now, and this is the part of it I find most interesting. The design logic underneath the technique, the reasons why certain stitches do certain things, and where these things can take you.
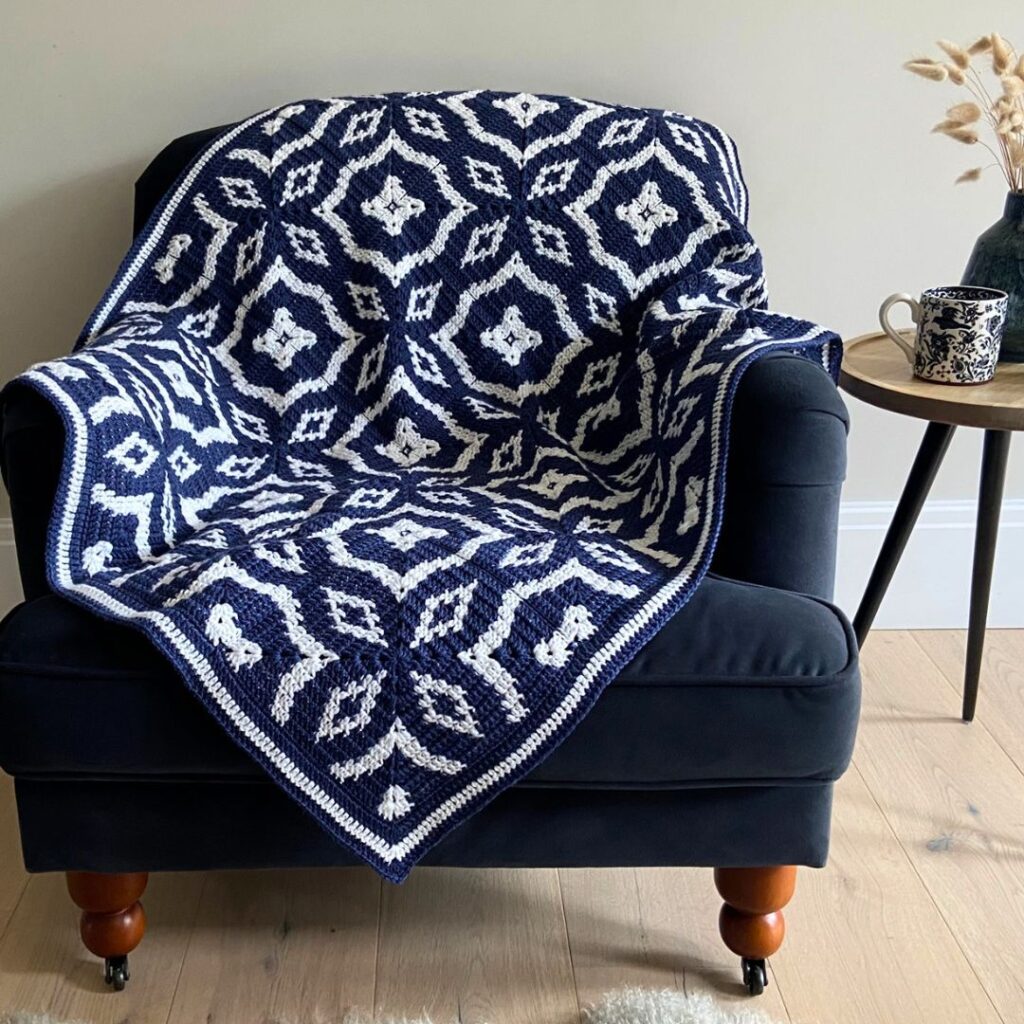
At its heart, tapestry crochet is a colourwork technique. You work with two or more colours at the same time, crocheting over the unused yarn, so it’s neatly enclosed within the stitches rather than left as a loose float on the back.
The result is a fabric with a clean, graphic design that’s visible on both sides (and a much tidier ‘wrong side’ than you might expect).
If you’d like a full introduction to how the technique works, including how to change colour, carry yarn, and a collection of other step-by-step tutorials, you’ll find all of that in my Tapestry Crochet Hub.
What stitch should you use for Tapestry Crochet?
One of the things that isn’t immediately obvious about tapestry crochet is that the stitch you choose doesn’t just affect how the fabric feels, it dictates the shape of every single pixel in your pattern and is a key design choice.
In tapestry crochet colourwork, each stitch corresponds to one cell on a chart. The shape of that cell or pixel varies depending on which stitch you use.
Crochet stitch proportions
Different crochet stitches have different but repeatable proportions;
- Single crochet (UK double crochet) produces something close to a true square
- Extended single crochet (UK extended double crochet) is slightly taller than it is wide
- Half double crochet (UK half treble crochet) is roughly one and a half times as tall as it is wide
- Double crochet (UK treble crochet) is approximately twice as tall as wide
This means that charts for tapestry crochet aren’t all designed on the same grid. They’re designed for the specific stitch the designer had used. Working same colourwork chart with different stitches will create very different results.
This is why I think of stitch choice in tapestry crochet as such a key decision. It’s more than just drape and fabric feel, important as those are. It’s also a visual decision, because the proportions of the stitch directly affect the colourwork patterns you can create with it.
For tapestry crochet blankets, the three stitches I use are double crochet, half double crochet, and extended single crochet.
Double crochet in tapestry crochet designs
A US double crochet is approximately twice as tall as it is wide. That height means you can achieve sharp points at the top and bottom of a motif, which works beautifully for diamonds and other geometric shapes. However, you have less definition at the sides, where the larger height makes tighter curves harder to achieve.
I use double crochet for many of my geometric and pictorial designs like the Midnight Diamond Blanket and the Big Fish Little Fish Blanket, where the tall pixel works well for capturing the shape of a fish.
In terms of fabric feel, double crochet produces a lovely drape so if it works for the colourwork pattern, it’s usually an excellent choice.

Half double crochet in tapestry crochet designs
Half double crochet (UK half treble crochet) is around one and a half times as tall as it is wide, so it’s still a rectangular pixel, but a slightly shorter one. That shorter height makes it easier to achieve smoother outlines on motifs with gentle curves.
My leafy Hornbeam Blanket uses half double crochet and the shorter pixel allowed me to follow the curves of the leaves more smoothly than double crochet would have. The fabric is slightly cosier and thicker than a double crochet blanket, and there’s a slight ribbed quality to the surface that I find adds a lovely subtle texture to the finished piece.

Extended single crochet in tapestry crochet designs
Extended single crochet (UK extended double crochet) produces the squarest pixel of the three, sitting close to a true square.
Because the pixel proportions are nearly equal in both directions, you have the most versatility in terms of shaping motifs. You can follow curves and define outlines both vertically and horizontally with roughly the same level of precision.
The trade-off is that extended single crochet creates a denser, firmer fabric than double or half double crochet. However, this can be worked around by choosing a lighter yarn weight.
For example, my Jora Blanket uses extended single crochet with a 4-ply yarn, which gives it a lovely drape, despite the small stitch.

You might wonder why I don’t use standard single crochet, which would give an even squarer pixel.
The issue is that tapestry crochet requires a reasonably tight gauge to keep the carried yarn well covered, and single crochet is already a short, dense stitch. Combined, the result is a fabric that’s relatively stiff, which doesn’t work well for a blanket.
Extended single crochet is a good compromise. That small extra extension (made by a chain) in the stitch gives it just enough additional height to produce a slightly more drapey fabric.
For other tapestry crochet projects, where stiffness isn’t a problem (bags and wall hangings, for example) single crochet can work very well. But for blankets I find extended single crochet is as far down in stitch height as I want to go.
How do you choose what crochet stitch to use?
When deciding what is a suitable crochet stitch to use, the starting point is primarily the colourwork pattern you have in mind.
Think about the shapes you want to create and what pixel proportions would suit it. A fish shape, for instance, can work well from tall double crochet pixels. However, a circle is much harder to represent convincingly from tall, rectangular pixels than from square ones.
There’s no single right answer, but I find that thinking about pixel shape before you begin and attempting to represent your design on a suitably sized grid is the best place to start.
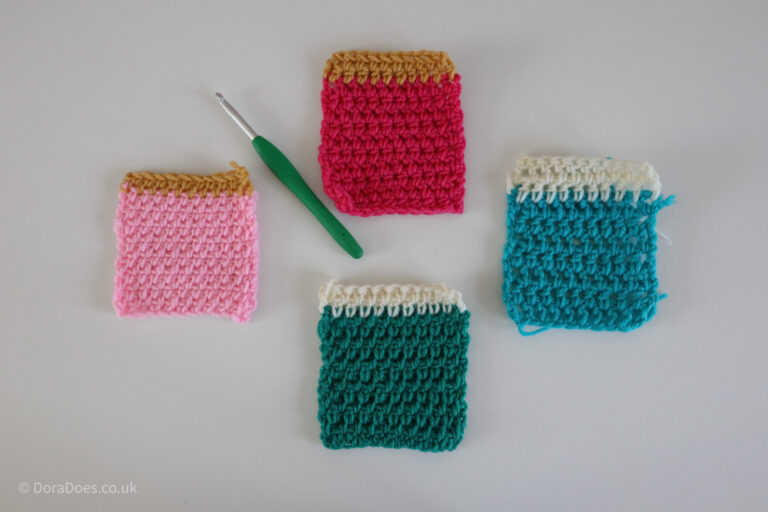
Using gridded or graph paper is a good place to start and making a few different swatches will help you understand the difference between stitches.
The Impact of Construction Method
How a tapestry crochet blanket is constructed shapes what’s possible within it and also changes how the colourwork design looks in the finished piece.
Blankets worked in rows
Tapestry crochet blankets made in rows are probably the most straightforward starting point. You have full control over the dimensions, the colourwork design runs horizontally across the piece, and both the right and wrong sides of the fabric look more or less the same.
They’re also particularly well suited to repeating geometric patterns, which can have a wonderfully relaxing, rhythmic quality to work. The Jora Blanket (above) is a good example of that, and the Geo Georgie Blanket takes a similar approach, with a little more variety in the repeat.
Repeating motifs arranged in rows, like the leaves in the Hornbeam Blanket or the fish in the Big Fish Little Fish Blanket, follow the same principle and each row of motifs is a satisfying unit in itself.

Motif blanket designs
Tapestry crochet blankets made from motifs, like squares or hexagons work differently.
Each motif is an individual project in itself. You work a colourwork design within the boundaries of that shape, then join them together once they’re complete.
I find that one of the most satisfying things to explore with motif-based construction is how the colourwork pattern in one motif can continue across neighbouring ones. This means that rather than a collection of separate designs sitting next to each other, the finished blanket can read as a single, flowing piece of colourwork.
The Midnight Diamond Blanket and my Clarissa Blanket both do this. The motifs are joined with a slip stitch seam worked in the back loops only, on the reverse of the fabric, so the join is invisible from the front and the colourwork pattern flows seamlessly from one square to the next.
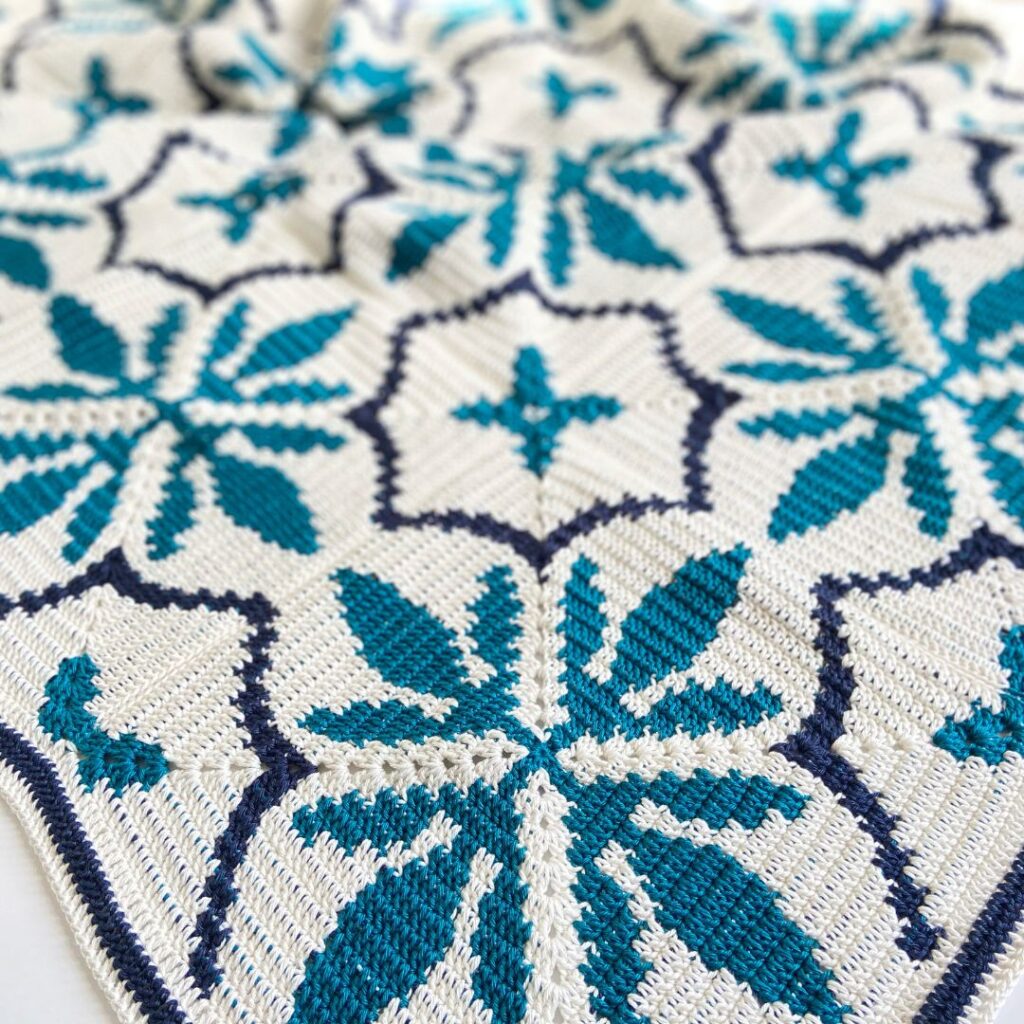
Motifs are also particularly well suited to designs with rotational symmetry, like flowers, stars, snowflakes and other geometric shapes. They can look particularly impressive when repeated across an entire blanket.

Blankets worked in the round
Crochet blankets made in rounds, as a single piece, grow outward from a centre point. They don’t have to be square but can be pretty much any 2 dimensional shape, with rectangles, pentagons, hexagons or circles being the most common.
I’ve designed hexagonal blankets in this way too. With this construction, the colourwork design radiates outward with each round, and designs with a strong centre point or repeating radial structure tend to suit this construction particularly well.
There’s also something really enjoyable about the way these blankets reveal themselves as you crochet, with the design building from the inside out and emerging with each round.

One further quality is worth mentioning, which applies to both blankets worked in the round and motif-based blankets. Because you’re usually working on the same side of the fabric, every stitch has the same orientation (unlike when crocheting back and forth in rows or turned rounds).
This produces a pleasing regularity and neatness to the overall surface that you don’t get with rows or turned rounds, which have stitches facing and slanting in opposite directions.
Choosing a construction method
None of these construction methods are necessarily better than the others. They’re just different, and they each suit different types of colourwork designs.
If you’re working from someone else’s pattern, the construction is already chosen for you. But understanding why it was chosen can help you make better sense of what you’re making. It will also give you food for thought if you are thinking of designing your own blanket.
Where to go next
All of the blankets mentioned in this post can be found on my blanket patterns page. If you’re not sure where to begin, I also have a post on tapestry crochet blankets for beginners that recommends some good first projects.
And if you’d like to try the technique in a smaller project before committing to a full blanket, I have two free tapestry crochet patterns – a scarf and a single square (with a complete step-by-step video tutorial) – available when you join my email list. They’re both great ways to learn the tapestry technique.
About Catherine Crochets
Catherine is a crochet designer and teacher specialising in crochet blankets, with a particular love of tapestry crochet and colourwork.
Her designs have been published in crochet magazines and she is a contributor to the book 100 Crochet Tiles. She has designed for Sirdar and WeCrochet. You can find her patterns, tutorials and guides on her website.

So there we have Part 1 of Catherine’s introduction to designing blankets with tapestry crochet. I think she’s done a great job highlighting the factors to consider when choosing both stitches and construction styles.
In Part 2 (coming next week) she will dig deeper into designing with tapestry crochet, discussing how she manages decreases and introduces texture and combines different techniques.
In the meantime, I’d love to know if you have any questions or thoughts about tapestry crochet in blankets. And whether you have a favourite of some of the designs shared here. Personally, I’m torn between Clarissa and Jora…
Please do drop your thoughts in the comments (they will be held for moderation so may take a day or two to show up!). I’d love to hear your feedback on this topic as well as on sharing other designers work.
Happy Hooking
Dx


Love the designs ! Looking forward to Part 2!
Thanks – Catherine is such a fabulous crochet designer! 🙂
Midnight Diamond is my favorite. However, all are fantastic. I will have to try one. I also really like the “round” blankets. I just finished a “6-Day Star” blanket that was fun to make.
An excellent choice! And I agree with blankets worked in rounds. They are super satisfying the way the pattern evolves!