
Festive Crochet Yule Log Christmas Ornament
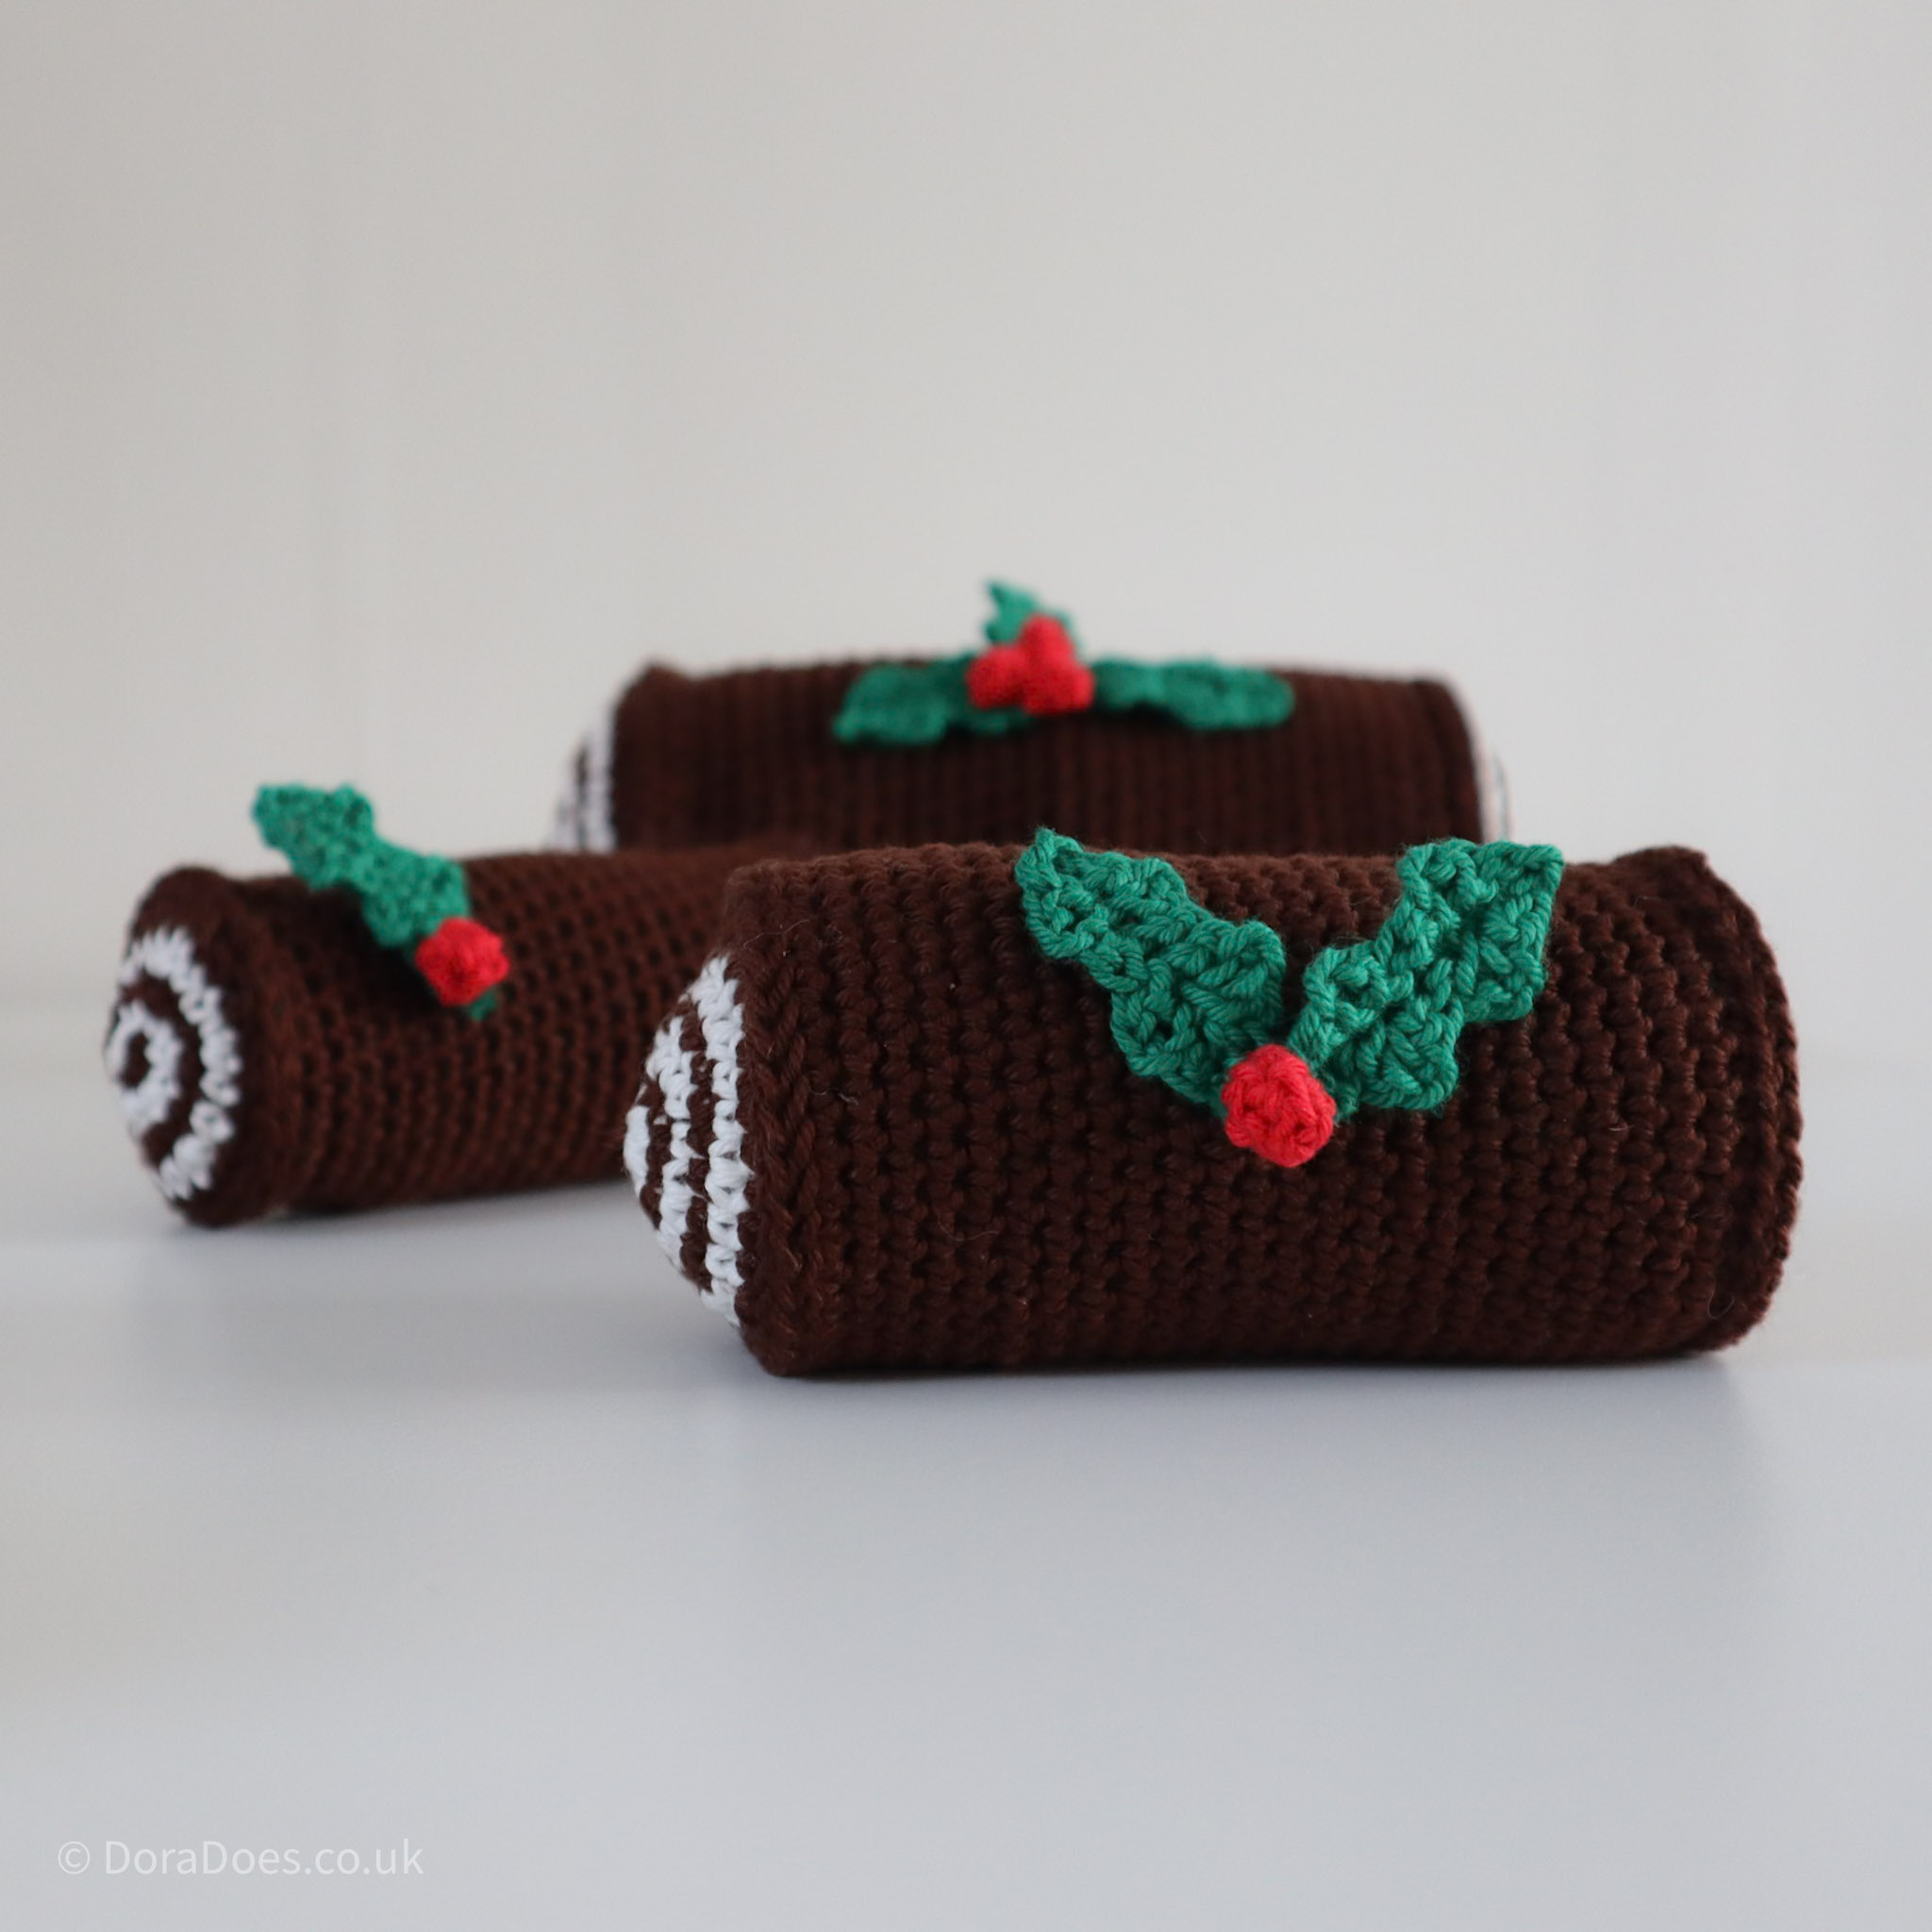
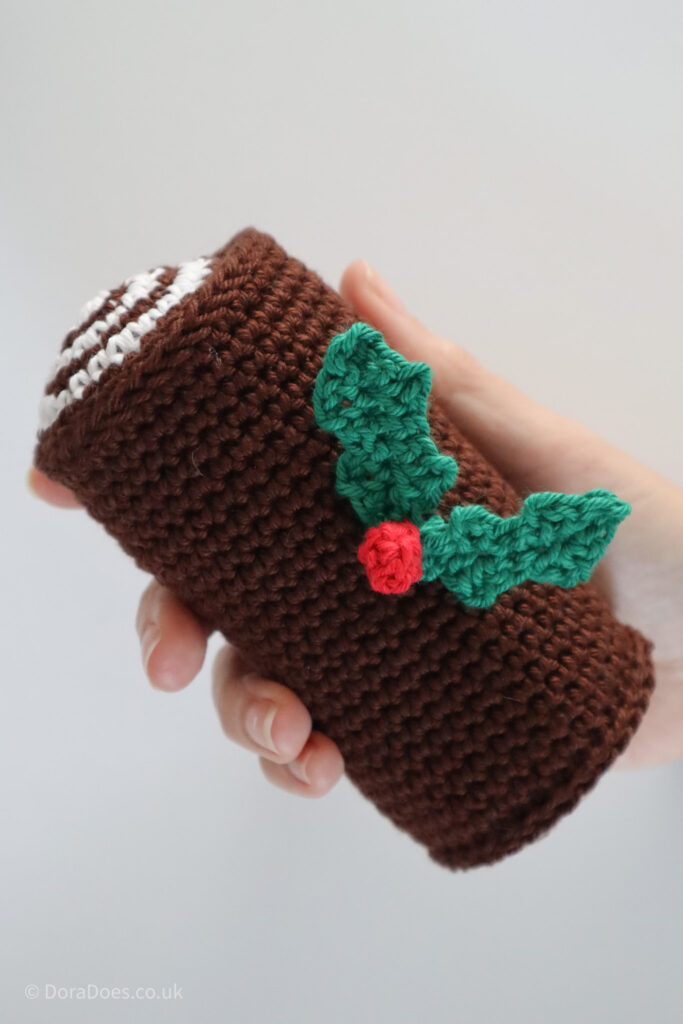
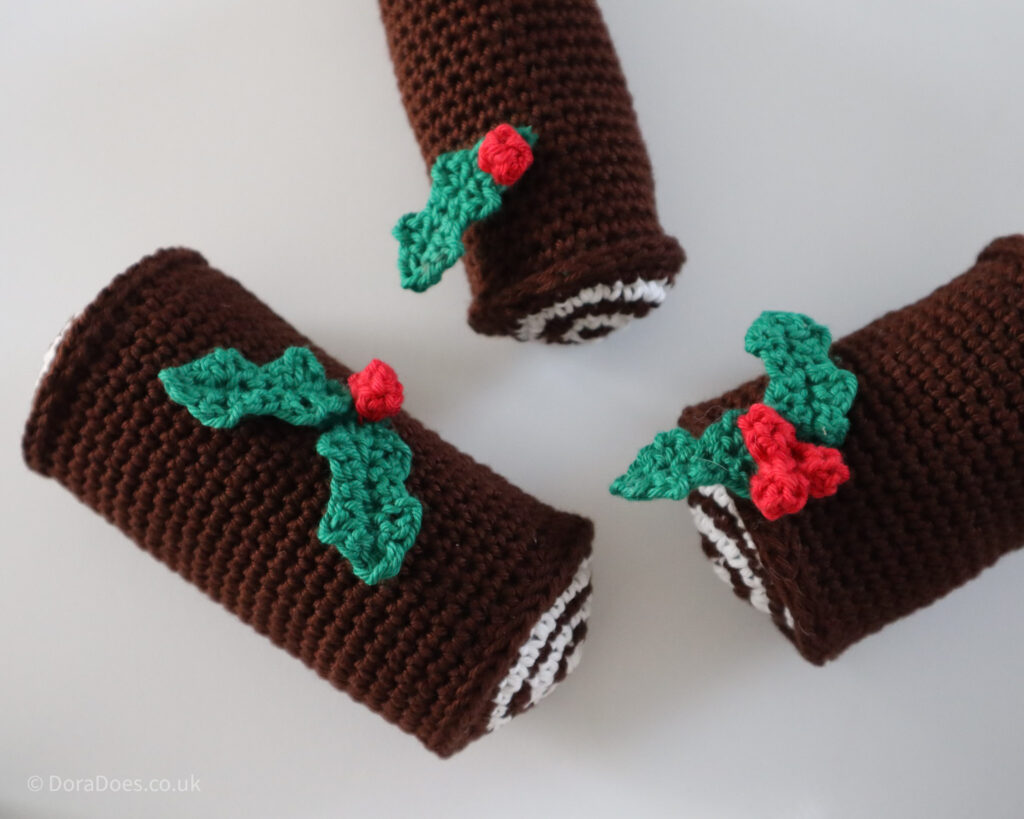
This year’s free Christmas Crochet Pattern is a crochet Yule Log with a cute holly leaf and berry embellishment.
Hang it on your tree, include it in your table decorations or gift it to a lover of the Yuletide Holiday Season (I’m going for a mix of the above!)
Read on for the free pattern, or purchase a PDF version of the pattern from Etsy, Ravelry or Love Crafts


Note that the PDF includes the step by step photo tutorial showing how to crochet the spiral used for the ends of the Yule Log.
In the ad-supported version of the pattern, I link to this as a separate two-colour single crochet spiral tutorial as it’s super useful for all kinds of projects! I have however included some progress images in the pattern so the extra tutorial isn’t a requirement for the pattern.
This post contains affiliate links. This means if you click a link to a product and go on to make a purchase, I receive a small percentage of the sale at no extra cost to you. You can read my full affiliate disclosure here.




Pattern notes
General Notes
- Please read through the pattern and all associated notes before starting your project
- This pattern uses standard US crochet terminology (UK equivalents are given in brackets in the abbreviations list where applicable)
- Numbers at the end of a round indicate the number of stitches in that round and are only given at the start of a section or where there is a change
- Starting chains do not count as stitches
- The pieces for the Log are worked in continuous rounds without joining or turning
- Instructions written between [square brackets] should be worked the specific number of times instructed
- The Yule Log is intended for ornamental / decorative purposes only and should not be used as a toy
Construction
- The Yule Log consists of a tubular body, worked in the round, and two ends, each one a flat circle made as a two colour spiral
- One end is joined to the body, the piece is stuffed and the second end is then added
- Leave a long tail for joining at the end of each of the circular ends
- The tail should be about 4-5 times the circumference of each of the spiral ends – you will use it to join the ends to the body
- The holly leaf and berries are made separately and added at the end
Skills Used
- Knowledge of basic crochet stitches, techniques and terminology is assumed
- The pattern is fairly straightforward, suitable for adventurous beginners, and uses simple stitches throughout
- A step-by-step photo tutorial for crocheting the spiral is included in the pattern as well as a picture guide for the decoration and assembly
- You will use slip stitches in the back loops to assemble the log
- The holly leaf will require working in front loops around either side of a row of slip stitches
- The berry uses the popcorn stitch – see special stitches
How to purchase a Dora Does crochet pattern:
I sell my PDF crochet patterns in my Etsy, Ravelry and Love Crafts stores. You can purchase this pattern on any of these platforms, depending on your preference. Simply click the relevant links throughout this pattern page to be taken to the listing, or visit the store homepages in the links at the start of this paragraph.
Materials
Crochet Hook
3.5mm / size E crochet hook, or size suitable for your yarn.
I used my clover amour hook.
I encourage you to use a hook that’s on the small size for the yarn weight you’re using. (learn about the connections between hook size and yarn weight here)
Yarn Requirements
Depending on the size you choose to make, you will need about 55-120m / 83-132yds (25-55g) of double knit / dk weight yarn in 4 colours. The majority of the yarn will be in Yarn A / Brown with only a small amount of yarn in the other 4 colours required.
The items shown used the following yarn:
Yarns A-C: James C Brett 100% Pure dk Cotton, 100% cotton. 100g ball 215m / 236yds
- Yarn A: Shade IC41 – Rich Coffee
- Yarn B: Shade – IC09 – Cream
- Yarn C: Shade – IC33 – Emerald
Yarn D: Rico Baby Cotton Soft, 50% cotton, 50% acrylic. 50g ball = 125m / 138 yds
- Yarn D: Shade 035 – Red
Yarn Substitution Options
I used cotton for the samples shown but the pattern will work in other fibres. Different fibres and yarns will produce a different finished result.
The samples were made using double knit yarn, but other yarn weights can be used. This will impact the look and size of the finished items and will change the amount of yarn required.
You may find this post useful when choosing yarn.
Other Materials & Notions
- Yarn needle, scissors
- Lockable stitch marker to hold the open loop in the spiral (optional)
- Safety compliant toy stuffing

Measurements & Finished Size
The finished size of the Small (Medium, Large) / S(M, L) Yule Logs are as follows:
- Small: Circumference: 15cm/6in Length: 11cm/4.5in
- Medium: Circumference: 19cm/7.5in Length: 11cm/4.5in
- Large: Circumference: 25cm/10in Length: 14cm/5.5in
Measurements will vary depending on tension and how tightly you stuff the log
- The length of each Yule Log can be changed by altering the number of rounds you work in the body
- I have included the number of rounds I worked for each of the samples, but you can work the body to whatever length looks good to you (noting that this will impact the yarn usage) – it’s fine to just eyeball it
- Instructions for the spiral log-ends for are written separately for each of the three sizes
- Instructions for the body are written together, with the different sizes written in increasing order, with the smallest size first and larger sizes following in brackets i.e. S(M, L) Sts or Rounds
Gauge
Gauge is not essential for this pattern. though differing tensions will result in a different finished size. See measurements given earlier in the notes.
What is important is to create a nice dense fabric so that the stuffing does not poke out. This is why I recommend the smaller crochet hook size.
Stitches & Abbreviations: US terms
(UK Equivalent in Brackets)
- BLO = back loop only
- ch = chain
- dc = double crochet (UK treble crochet)
- FLO = front loop only
- MR = magic ring – see special stitches
- Popcorn = 4dc popcorn stitch – see special stitches
- RS = right side
- sc = single crochet (UK double crochet)
- sk = skip (UK miss)
- ss = slip stitch
- st(s) = stitch(es)
- WS = wrong side
Special Stitches
Magic Ring (MR)
You can find a photo and video tutorial on how to create a magic ring here. If you are not familiar with, or prefer not to work the magic ring, then you can ch2 and work the sts into the second chain from the hook as a modification.
Popcorn Stitch
A 4 double crochet popcorn stitch is used to make the berry. The steps to crochet a popcorn stitch are given below and you can also find a full written, photo and video tutorial here as well as a photo guide at the end of the pattern.
- Work 4 double crochet (UK treble) into the same stitch
- Loosen the last loop on your hook so it’s a bit taller than the height of a double crochet (tall enough so it won’t pull out)
- Remove your crochet hook
- Insert your hook from back to front through the top of the first double crochet you made
- Catch the loop you just left, and pull it through the first stitch from front to back to complete the stitch.
Alternate Decoration Option
If you are making a larger version (with heavier weight yarn), or would simply prefer a larger holly sprig, you could try another pattern I have for holly leaves (and berries) as an alternative option.
Find the free written pattern and video tutorial for a different holly and berry pattern here.

You can purchase an ad-free printable, PDF version of this pattern, with photo tutorials, from Etsy, Ravelry or Love Crafts.
The ad-supported version starts below.
Crochet Yule Log Pattern
Notes for the crochet spiral
There is a photo tutorial for the spiral technique at the end of the pattern, but here are a few helpful tips to remember as you work;
- The stitch pattern is the same as for a flat circle but you change colour half way through each round
- Each round starts with Yarn A and finishes in Yarn B
- You will be working in continuous rounds without joining or turning
- When you pull up a loop, you may want to add a lockable stitch marker to it to stop it unraveling
- Remember to leave a long tail for joining when you finish each of the spirals
- You can find a step-by-step photo tutorial for this single crochet two-colour spiral here
Spiral Ends
Make 2 in your chosen size, small, medium or large
Small Size Log
Below you see a close-up of the smallest of the Yule Logs, followed by the instructions to create the circular ends.
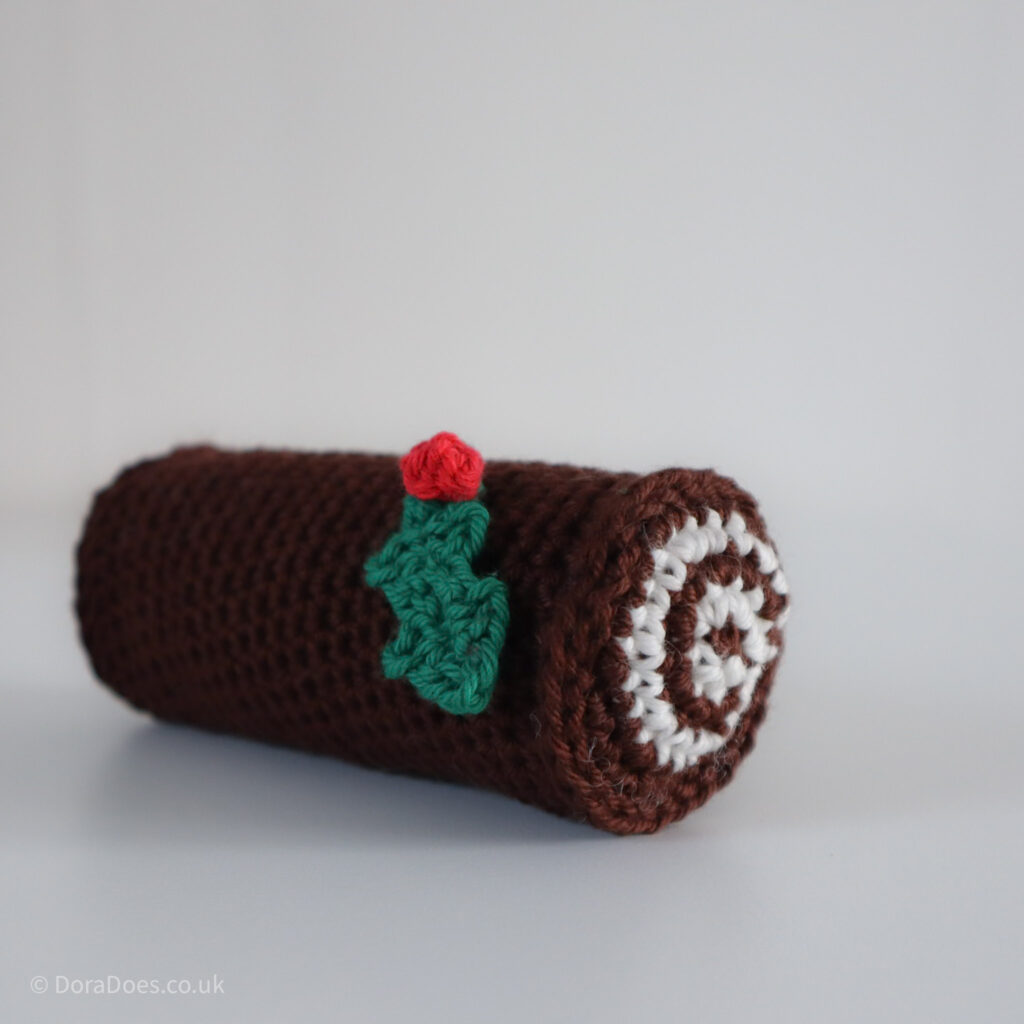
Round 1 (RS): Ch1 (does not count as a st here or throughout), 3sc in MR, pull up loop and remove hook from Yarn A, join Yarn B into MR, ch1, 3sc into MR, pull up loop and remove hook from Yarn B, pull ring tight, do not join or turn here or throughout. 6 sts
Round 2: Pick up Yarn A, 2sc in each of next 3 sts, drop Yarn A, pick up Yarn B, 2sc in each of next 3 sts, drop Yarn B. 12 sts
Round 3: Pick up Yarn A, [2sc in next st, 1sc in next st] three times, drop Yarn A, pick up Yarn B, [2sc in next st, 1sc in next st] three times, drop Yarn B. 18 sts
Round 4: Pick up Yarn A, [2sc in next st, 1sc in next 2 sts] three times, drop Yarn A, pick up Yarn B, [2sc in next st, 1sc in next 2 sts] three times, ss in next 2 sts (slip stitches to not impact the stitch count). 24 sts
Fasten off Yarn B
Round 5: Pick up Yarn A, [2sc in next st, 1sc in next 3 sts] six times, ss in next 2 sts. 30 sts
Fasten off Yarn A leaving a long tail (4-5 times the circumference) for joining to the body
Continue to body
Medium Size Log
Below you see a close up of the medium size Log, followed by the instructions to create the circular ends. This is the size I have used in the photo tutorials throughout.

Using Yarn A, make a MR;
Round 1 (RS): Ch1 (does not count as a st here or throughout), 3sc in MR, pull up loop and remove hook from Yarn A, join Yarn B into MR, ch1, 3sc into MR, pull up loop and remove hook from Yarn B, pull ring tight, do not join or turn here or throughout. 6 sts
Round 2: Pick up Yarn A, 2sc in each of next 3 sts, drop Yarn A, pick up Yarn B, 2sc in each of next 3 sts, drop Yarn B. 12 sts
Round 3: Pick up Yarn A, [2sc in next st, 1sc in next st] three times, drop Yarn A, pick up Yarn B, [2sc in next st, 1sc in next st] three times, drop Yarn B. 18 sts
Round 4: Pick up Yarn A, [2sc in next st, 1sc in next 2 sts] three times, drop Yarn A, pick up Yarn B, [2sc in next st, 1sc in next 2 sts] three times, drop Yarn B. 24 sts
Round 5: Pick up Yarn A, [2sc in next st, 1sc in next 3 sts] three times, drop Yarn A, pick up Yarn B, [2sc in next st, 1sc in next 3 sts] three times, ss in next 2 sts (slip stitches to not impact the stitch count). 30 sts
Fasten off Yarn B
Round 6: Pick up Yarn A, [2sc in next st, 1sc in next 4 sts] six times, ss in next 2 sts. 36 sts
Fasten off Yarn A leaving a long tail (4-5 times the circumference) for joining to the body
Continue to body
Below you see what the finishes spiral in the medium size lools like.

Large Size Log
And here (below) is the largest Yule Log pattern, followed by the instructions to create the circular ends.

Using Yarn A, make a MR;
Round 1 (RS): Ch1 (does not count as a st here or throughout), 3sc in MR, pull up loop and remove hook from Yarn A, join Yarn B into MR, ch1, 3sc into MR, pull up loop and remove hook from Yarn B, pull ring tight, do not join or turn here or throughout. 6 sts
Round 2: Pick up Yarn A, 2sc in each of next 3 sts, drop Yarn A, pick up Yarn B, 2sc in each of next 3 sts, drop Yarn B. 12 sts
Round 3: Pick up Yarn A, [2sc in next st, 1sc in next st] three times, drop Yarn A, pick up Yarn B, [2sc in next st, 1sc in next st] three times, drop Yarn B. 18 sts
Round 4: Pick up Yarn A, [2sc in next st, 1sc in next 2 sts] three times, drop Yarn A, pick up Yarn B, [2sc in next st, 1sc in next 2 sts] three times, drop Yarn B. 24 sts
Round 5: Pick up Yarn A, [2sc in next st, 1sc in next 3 sts] three times, drop Yarn A, pick up Yarn B, [2sc in next st, 1sc in next 3 sts] three times, drop Yarn B. 30 sts
Round 6: Pick up Yarn A, [2sc in next st, 1sc in next 4 sts] three times, drop Yarn A, pick up Yarn B, [2sc in next st, 1sc in next 4 sts] three times, drop Yarn B. 36 sts
Round 7: Pick up Yarn A, [2sc in next st, 1sc in next 5 sts] three times, drop Yarn A, pick up Yarn B, [2sc in next st, 1sc in next 5 sts] three times, ss in next 2 sts (slip stitches to not impact the stitch count). 42 sts
Fasten off Yarn B
Round 8: Pick up Yarn A, [2sc in next st, 1sc in next 6 sts] six times, ss in next 2 sts. 48 sts
Fasten off Yarn A leaving a long tail (4-5 times the circumference) for joining to the body
Continue to body
Body
Below are the pieces you will be using to crochet the body.

Using Yarn A, ch30(36, 48);
Round 1 (RS): Being careful not to twist your chain, make 1sc in the first ch to make a loop, 1sc in each ch to end, do not join or turn. 30(36, 48) sts
Round 2: 1sc in next 30(36, 48) sts
Rounds 3 – 25(25, 30): Repeat Round 2 for suggested number of round repeats or until the body reaches your preferred length
Fasten off Yarn A
Crochet Leaf Embellishment
Make as many as desired for decoration. The instructions for the decorations are the same for all sizes.
Using Yarn C, ch9;
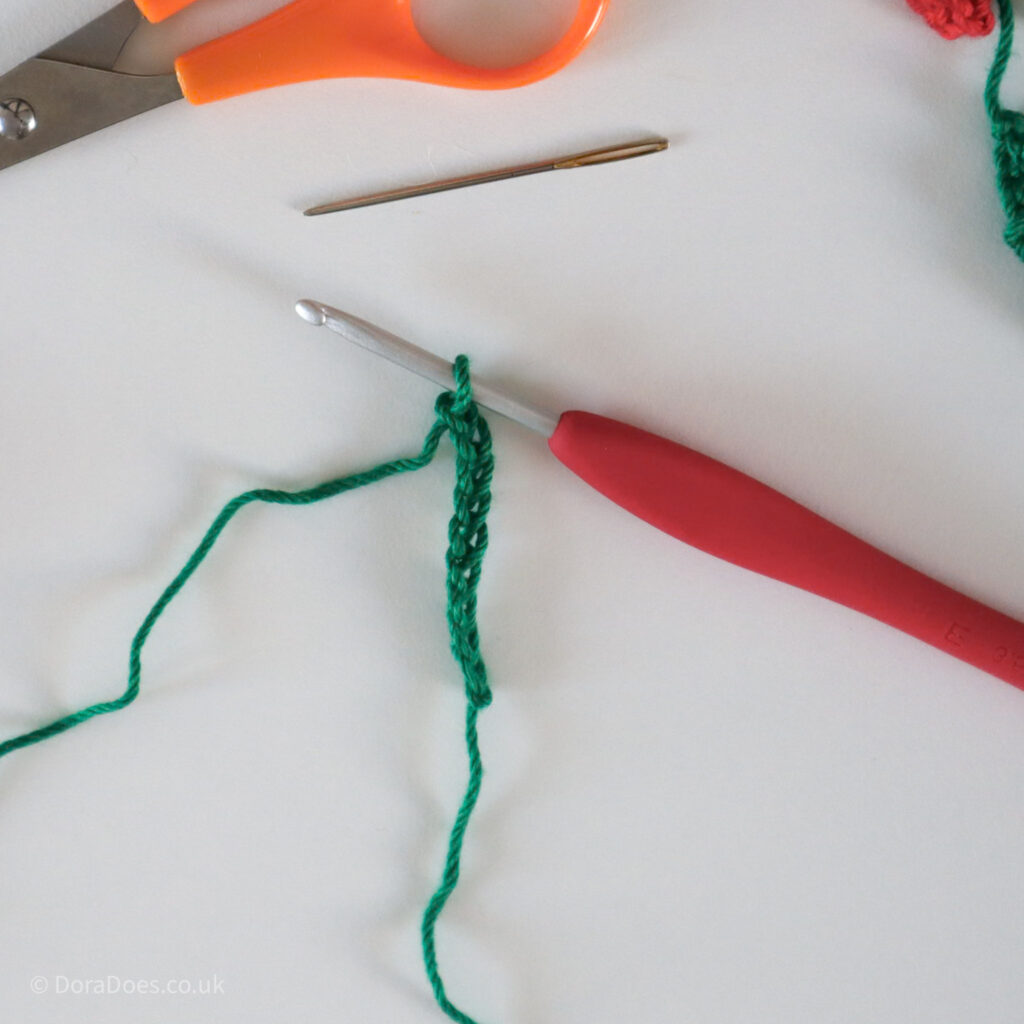
Row 1: 1ss in second ch from hook and next 7 ch, turn. 8 sts
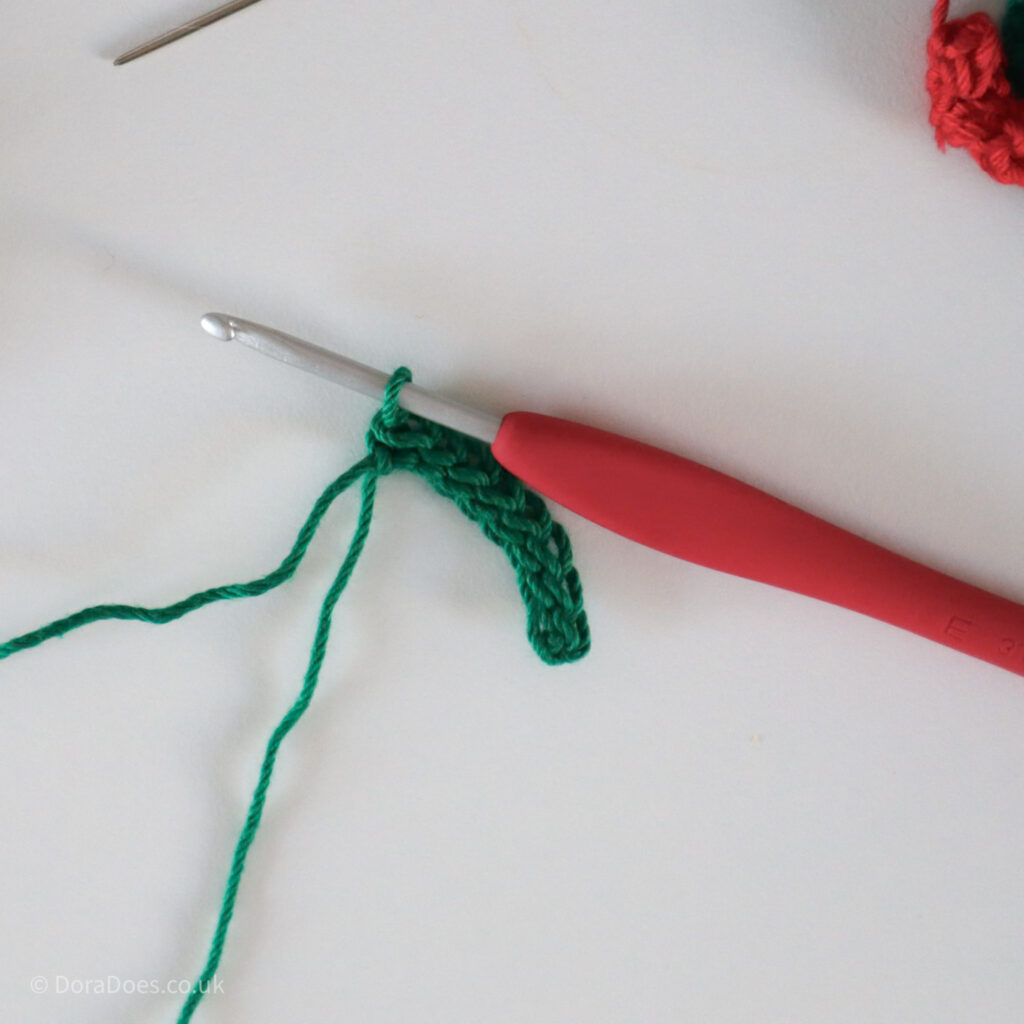
Row 2: Ch1 (does not count as a st), working into the FLO of the ss you just worked, sk first ss, [1ss, 1sc, ch2, 1sc in next st] twice,
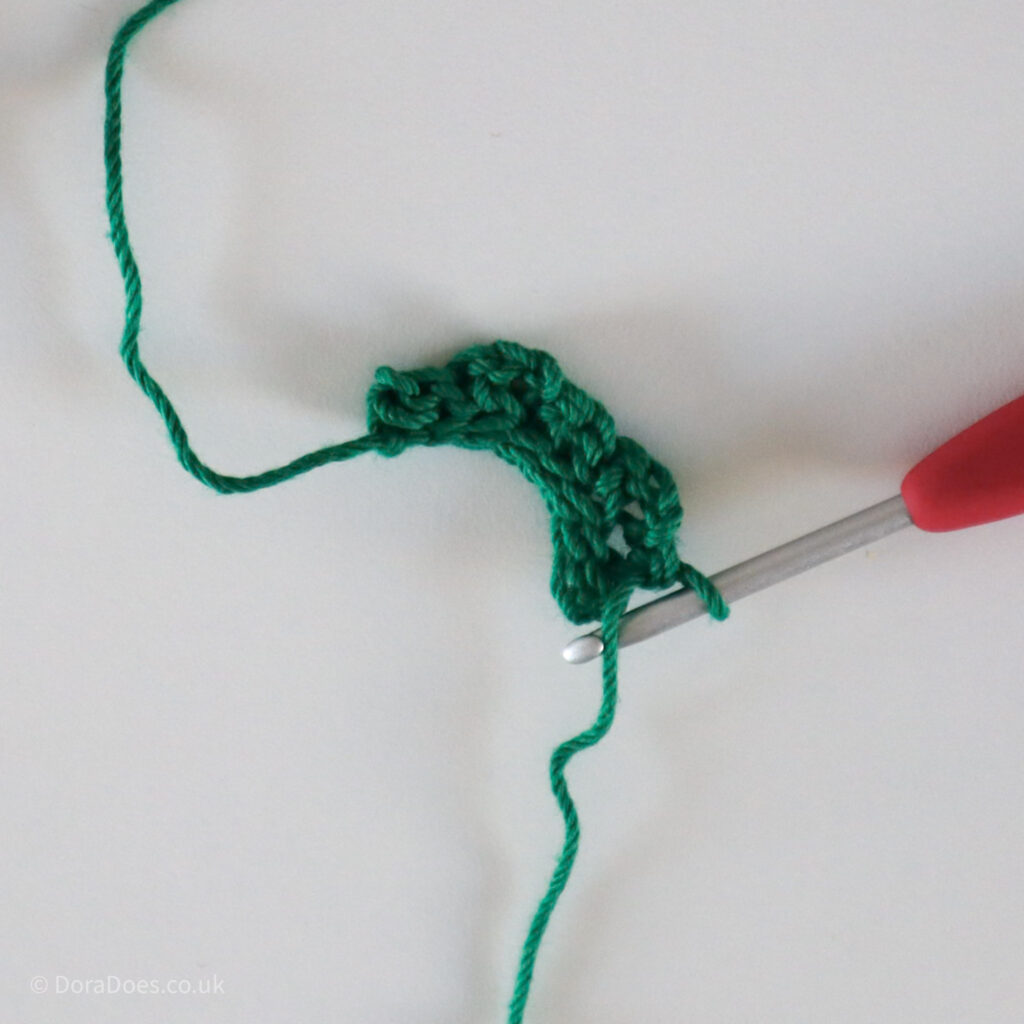
Row 2 Cont’d: 1ss, ch2, then moving around to crochet into the unworked loop of the ss on the other side of Row 1, 1ss in the unworked loop of the same ss you just worked into,
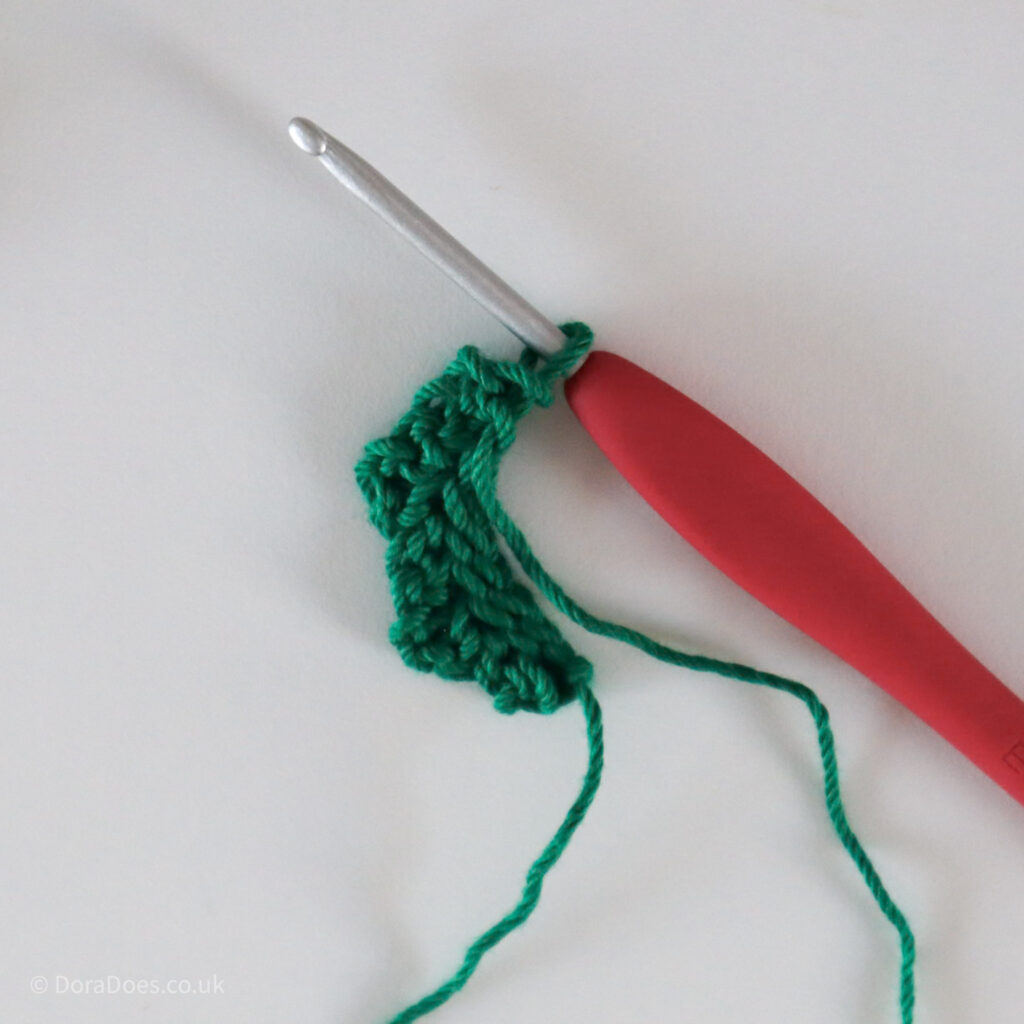
Row 2 Cont’d: [1sc, ch2, 1sc in next st, 1ss] twice, leaving the final st unworked. 14 sts (excluding chains)
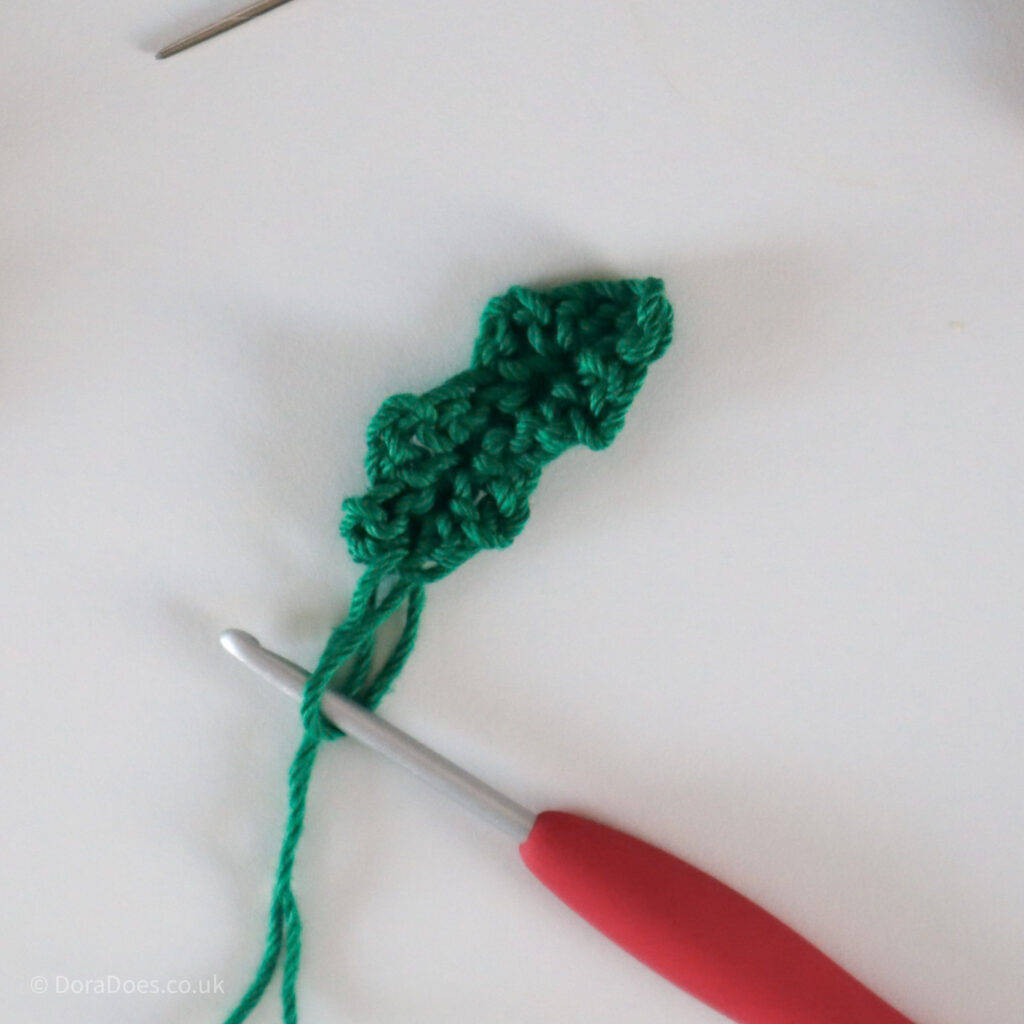
Fasten off Yarn C and sew your tail into the unworked loop of the last st, to create a kind of stalk. Leave the original tail from the beginning of the chain.
Crochet Berry
Using Yarn D, make a magic ring;

Berry 1: Ch2, popcorn (see special stitches) in MR, ss into MR
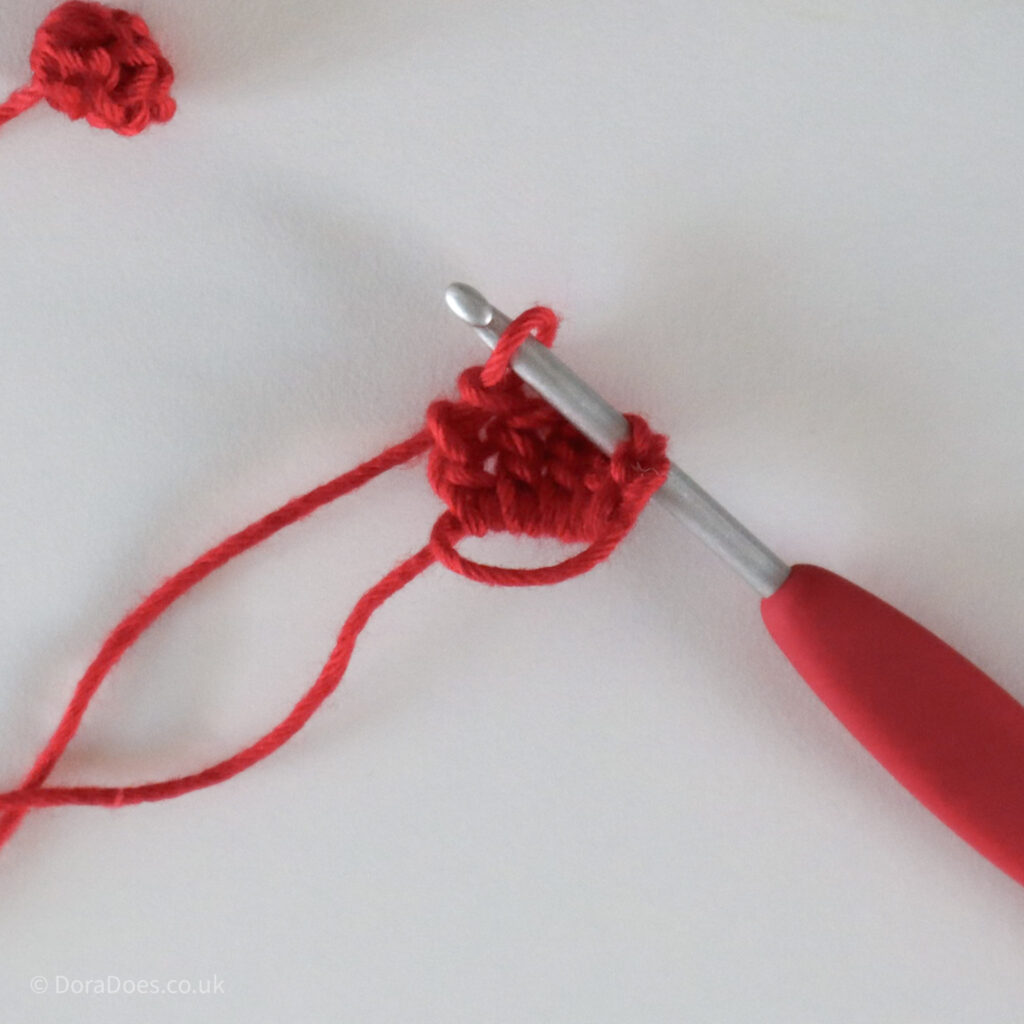
If you wish to make multiple berries, repeat the instructions for Berry 1 two or three times, depending on how many berries you’d like. I advise a maximum of three berries in one ring, but you can make multiple separate berries if you want to go to town with them!
Fasten off Yarn D, pull the tail on the magic ring really tight and sew in that tail. The other tail will be used to sew the berry to the holly leaf
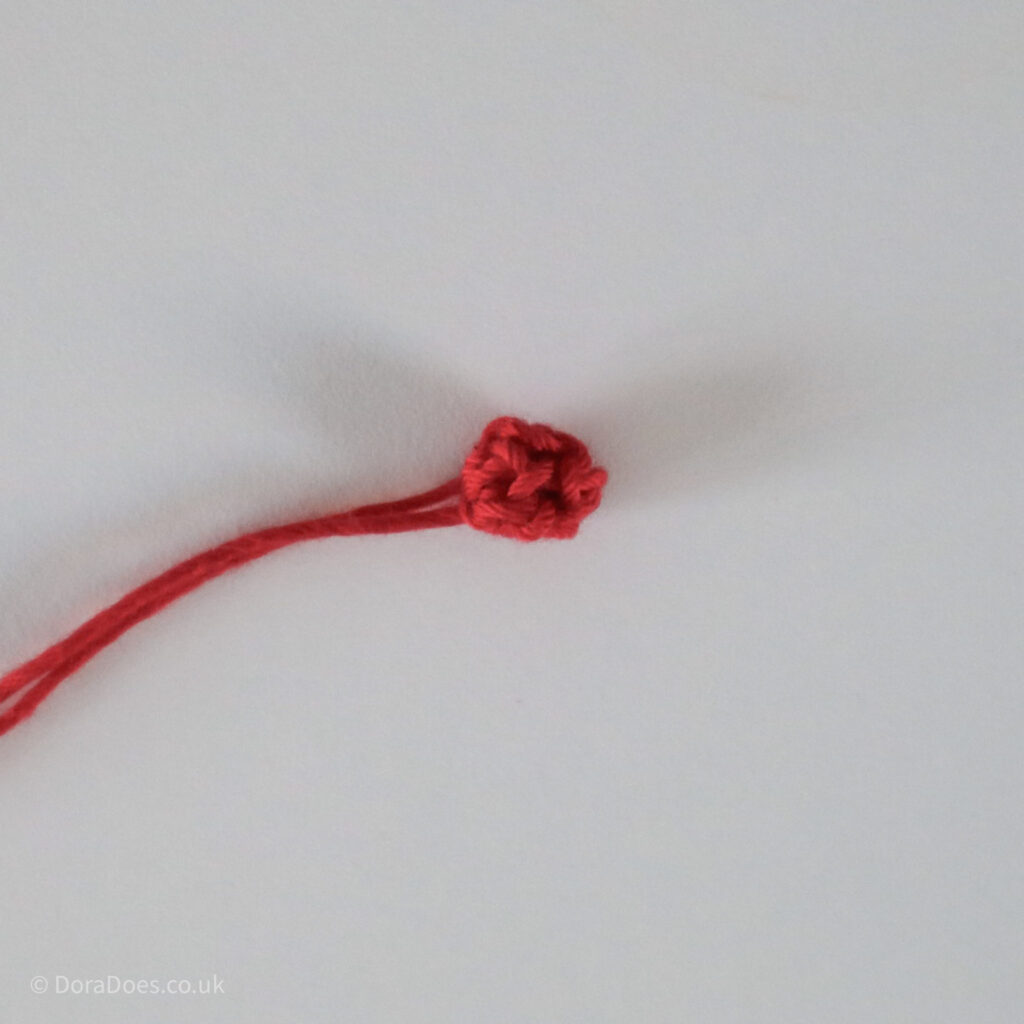
Now you have all the pieces ready to assemble your Yule log

Assembling the Yule Log
First you will assemble the body of the log.
Working with body in front of you and the RS facing, use the long tails to join the first spiral to the body by slip stitching into the BLO of body round and BLO of spiral round, matching stitch to stitch.
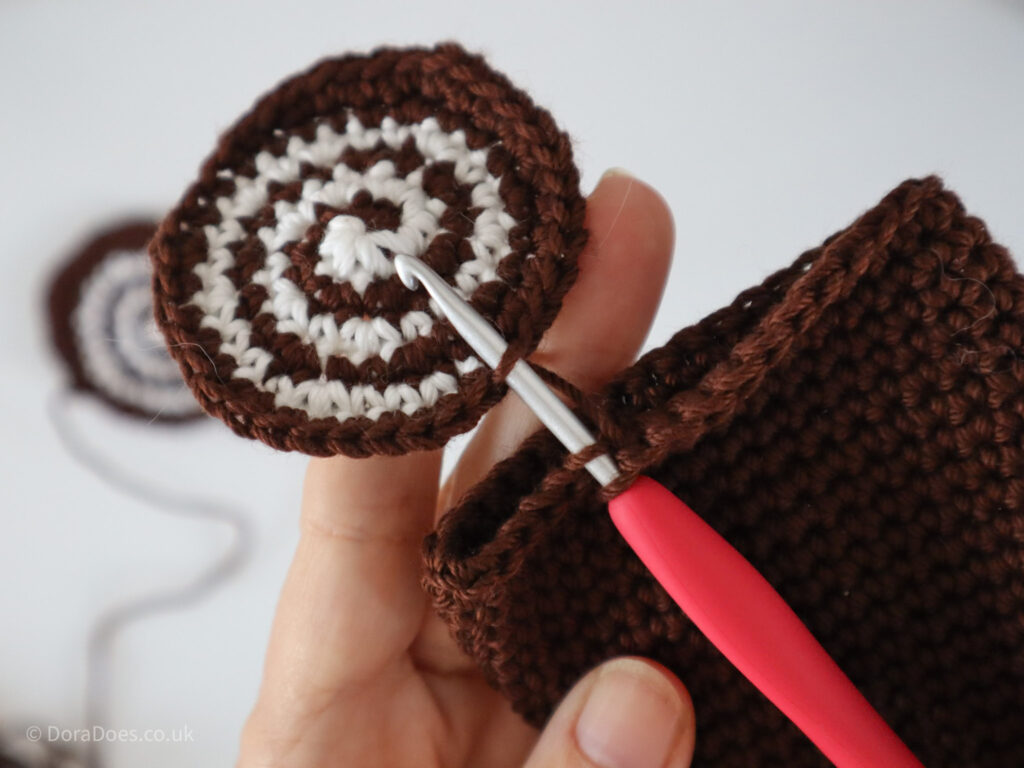
Stuff the log about two thirds to three quarters full using safety compliant stuffing;

Next. begin to join the second spiral in the same way.
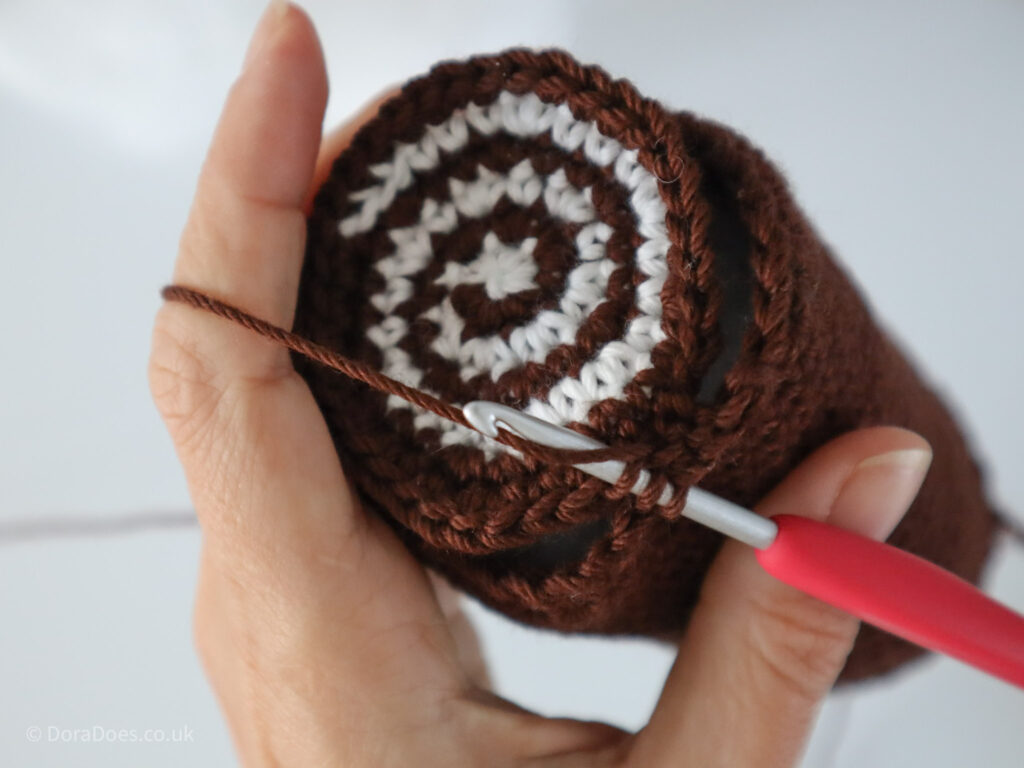
When you have joined the second spiral about three quarters of the way round, finish stuffing the body of the log and complete the join of the second spiral.
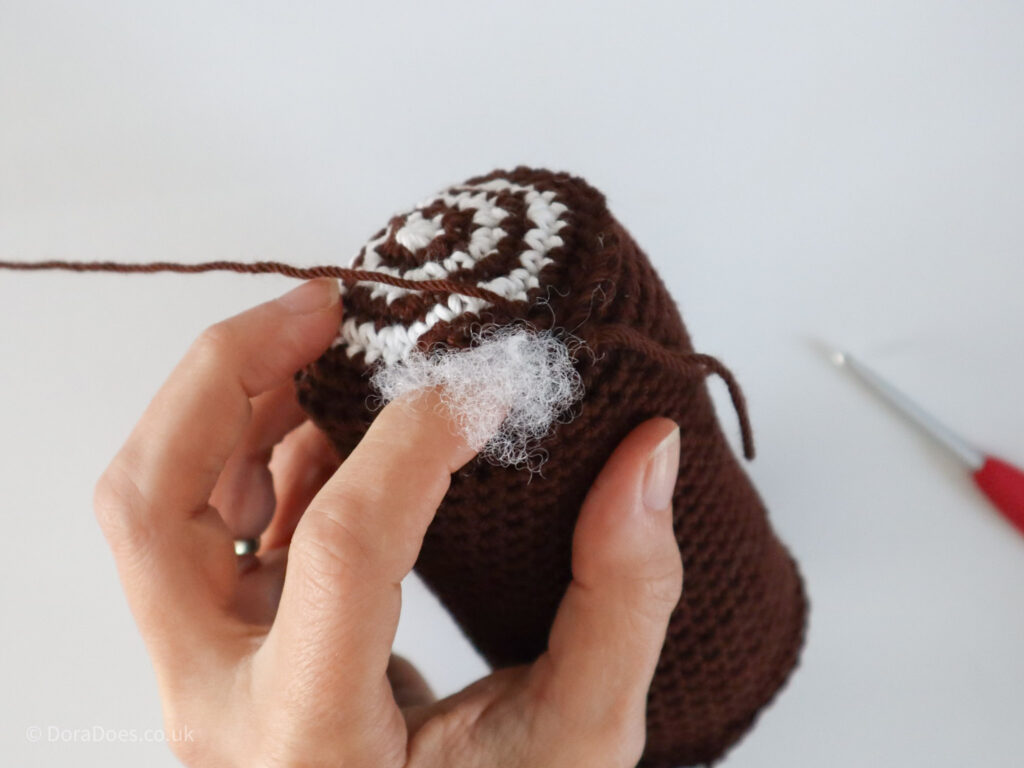
Fasten off and sew in ends
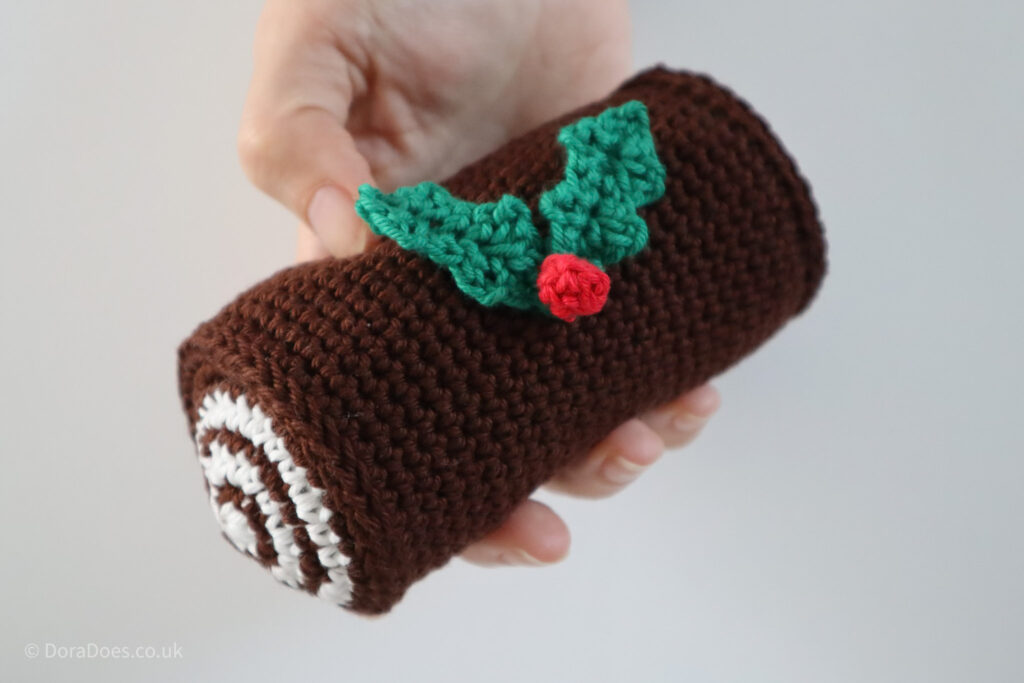
Securely sew together your leaf / leaves with the berries in your chosen combination, then securely sew the sprig onto the body of your Yule Log to finish.

And there you have your finished Crochet Yule Log ready to spread some Yuletide cheer!
I hope you enjoyed this fun pattern. If you want to share this crochet pattern, hit any of the social share or WhatsApp options or learn more about how to share below:
How to find me and share your finished makes
- On Instagram, you can use the hashtag #DoraDoes to share your finished projects or just tag me @doraexplored
- Sign up to the WiP Tip for weekly crochet chat, offers and exclusives straight to your inbox – click here to sign up.
- Check out my YouTube Channel for my biweekly ‘Crochet Studio Sessions’ podcast.
Happy Hooking
Dx
More Christmas Crochet Patterns

Copyright Dora Does Limited, Registered in England, Company Number 13992263. This pattern is for personal use only and may not be shared or reproduced in written, photo, video or any other form without prior written consent. All rights reserved. Terms of service.