Holly Sprig With Berries – Free Crochet Pattern & Tutorial
This post shows you how to crochet a holly sprig with berries to add to your festive crochet makes.
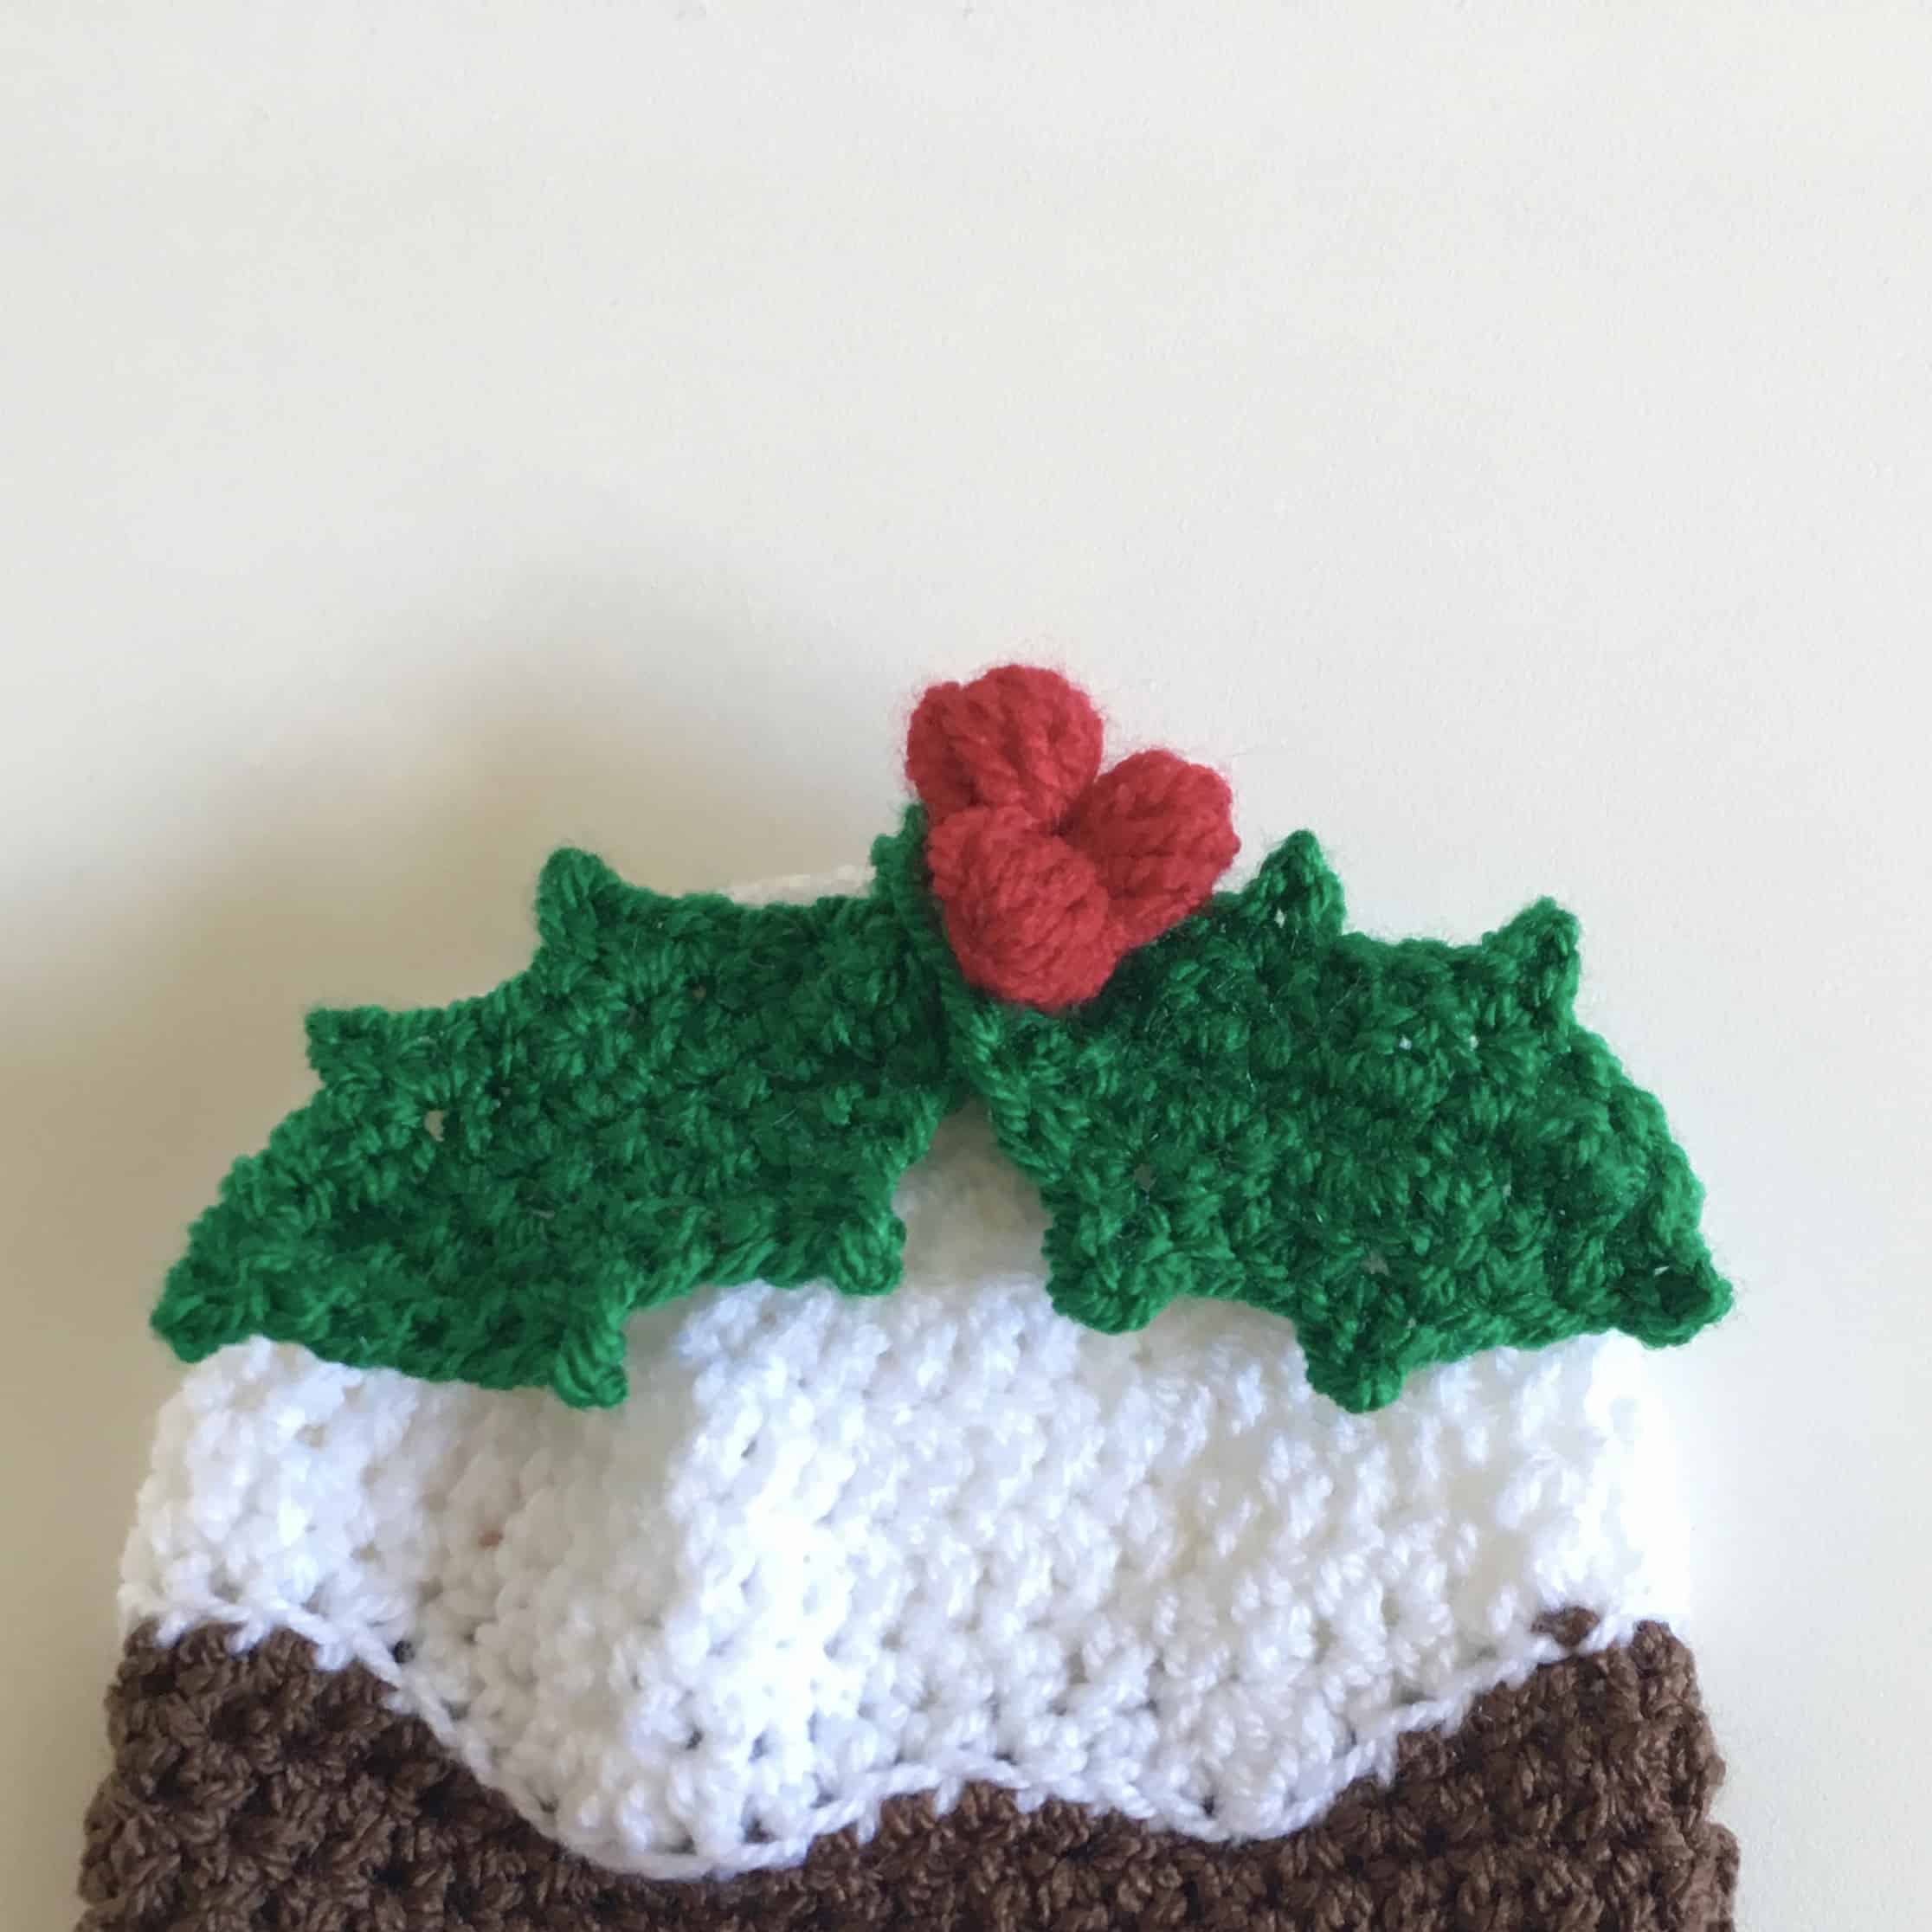
This is a really quick decorative project. These cute sprigs can be made into festive pins for used as embellishments.

This post may contain affiliate links which means if you follow the link and go on to make purchase then I will receive a small commission at no extra cost to you. You can read my full affiliate disclosure here

Materials
Crochet hook
Size 4mm (G/60 hook or size needed to match gauge.
I used my clover amour hook.
Yarn
A small amount of Double Knit yarn in green and red for the Holly and Berry Sprig, I used Stylecract Special DK in Lipstick, Green and Bottle
Each item only requires a small amount of yarn.
This pattern will work with most yarn weights and an appropriate size hook, but the finished size of the item will vary.
Different fibres and yarns will produce a different finished result.
You may find this post useful when choosing yarn.
Finished Size
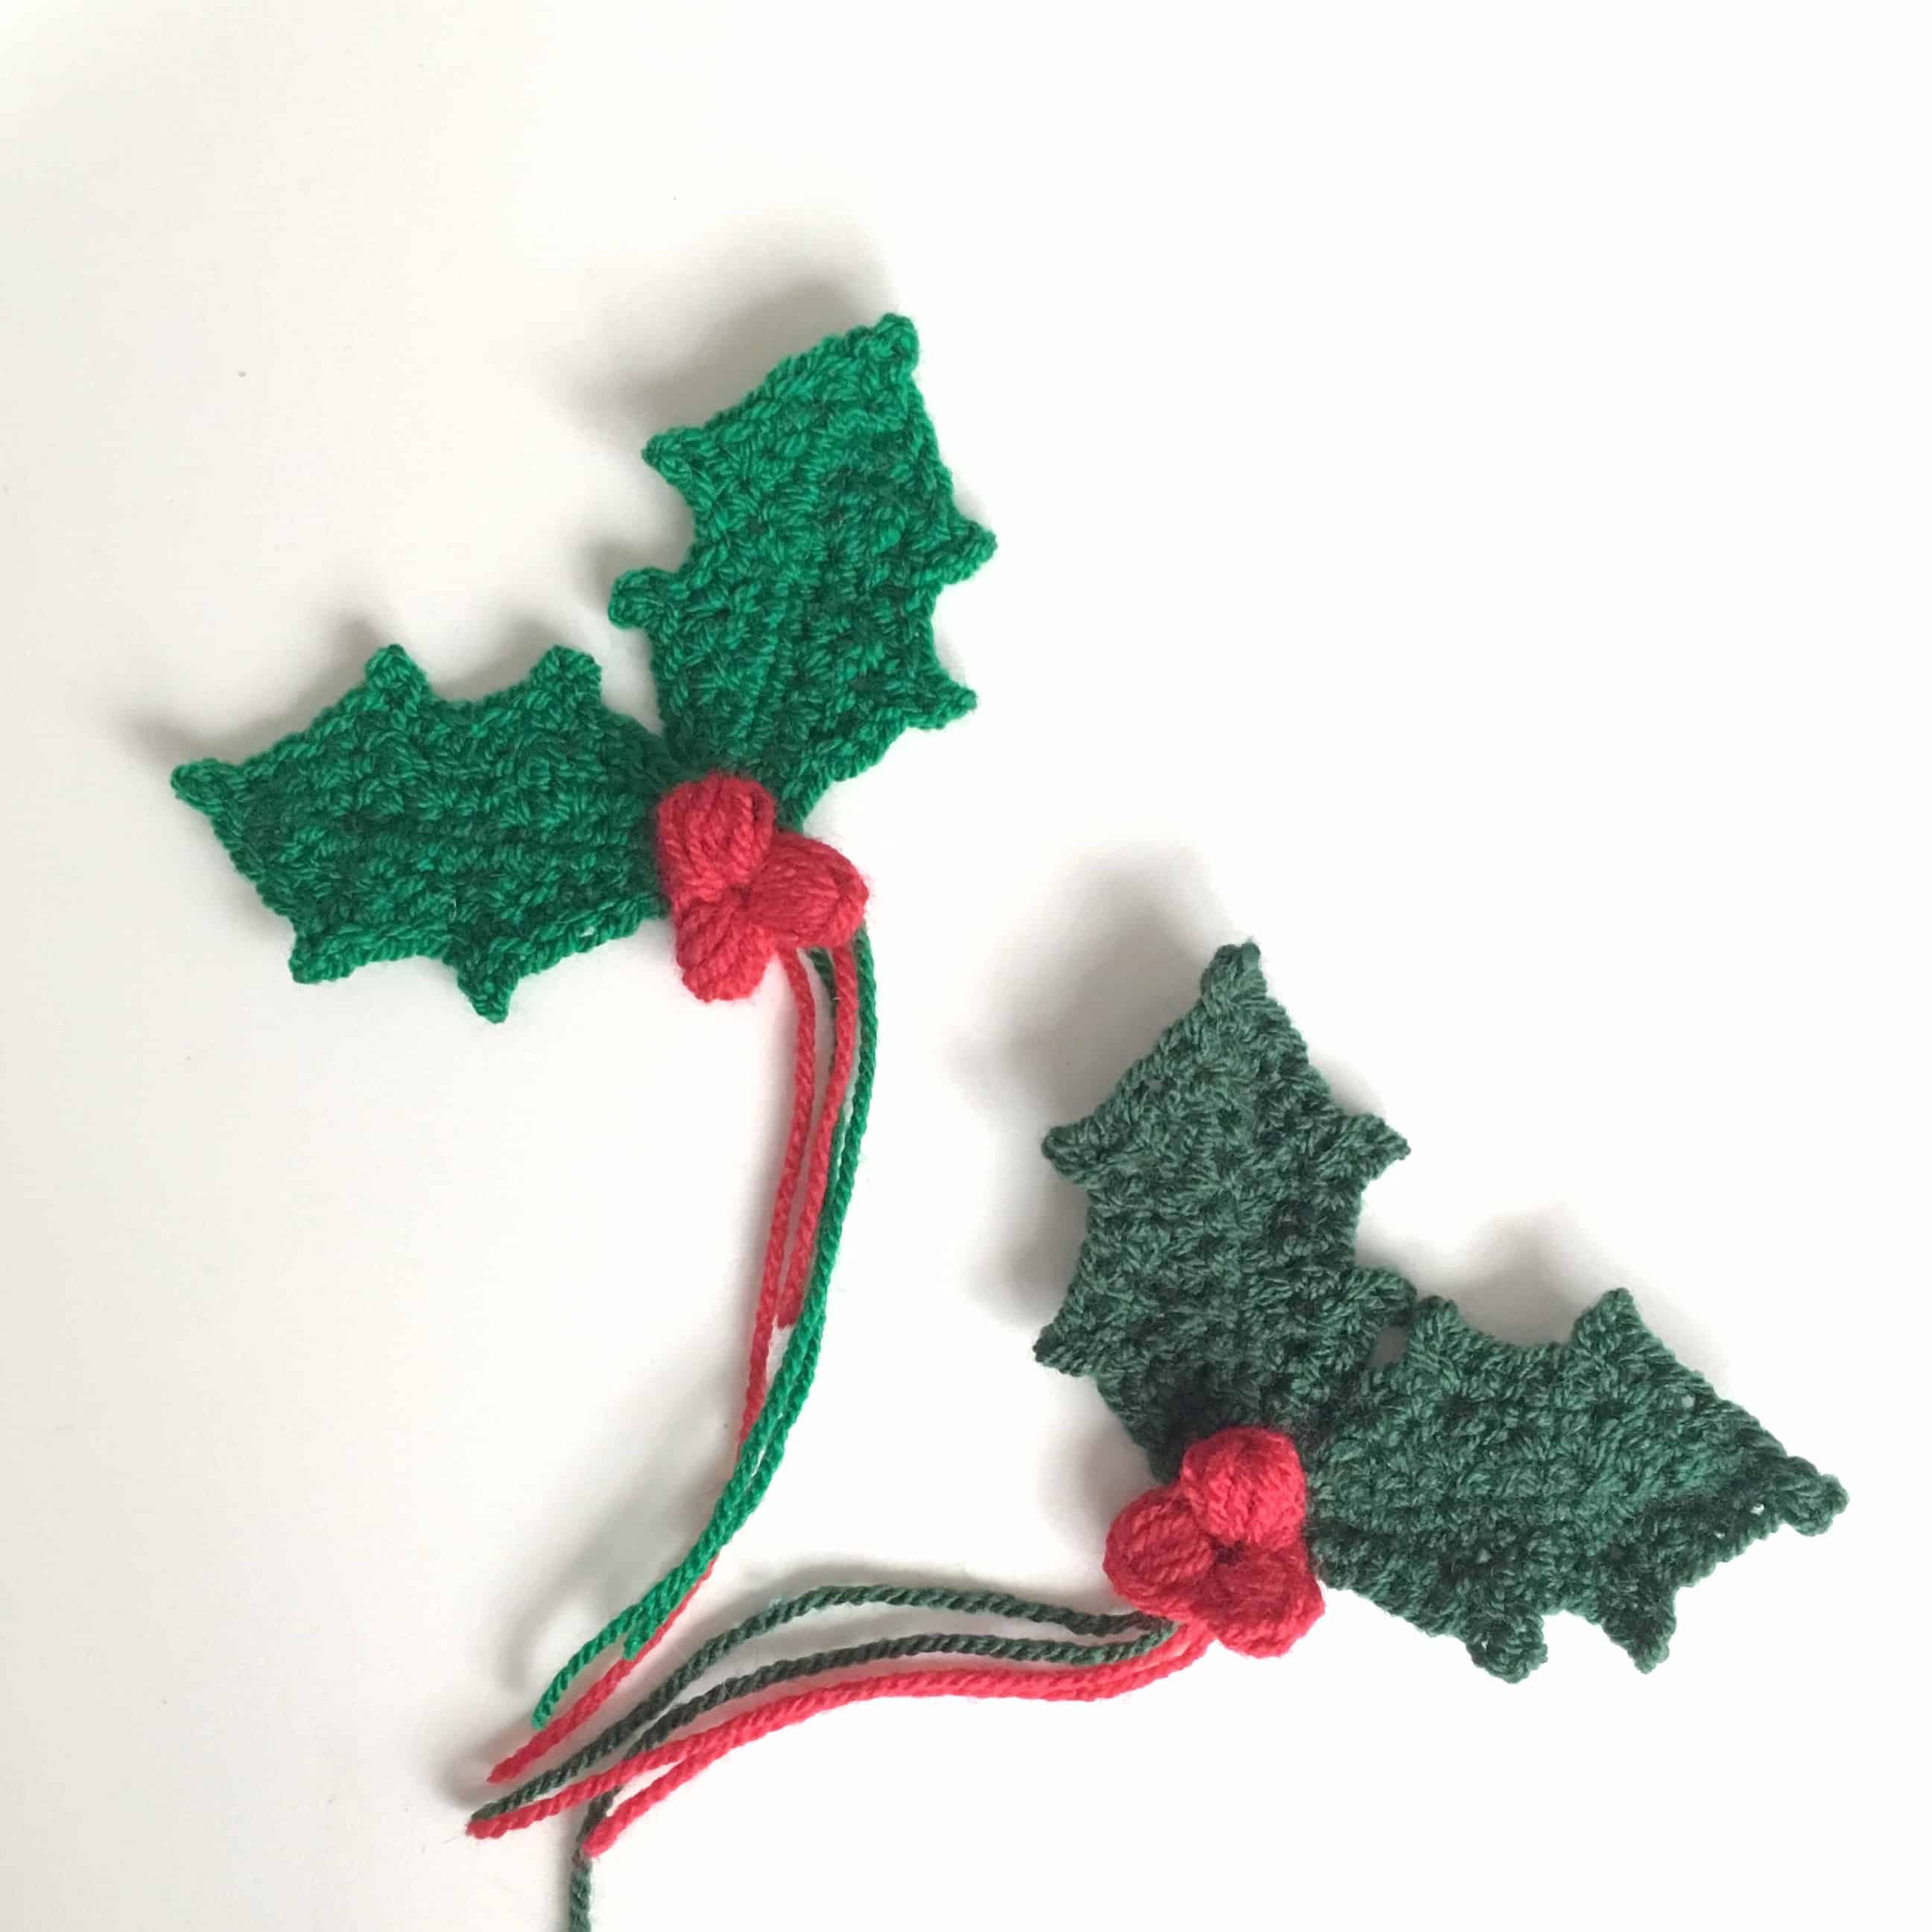
Each leaf pictured measures approx 3in / 7.5cm long in the yarn indicated.
Using a different weight yarn and or hook size will impact the finished size of the motifs.
Stitches and Abbreviations (US terms)
- ch = chain
- dc = double crochet (UK treble crochet)
- hdc = half double crochet (UK half treble crochet)
- sc = single crochet (UK double crochet)
- st(s) = stitch(es)
- sk = skip
- sl st = slip stitch
- yo = yarn over
Special stitches
Picot: Chain 3, sl st in 3rd ch from hook
Pattern Notes
This pattern works stitches around both sides of a starting chain.
You will work the first row into the ‘hump’ of the chain and when working around the back of the chain in the second half of Row 2, you will work into the back 2 loops of the starting chain.
When stitches are referenced in the starting chain they are done so in distance from the hook when the first chain was made. e.g. work in 2nd chain from hook to start, and later on, work in 12th chain from hook etc.
A video tutorial to accompany this pattern is available here:
Disclaimer: Whilst I endeavour to ensure all patterns are error free, occasional typos or errors may slip through. No liability is accepted for this or subsequent variation in finished projects. However, please do contact me if you think the pattern contains an error or you are unsure about interpreting the instructions.
Information in this crochet pattern is given for reference only. Any reliance on information given in this document and associated reference materials is at your own risk. This pattern falls under Dora Does Terms of Service
The Holly Sprig Crochet Pattern
Holly Leaf
Ch14
Row 1: sc in 2nd chain from hook and across and the next 9 chains, sl st in the 12th chain from hook, turn. 10 sc, 1 sl st
Row 2: Ch1, sk sl st and first sc, sc in the next 2 st, (hdc, dc), hdc, sc, (hdc, dc), hdc, sc. At this stage you will have one stitch left in the chain. Work 2sc in this end sc then, moving round to the other side of the ch, work 1sc in the back of the same st and continue working down the other side of the chain. Sc, hdc (dc, hdc), sc, hdc (dc, hdc), sc in next 3 st, sl st into 12th ch from hook on original ch, turn.
Row 3: Ch1, sk sl st and first sc, sc in next st, sk the next st st *sc in next st, (sc, picot, sc) in next st, sc in next st, sk next st* repeat from * 4 more times. Sc, sl st in the next st, sk the ch1 sp, sl st in the 12th ch from hook. Sc in 13th chain from hook on original chain, work 3sc in 14th ch (at the end with the tail) working around the bottom of the ch, work 1sc in the other side of the 13th ch, sl st into the ch 1 sp, fasten off and leave a tail to sew in ends.
Berries
Ch2
Berry 1: Working with the loop on your hook loosely to give you space, yo, *insert hook into 2nd ch from hook, yo, pull up a loop *(3 loops on hook), repeat from * 4 more times ending up with 11 loops on your hook. Yo and pull through all 11 loops
Yo and pull through 1 loop finishing the first berry. Sl st in 2nd ch from hook. Ch 1.
Berry 2: Working into the same st, repeat the process for Berry 1.
Berry 3: Working into the same st, repeat the process for Berry 1 but leave out the final ch1 and fasten off after the sl st.
Leave a tail to sew into the leaves.
You can modify the berries to make only 1 or 2 by leaving off rows 2 and or 3 as you wish!
Finishing
Sew together the leaves in which ever position you favour and securely stitch the berries on top.
I leave the tails to enable me to attach the sprig to whatever I am using them to garnish!
How to share your finished makes
I hope you enjoy this pattern, and as always, don’t forget to tag me in your finished makes! Nothing makes me happier than seeing my designs brought to life by others. I love the colour choices and personal touches you add to the patterns!
- On Instagram, you can use the hashtag #DoraDoes to share your finished projects or just tag me @doraexplored
- If you have the bug for creating garments, why not join my dedicated facebook group “My Crochet Wardrobe” and share them there?
- Sign up to the WiP Tip for weekly crochet chat, offers and exclusives straight to your inbox – click here to sign up
Until next time.
Happy Hooking
Dx
Copyright Dora Does Limited, Registered in England, Company Number 13992263. This pattern is for personal use only and may not be shared or reproduced in written, photo, video or any other form without prior written consent. All rights reserved. Terms of service.
That’s awesome! Any tips on how to make them smaller? Would it be easy to adjust the pattern?
Thanks! It would be tricky to reduce the number pattern repeats and still keep the shape, but you could make them with a smaller crochet hook and finer yarn (a 4ply or cotton thread)to make smaller leaves.
Thanks for the pattern. I’ve been struggling for some reason to make holly and hopefully this will solve my problem.
I know when I designed this it took way longer to get right than I expected- but I got there in the end! I hope it sorts your holly needs! 🤗🎄
I am a right handed crocheter not a left I can’t do this the way she is it looks backwards to be ……
Hi, there is a right handed tutorial here: https://youtu.be/nLi45ie0pGg – hopefully this will be easier to follow ?