
Between the thorns: Free collared crochet cowl pattern
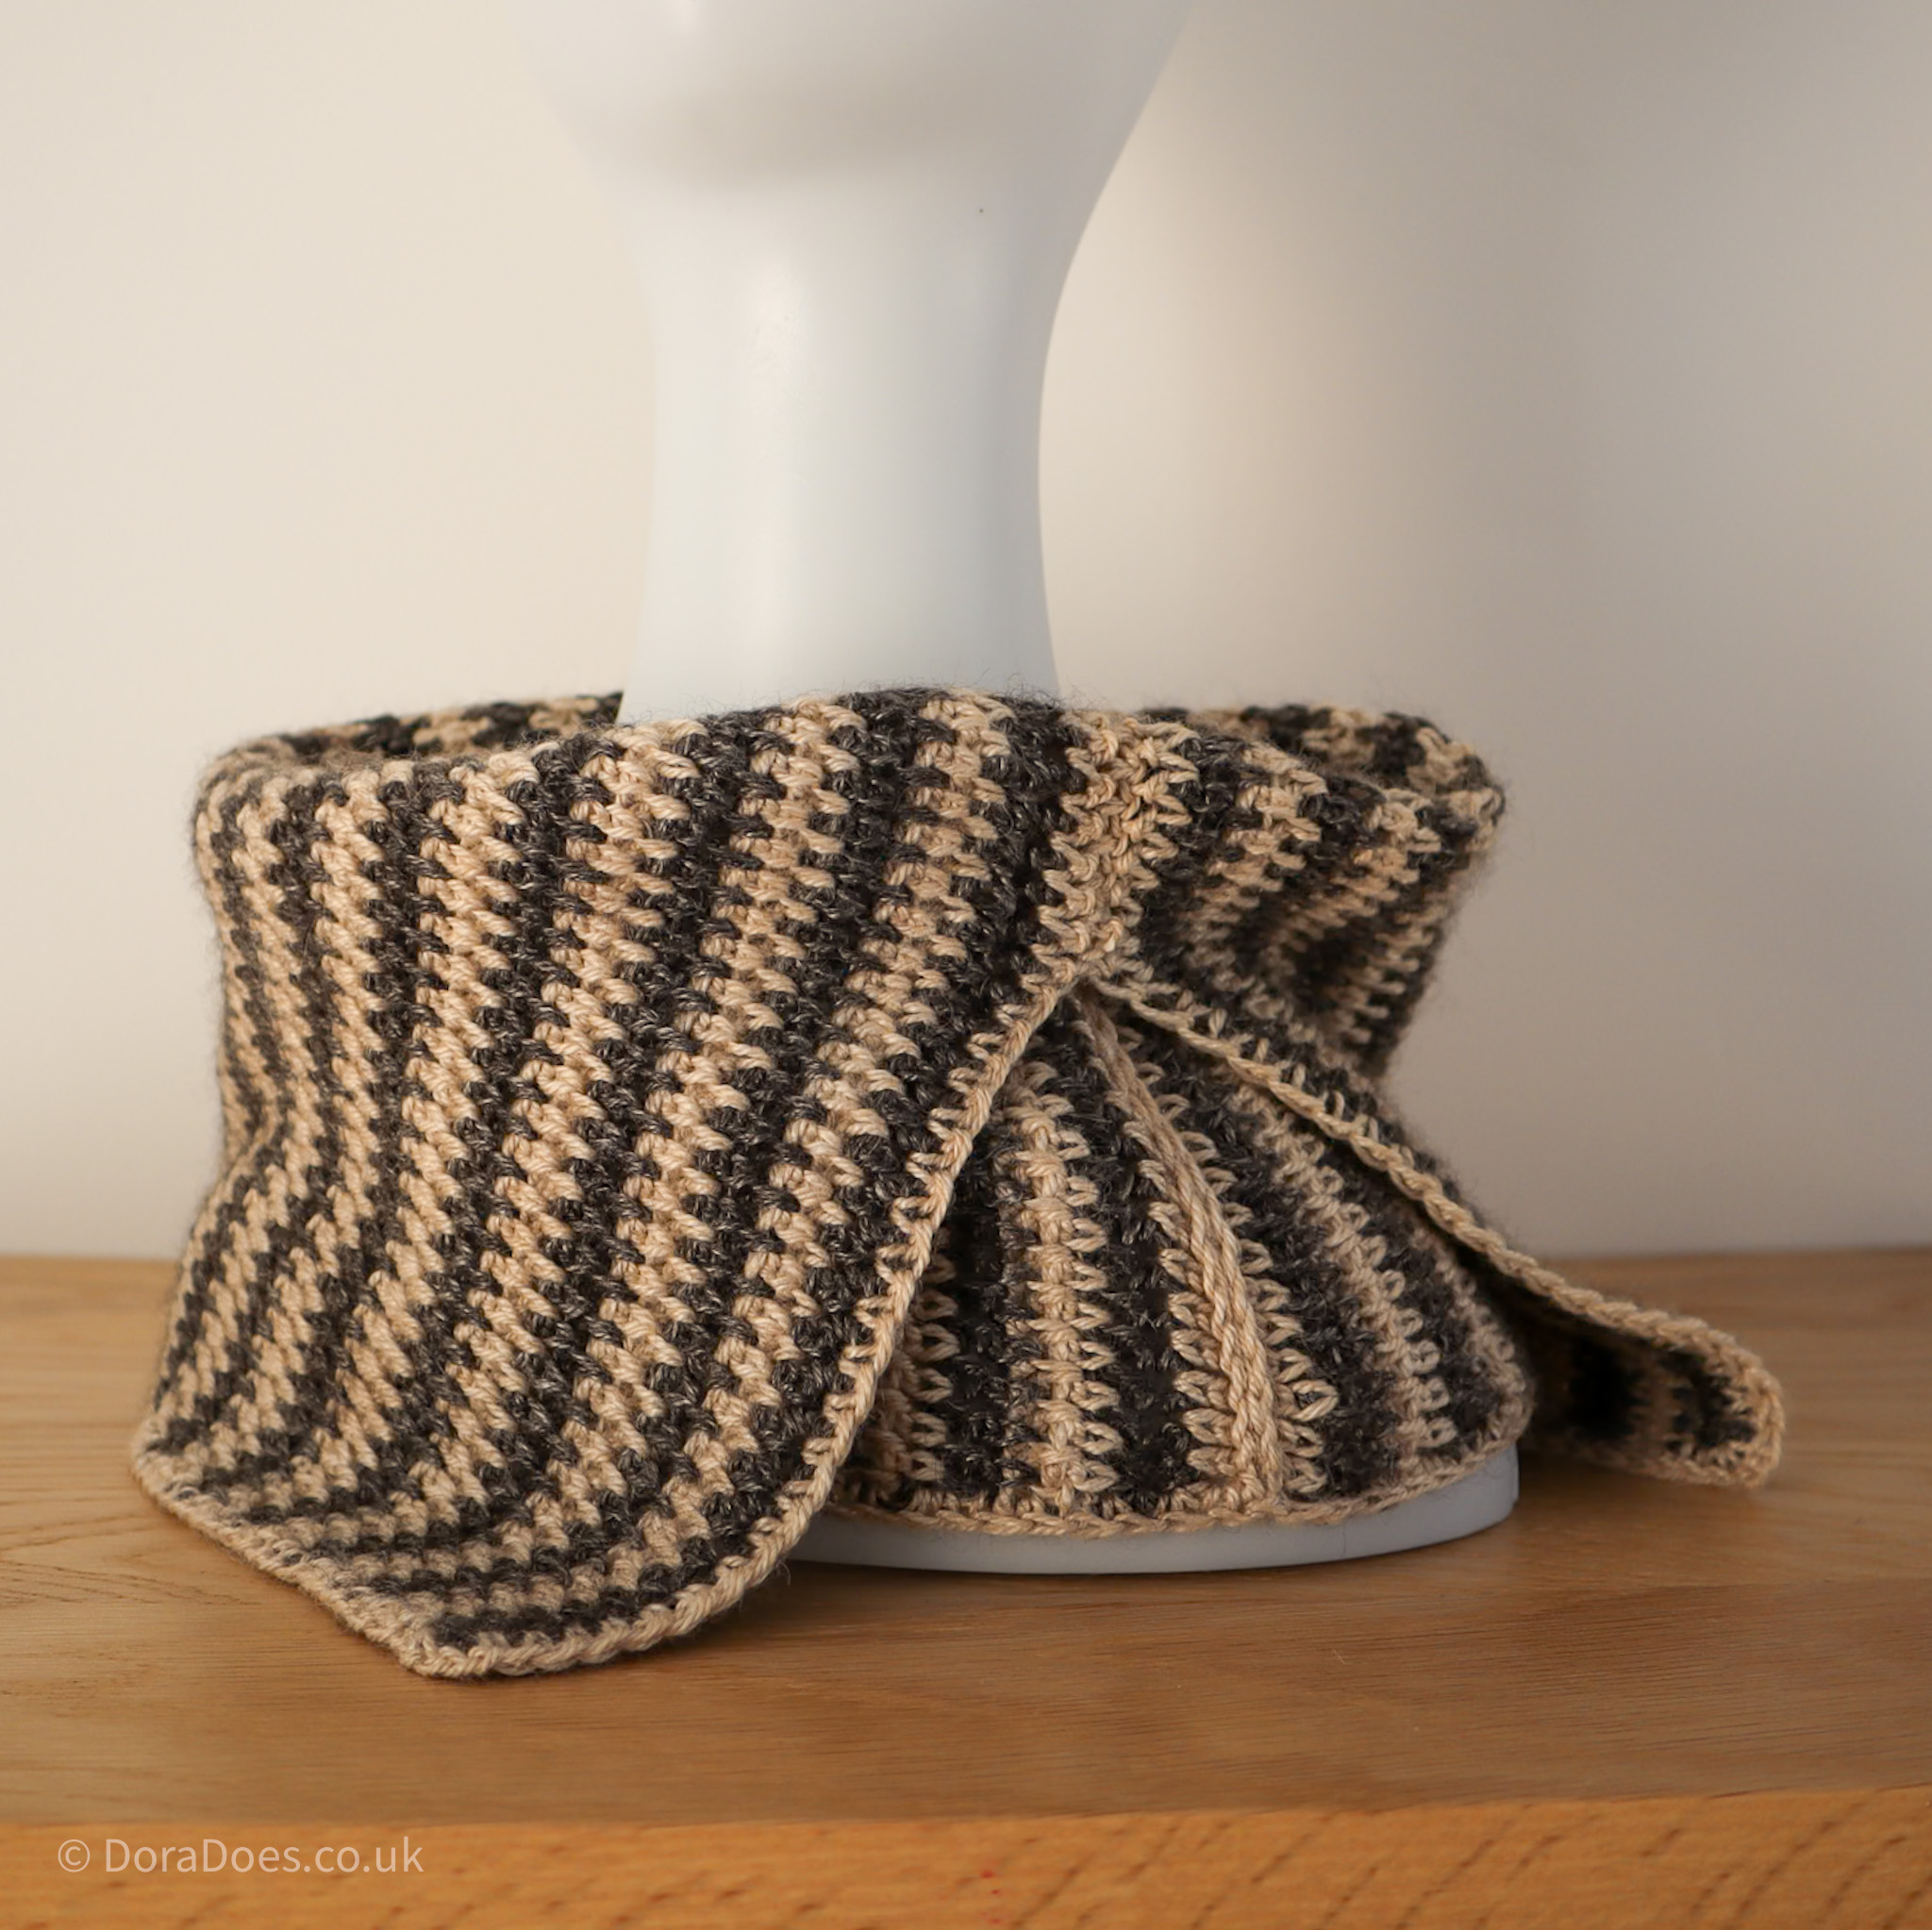
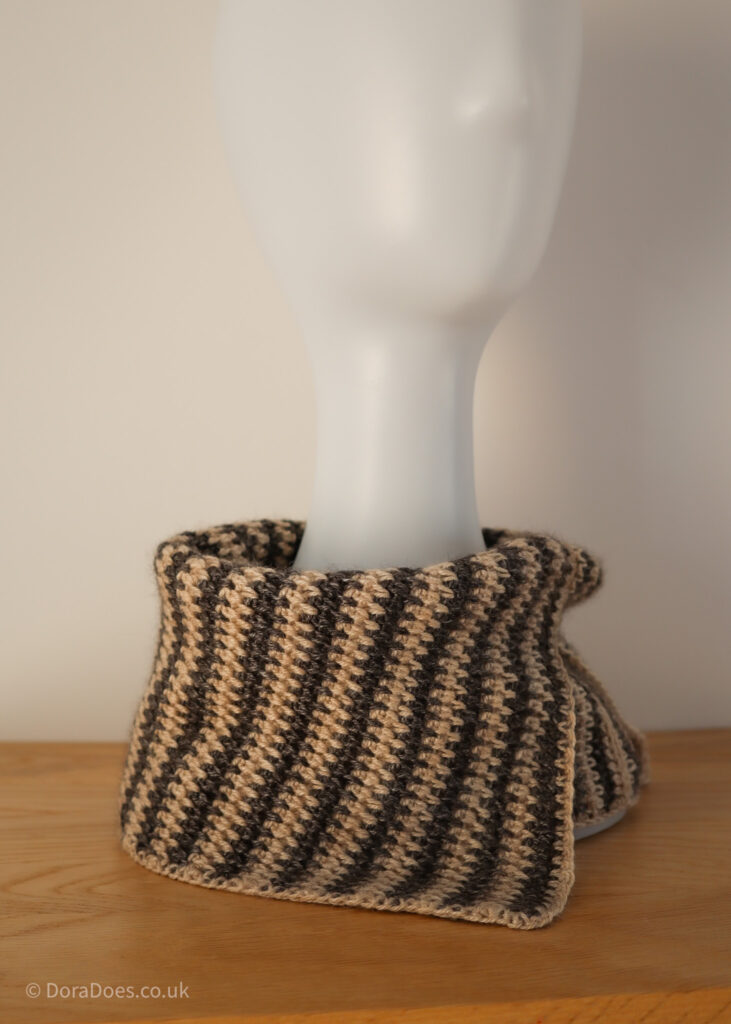
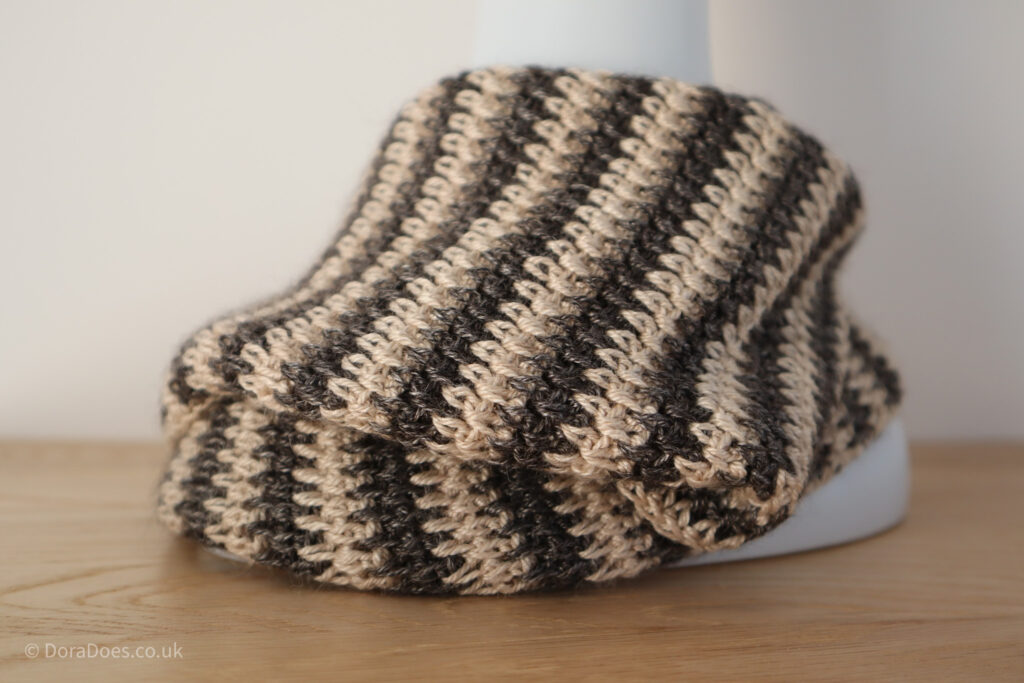
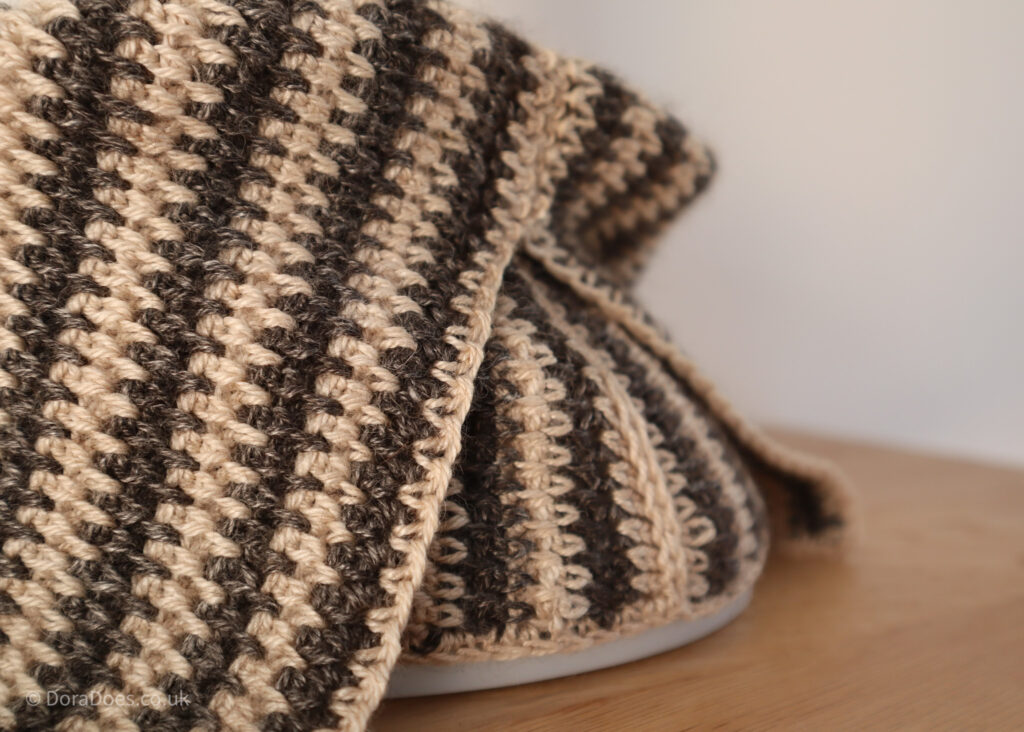
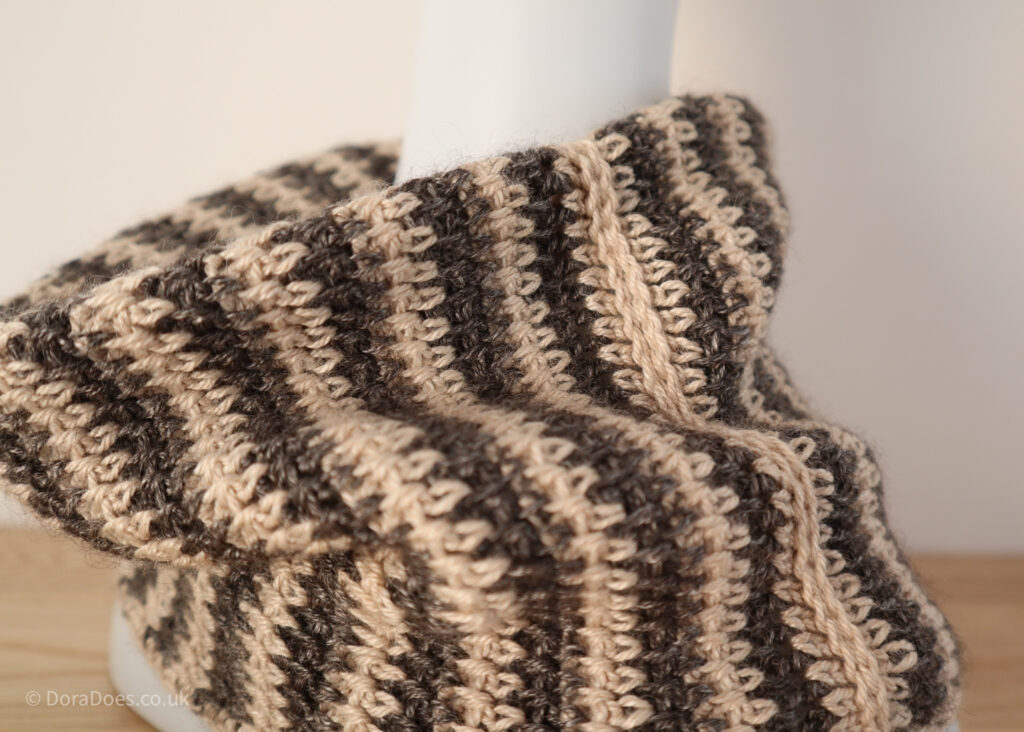
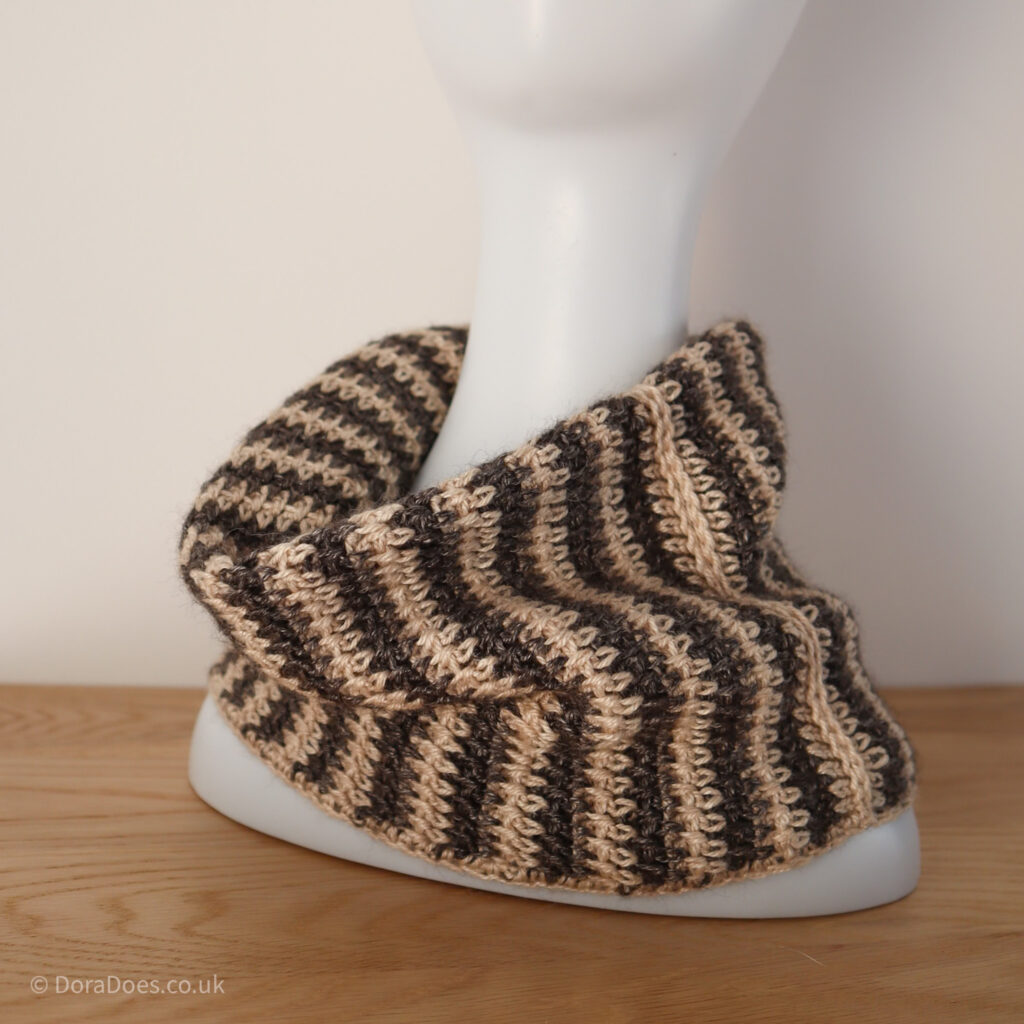
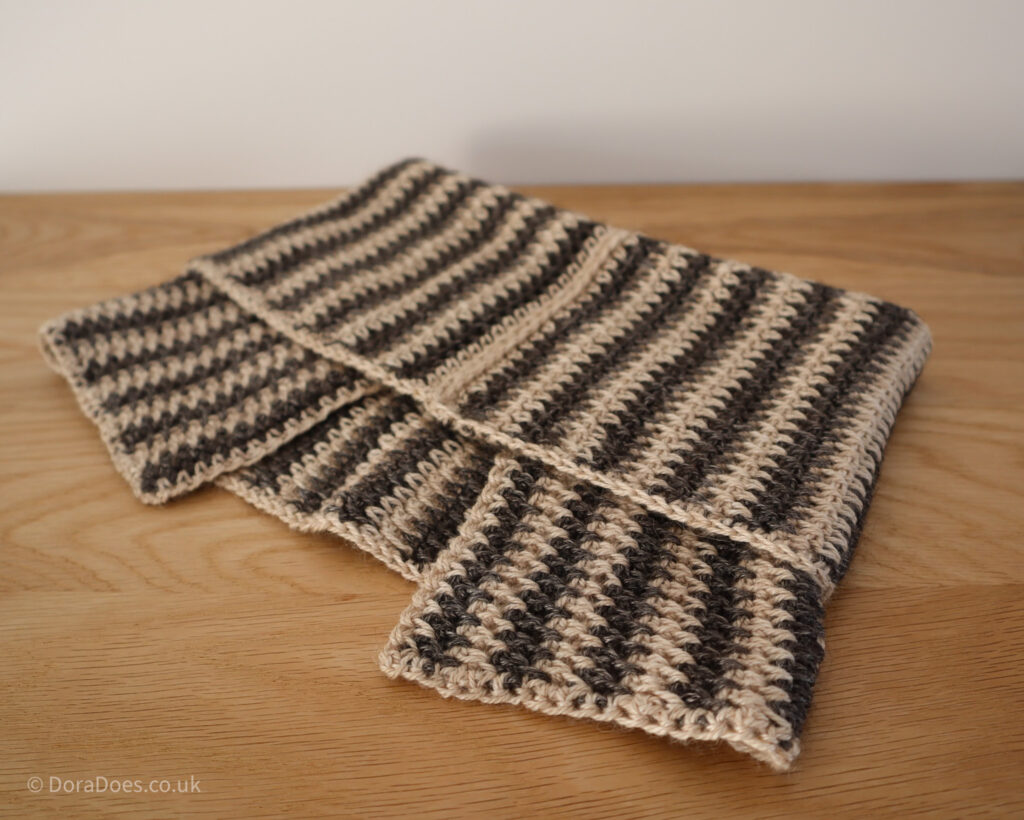
Between the thorns is a practical cowl pattern that’s made using a fun crochet technique which creates an interlocking two-colour crochet fabric.
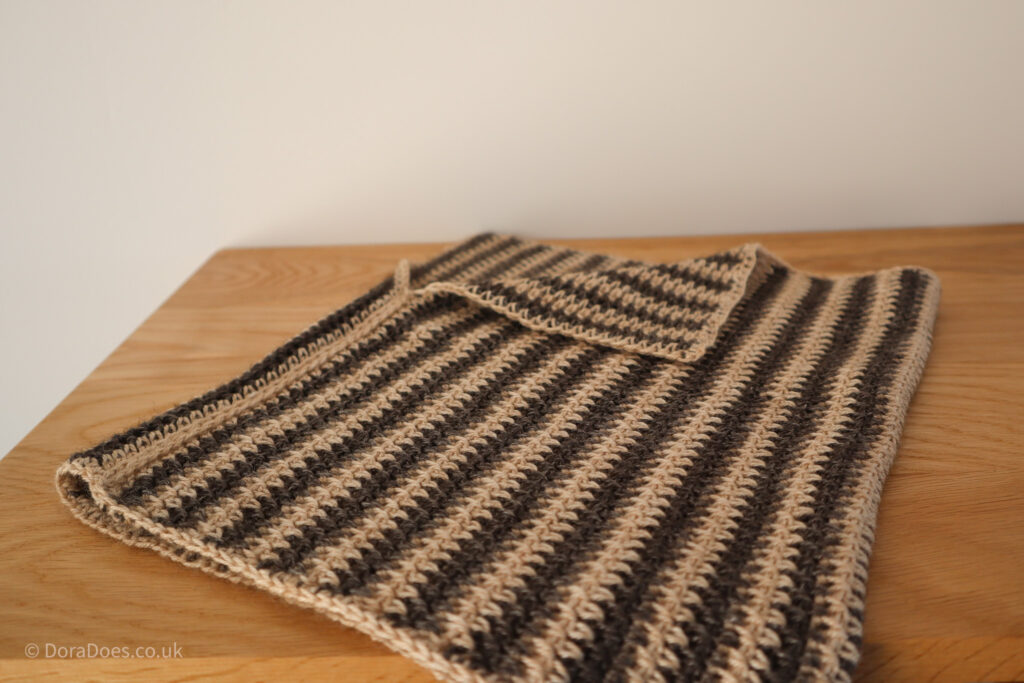
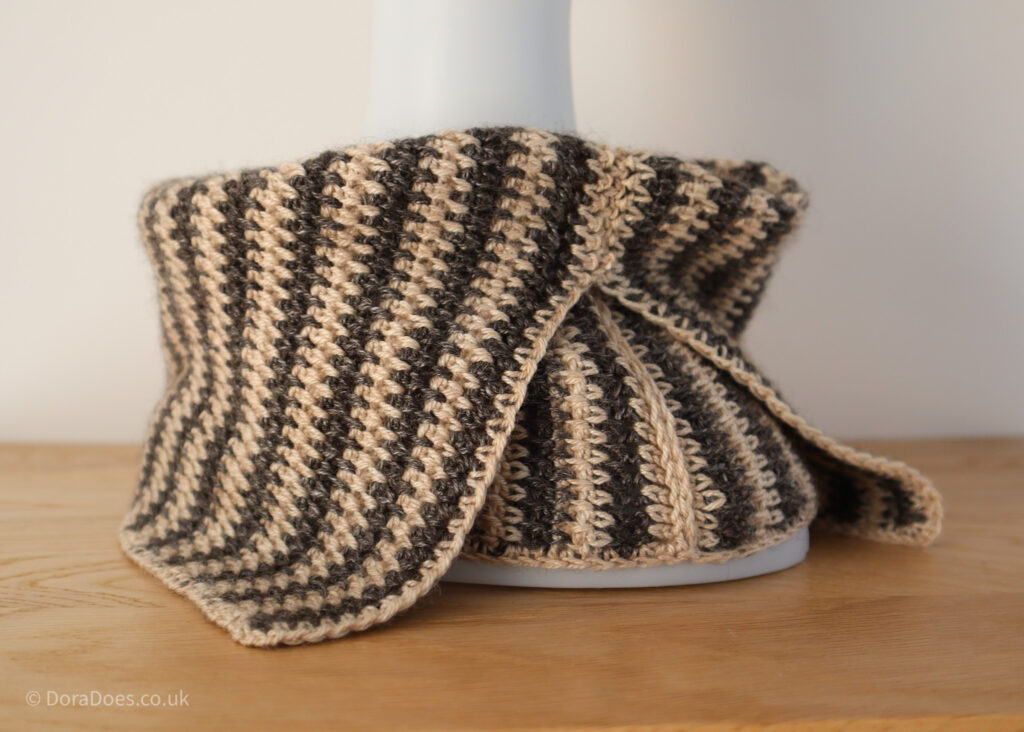
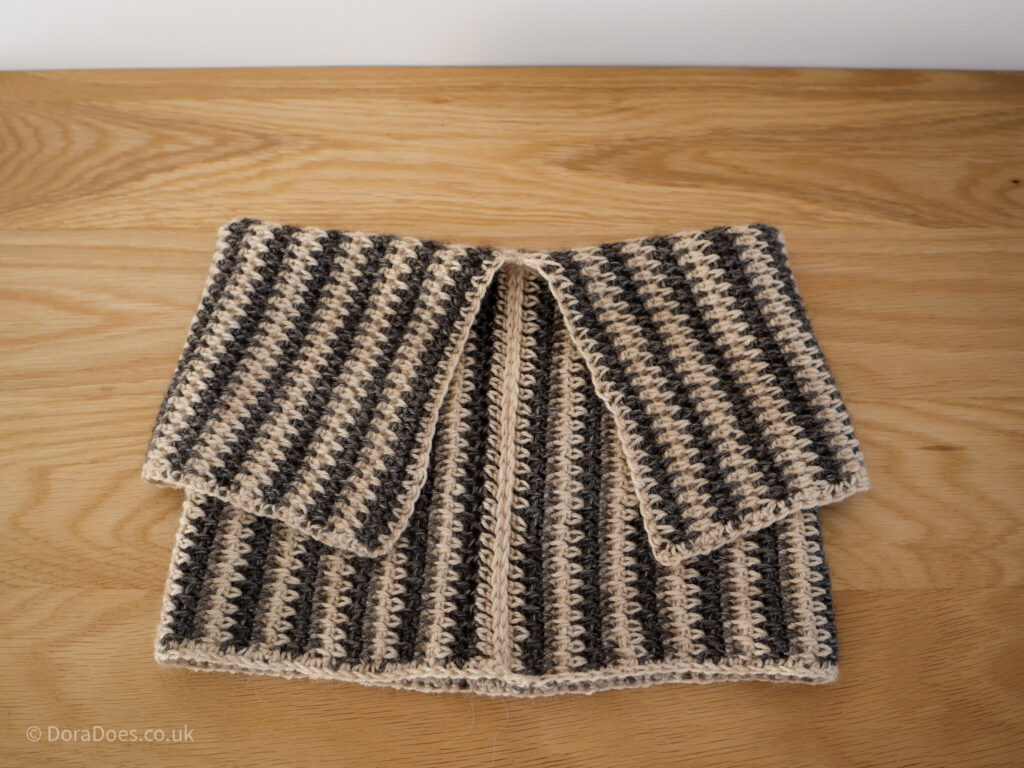
With a split join, it has a collar type fold which can be worn multiple ways; double it over, show off the collar or tuck it under a jacket.
However you style it, this is a super practical cozy crochet accessory. It’s also easy to adjust, allowing it to be simply adapted to different yarn weights and fibres.
This post contains affiliate links. This means if you click a link to a product and go on to make a purchase, I receive a small percentage of the sale at no extra cost to you. You can read my full affiliate disclosure here.



Pattern Notes
General Notes
- Please read through the pattern and all associated notes before starting your project
- This pattern uses standard US crochet terminology (UK equivalents are given in brackets in the abbreviations list where applicable)
- Numbers at the end of a row indicate the number of stitches in that row
- Turning chains do not count as stitches
Construction
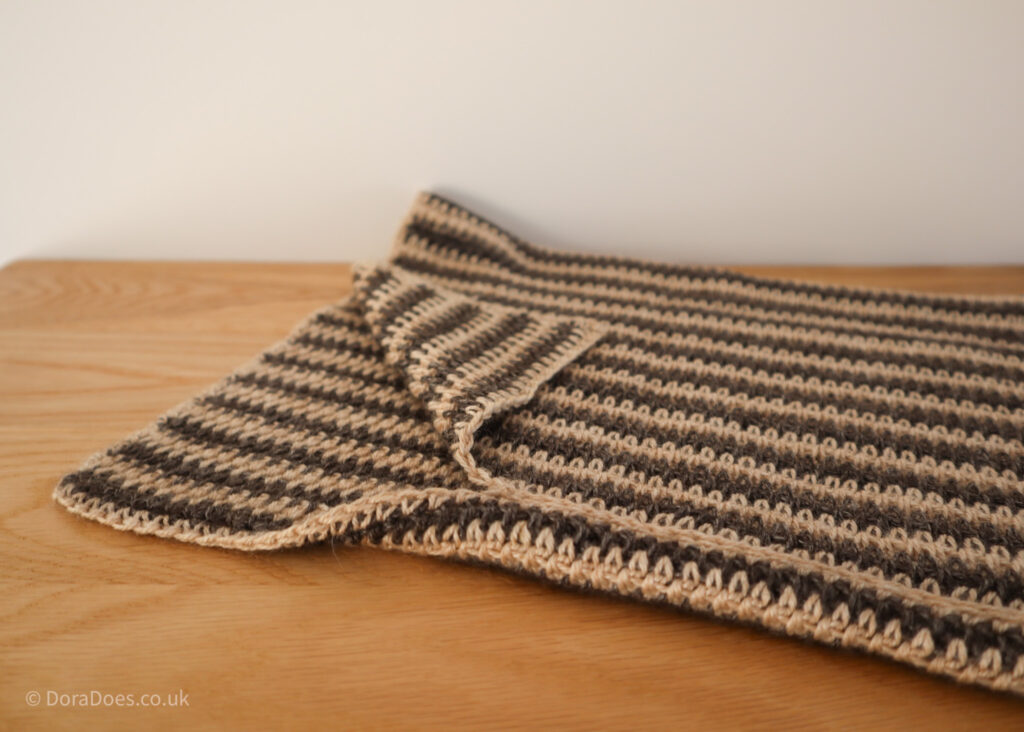
- The cowl is worked flat, in rows, to create a rectangular piece of fabric – learn about cowl construction here
- The length of the row represents the depth of the cowl and the number of rows represent the circumference.
- On the last row of the pattern you will work the border and join the two ends to seam the cowl together (joining schematic included in pattern)
Skills Used
I would say this is an experienced beginner to intermediate level pattern which uses the following skills:
- Knowledge of basic crochet stitches, techniques and terminology is assumed
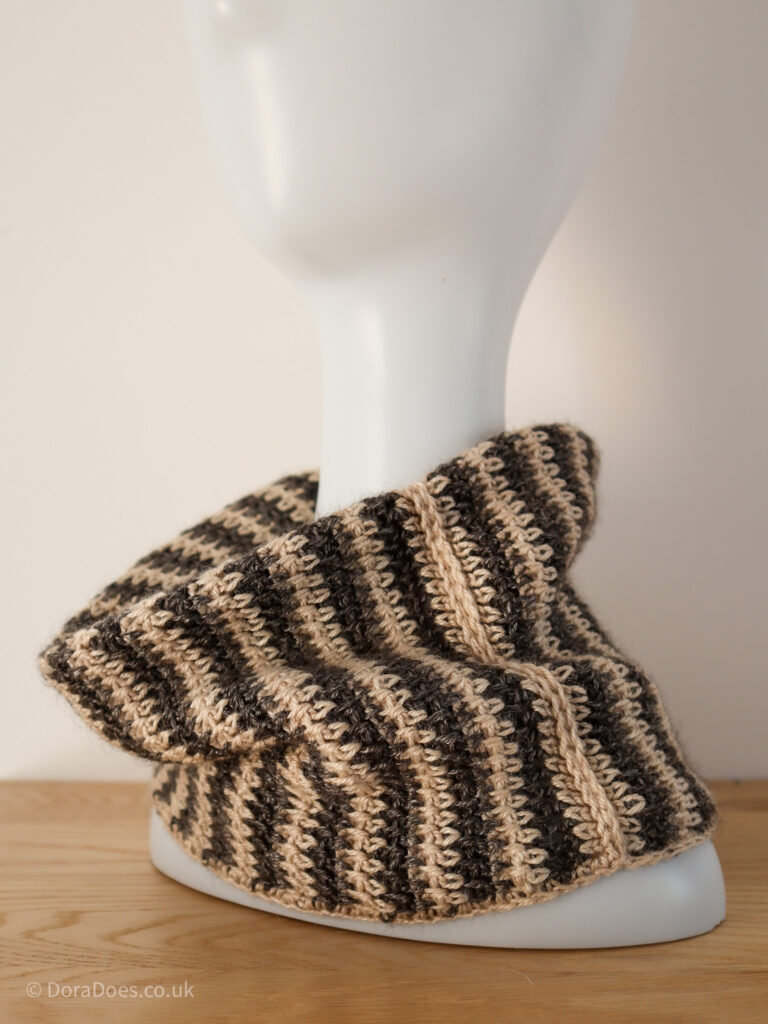
- This pattern involves working between the posts of stitches rather than into the top
- It’s helpful if you have a good understanding of crochet stitch anatomy (tutorial here), but I created a tutorial showing how to crochet between the posts of various stitches.
- Find the video chapter for working between the posts of extended single crochet here (left handed version here)
- You will change colours every 2 rows and carry the yarn up the sides
- You will work into row-ends when making the border and use slip stitches to join the ends
Materials
Crochet Hook
You will need a 4.5mm crochet hook, or size needed to obtain gauge. I used my clover amour hook.
Note that for the technique used in this pattern, I used a slightly larger crochet hook than is traditional for the yarn weight.
Yarn Requirements
You will need a total of 350m of 4ply / fingering weight yarn – 175m of each of the two colours.
The item pictured used two 50g skeins of The Border Mill Alpaca Rose yarn, one in each of two colours. 50% Alpaca, 50% Rose fibres. 50g ball =175m
- Yarn A: Pewter
- Yarn B: Electrum
Yarn Substitution Options
I have used a rather unusual yarn blend for the sample. If you want to achieve a similar drape and sheen, I would recommend substituting the Rose element with a bamboo, viscose, lyocell or silk to give it that lovely sheen and drape.
The pattern will work with most fibres, but I would recommend a wool or alpaca blend. A super-wash merino with a low twist would look great I think. The alpaca has a nice halo which will make a lovely cosy accessory. A smoother yarn would have increased stitch definition. As with most cold weather accessories, I would avoid using cotton.
Different fibres and yarns will produce a different finished result. You may find this post useful when choosing yarn.
Other Materials & Notions
Yarn needle, scissors and a tape measure
You may wish to block this project, in which case I recommend a Blocking board and pins. Learn more about blocking here.
How to purchase a Dora Does crochet pattern:
I sell my PDF crochet patterns in my Etsy, Ravelry and Love Crafts stores. You can purchase this pattern on any of these platforms, depending on your preference. Simply click the relevant links throughout this pattern page to be taken to the listing, or visit the store homepages in the links at the start of this paragraph.
Measurements & Finished Size
The finished cowl measures 48cm in circumference and 30cm deep after soak blocking. The depth was unchanged with blocking but the circumference increased by about 4cm.
How to adjust the size
Should you wish to adjust the size of the cowl, weather to accommodate a different weight yarn, a difference in gauge or your personal preference, you can do so as follows:
- To adjust the depth, change the length of the foundation row; a longer row will make a deeper cowl and vice versa for a shorter row.
- To change the circumference of the cowl, change the number of rows crocheted. Keep going with the pattern repeat until the panel reaches your desired length (which translates to the circumference).
- To change the depth of the collar fold, change the number of stitches you join the ends for. For no fold, join all the way along.
Stitches & Abbreviations: US terms
(UK Equivalent in Brackets)
- ch = chain
- esc = extended single crochet (see special stitches)
- rep = repeat
- RS = right side
- sc = single crochet (UK double crochet)
- sp = space
- ss = slip stitch
- st(s) = stitch(es)
- yo = yarn over
Special Stitches
Extended Single Crochet (esc)
Insert hook, yo, pull up a loop (2 loops on hook), yo, pull through one loop (2 loops on hook), yo, pull through two loops to complete the stitch.
You can find a full tutorial for the extended single crochet stitch here
Pattern Repeat
In this pattern, you will work between the posts of the stitches in extended single crochets.
You can find a vide tutorial for this technique at the links below and a written and photo tutorial here.
Gauge
17 sts and 20 rows in 10cm of extended single crochet worked between the posts (after blocking) using a 4.5mm crochet hook or size needed to obtain gauge.
Note that the stitch gauge was unchanged by blocking but my pre-blocked row gauge was 22 rows in 10cm so this changed quite a bit.
Variation in your gauge will lead to variations in the finished size of your project.
Learn how to make and measure a gauge swatch here
Purchase the ad-free printable PDF of this crochet pattern from Ravelry or Etsy
Between the Thorns Cowl Pattern
Main Body of Cowl
Using Yarn A
Row 1(RS): Ch52, 1esc in 3rd ch from hook and each ch to end, turn. 50 sts
Row 2: Ch2 (does not count as st throughout), starting between the posts of the first and second st, make 1esc between the posts of each st to end, making last st into sp between the ch2 and post of first st of the previous row, turn. 50 sts
Join Yarn B, drop Yarn A
Rows 3-4: Rep Row 2
Drop Yarn B, pick up Yarn A
Rows 5-6: Rep Row 2
Drop Yarn A, pick up Yarn B
Rows 7-94: Rep Rows 3-6 (ending on a second Yarn A row)
Fasten off Yarn B, pick up Yarn A.
Continue to border and joining without fastening off Yarn A
You may wish to block your work before joining as this will give you a better idea of the finished size.
Border and Joining
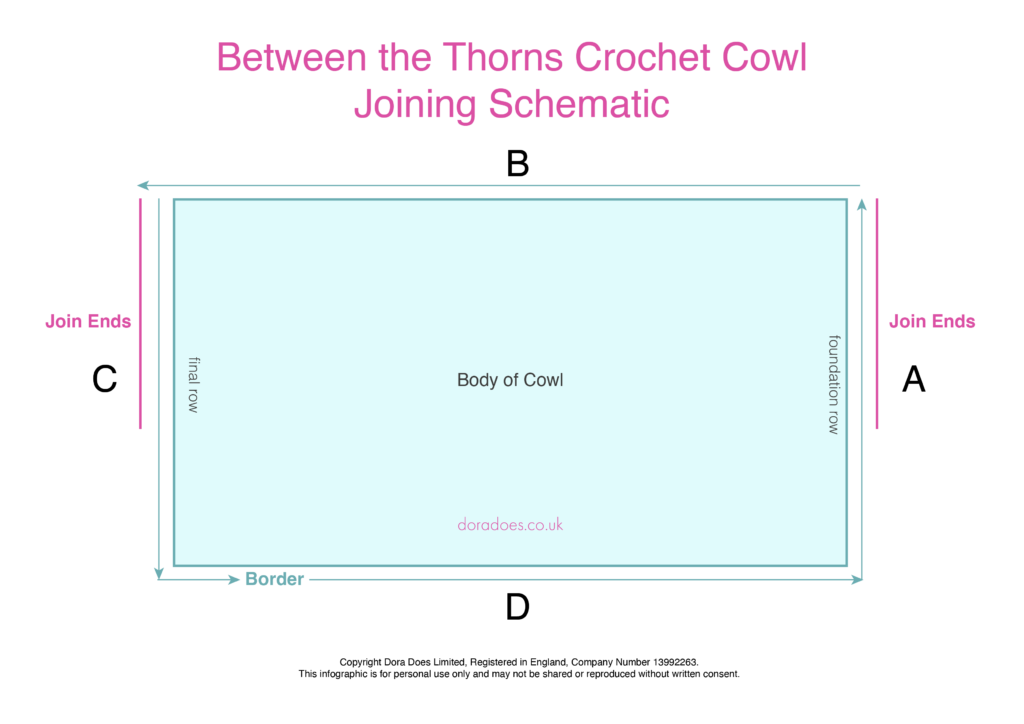
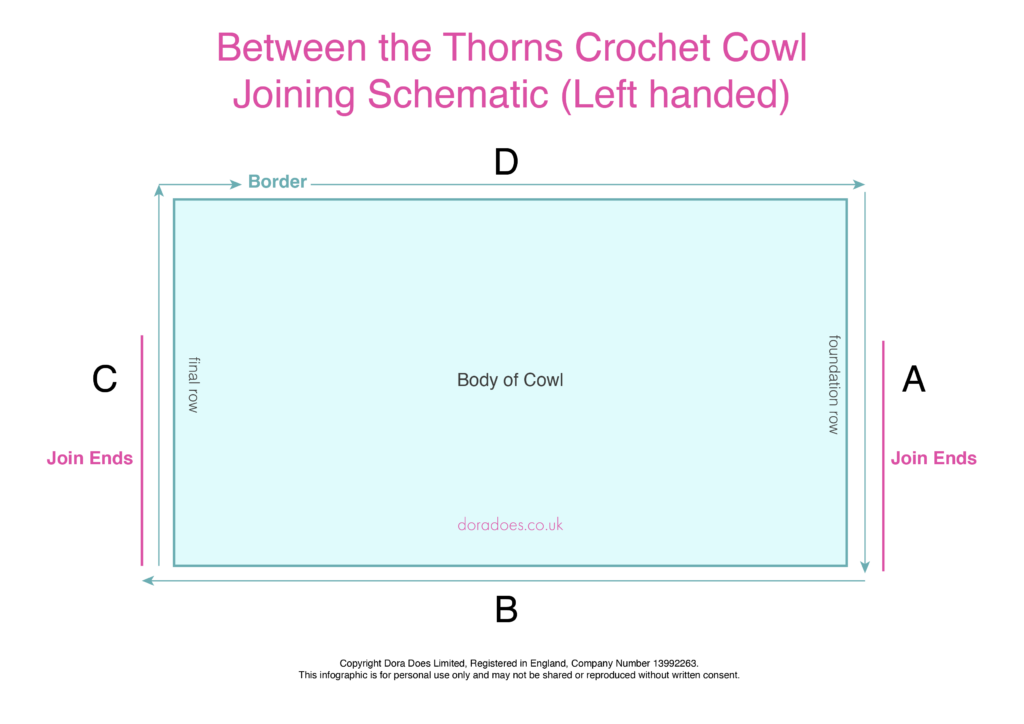
In the last row, you will work a border around the rectangle then join the two ends to create the cowl. The right-handed joining schematic below accompanies the written instructions and is immediately followed by a similar schematic for left-handed crocheters (the right handed is worked anti-clockwise and the left handed is clockwise)
Border Row (RS):
- With RS facing, make 3sc into the top of the first st, then make 1esc between the posts of each st to end, as in Row 2 (do not turn at the end of the row). You have just worked along side C of the joining schematic
- Turn 90 degrees to work into row-ends along side D
- With RS still facing, make 3sc into the side of the ch2 as the first row-end
- Work 1sc into each row-end to the end of side D
- Make 3sc into the last row-end
- Rep Row 2 along the back side of the foundation row (side A), over the ch from Row 1 and between the posts as you have done for the majority of the pattern
- Work 3sc into the top of the ch2 at the start of the foundation row
- Turn 90 degrees to work into row-ends of side B
- Work 1sc into each row-end along side B to the end
- Ss into the top of the first st to make a round
You are now ready to join the two ends – Sides C and A
Joining Row (RS):
- Ch1 (does not count as a st), matching stitch to stitch, ss together sides A and C for 32 sts (including the second two of the three sc made on the corners of the border round)
- Leave the remaining sts of sides A and C unjoined as this is where the open collar will fold down
Fasten off, block if you’ve not already done so and sew in ends to finish your cowl
How to find me and share your finished makes
- On Instagram, you can use the hashtag #DoraDoes to share your finished projects or just tag me @doraexplored
- Sign up to the WiP Tip for weekly crochet chat, offers and exclusives straight to your inbox – click here to sign up.
- Check out my YouTube Channel for my biweekly ‘Crochet Studio Sessions’ podcast.
Happy Hooking
Dx
More Crochet Shawl & Scarf Patterns
More two-colour crochet patterns
Copyright Dora Does Limited, Registered in England, Company Number 13992263. This pattern is for personal use only and may not be shared or reproduced in written, photo, video or any other form without prior written consent. All rights reserved. Terms of service.