How to crochet between the posts of 4 basic crochet stitches
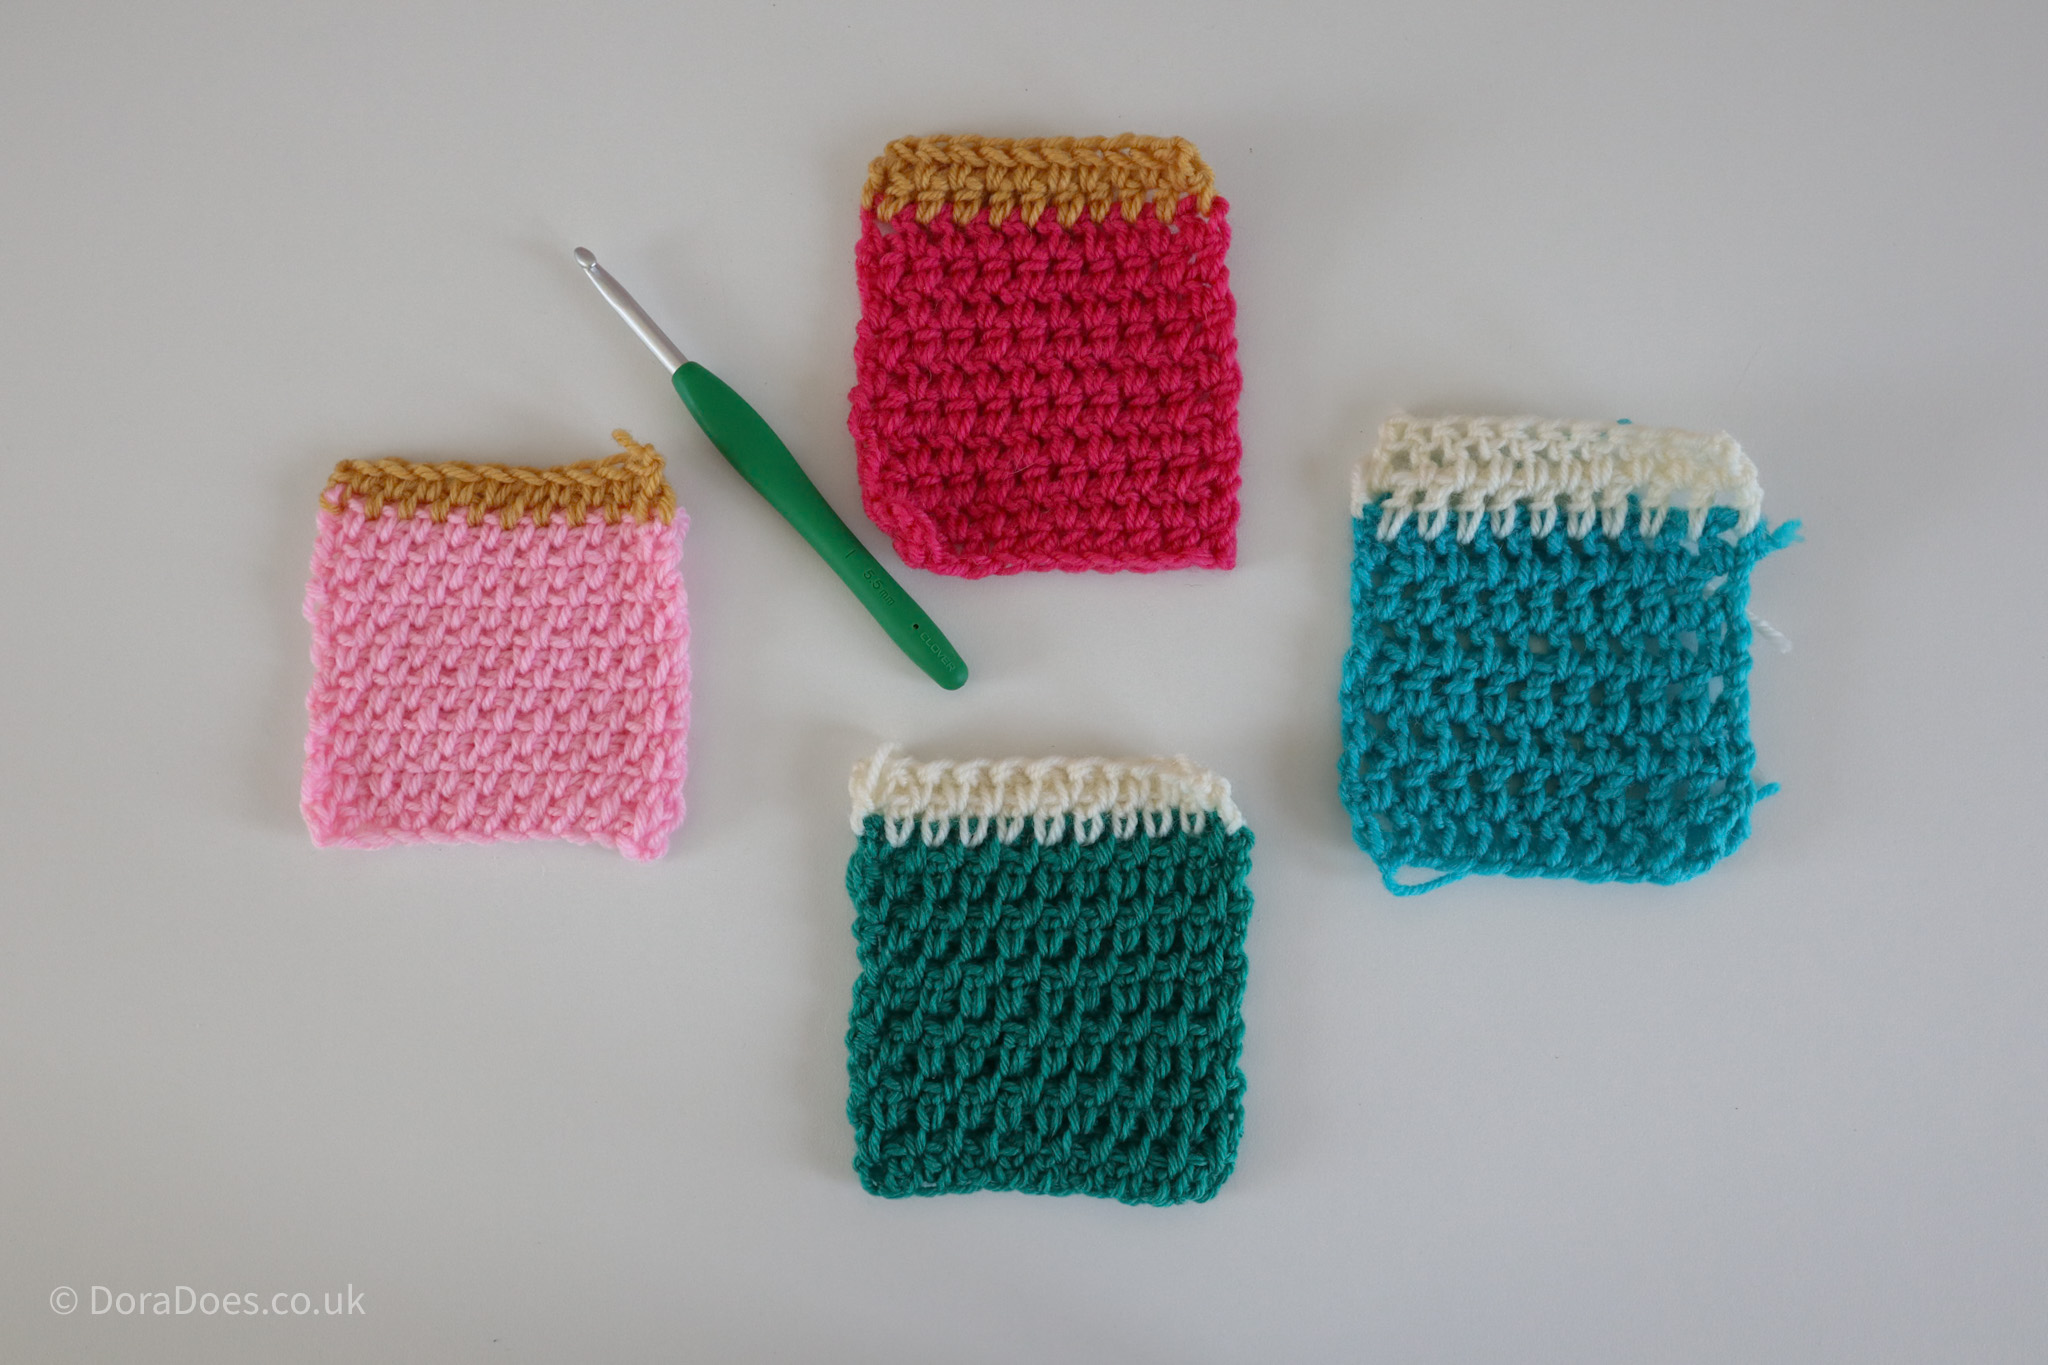
In this tutorial, I will demonstrate how to crochet between the posts of crochet stitches, instead of into the top of the stitch in the traditional way.
If you’ve ever made a granny square you’ve already done this, but in that context you are working three stitches between the posts in clusters. Working single stitches between single posts is a little different (but it’s useful to bear the granny stitch concept in mind).
I’ll cover four of the basic crochet stitches in this guide. In US terms, that’s single crochet, extended single crochet, half double crochet and double crochet.

Written instructions for crocheting between posts (all stitches)
The principle is the same for crocheting between the posts of any stitch, but where you place your crochet hook looks a little different with each stitch.
The technique works with any stitch multiple. However, one thing you need to be aware of is how to start and finish the row so that you maintain a consistent stitch count.
Because you’re working between stitches, you need one stitch at either the start or end of the row ‘outside’ of another stitch, which doesn’t really make much sense in real terms.
The way I go about this is to make a chain (ch) at the start of the row which doesn’t count as a stitch, but acts as an anchor for this ‘outside’ stitch.
Below are the generic written instructions for crocheting between posts. I’ve used double crochet (dc) in the example, but this can be substituted with any individual crochet stitch, adjusting the height of the starting chain accordingly.
Make a chain (ch) of any number plus 3 for the turning chain;
Set up Row: Make 1dc in 4th ch from hook and each ch to the end, turn
Pattern Row: Ch3, 1dc between the posts of the first and second stitches (that’s between the last two stitches of the previous row), 1dc between the posts of subsequent sts to last pair, working the last dc between the post of the last st and the turning chain from the previous row, turn
Repeat Pattern Row as desired
Note that I recommend going up a couple of hook sizes from the one suggested by the ball band when crocheting between the posts. This ensures that your fabric retains some drape.
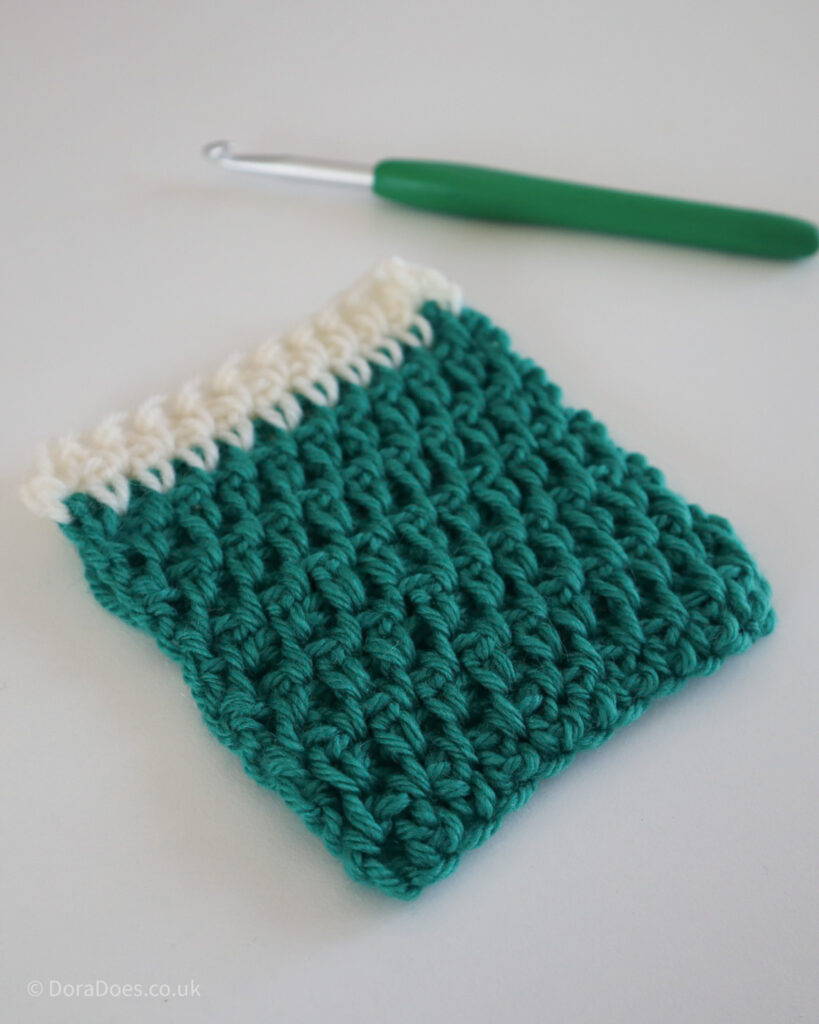
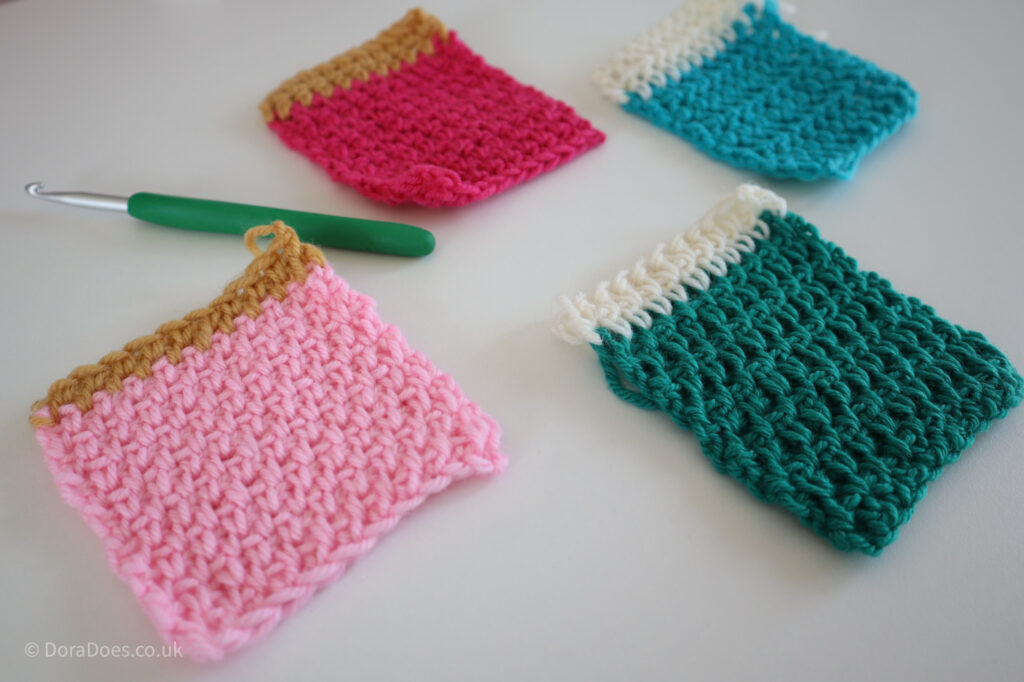
Now that we’ve established the basic approach, let’s see what this actually looks like on swatches of different stitches.
Video tutorial: How to crochet between stitches
Below you can find a video tutorial demonstrating how to crochet between the posts for double crochet, half double crochet, extended single crochet and single crochet, in that order.
You can find a left handed version of this video tutorial here.
Photo tutorial: How to crochet between the posts
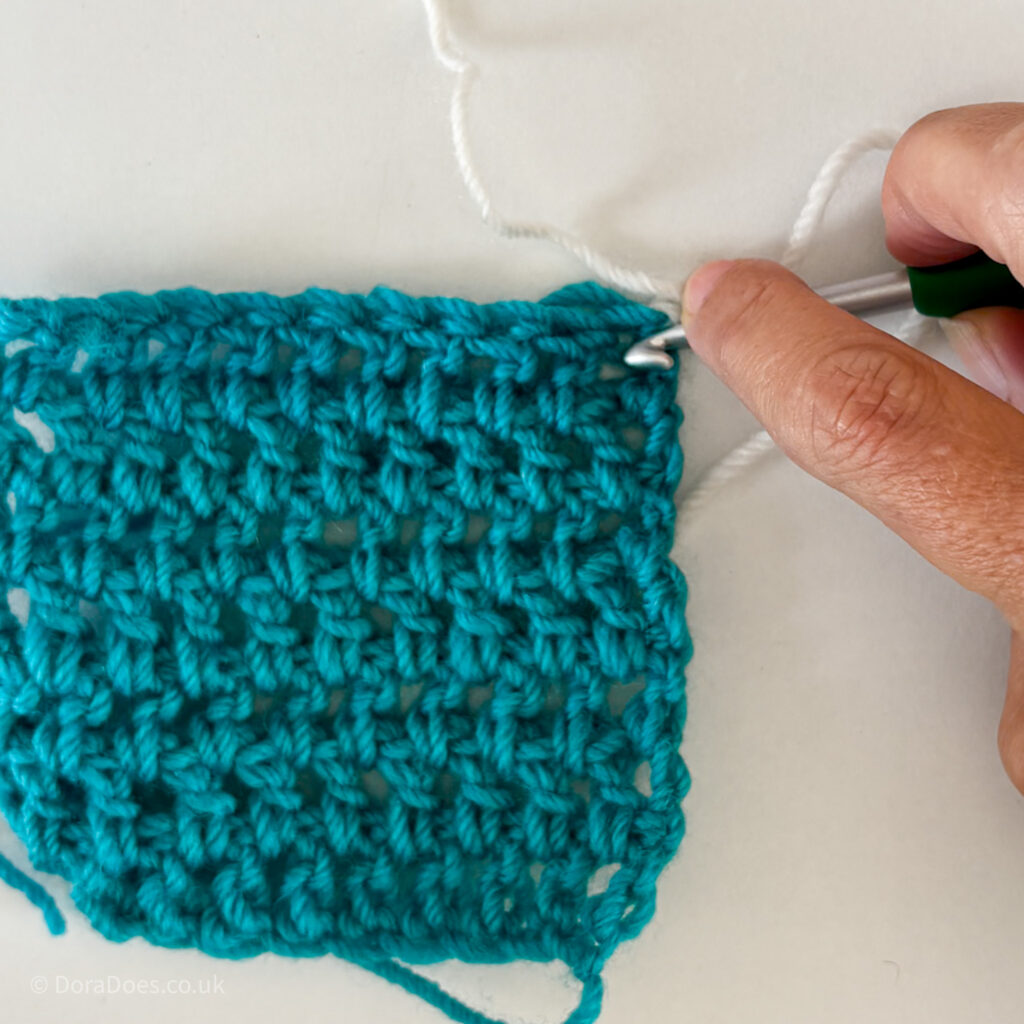
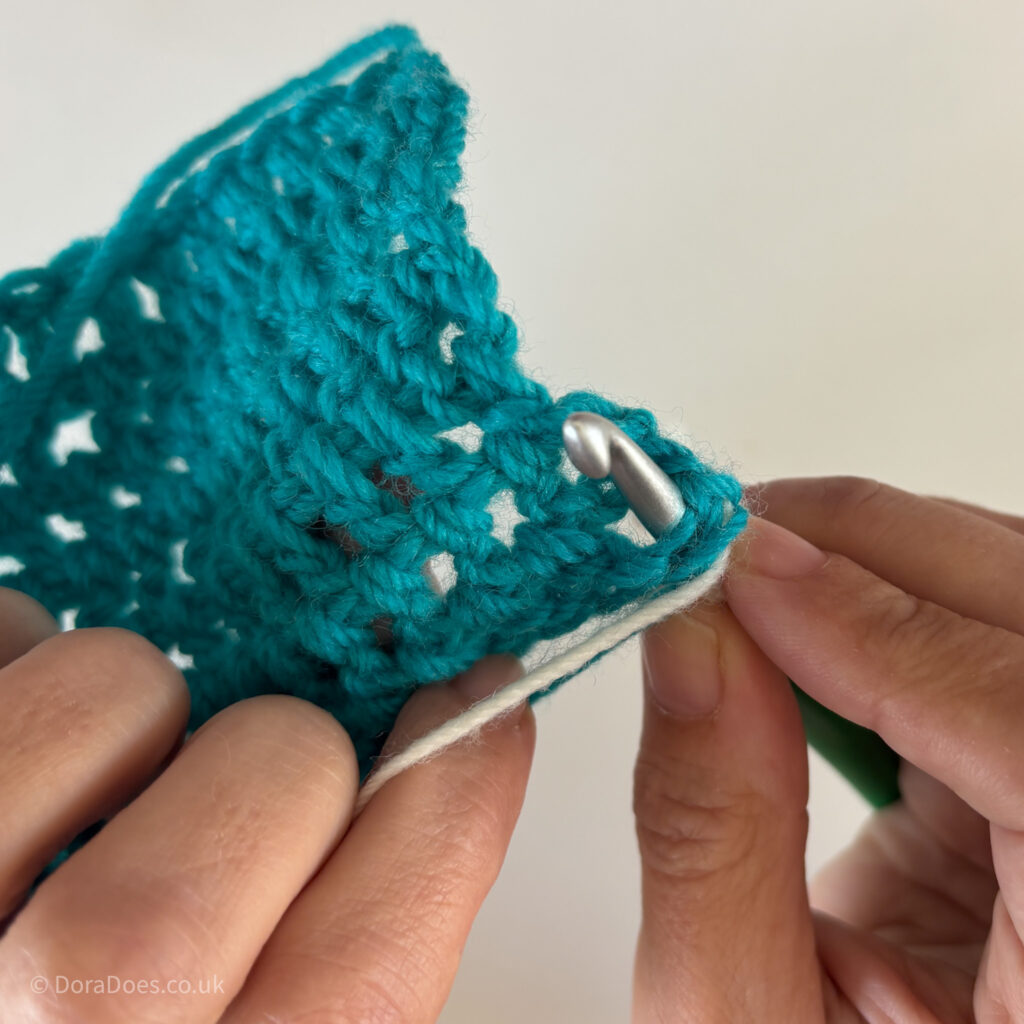
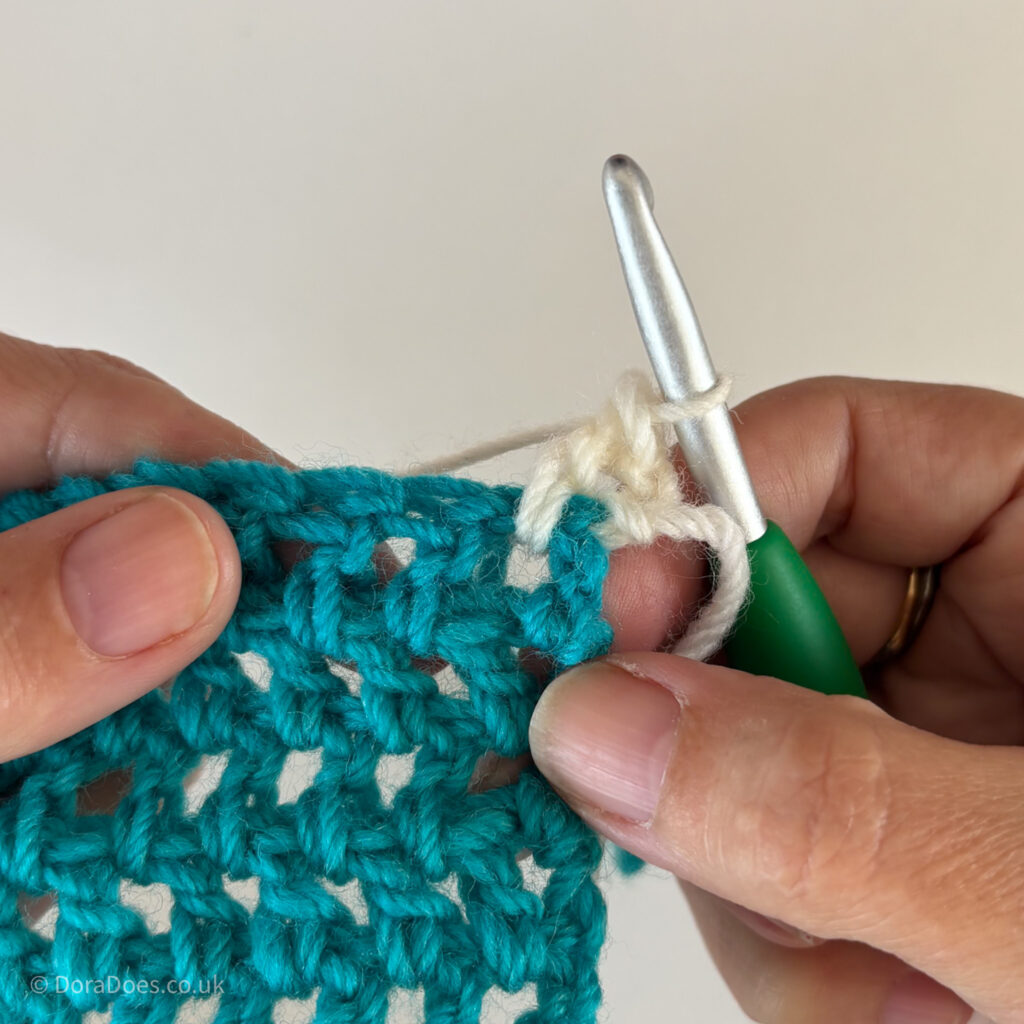
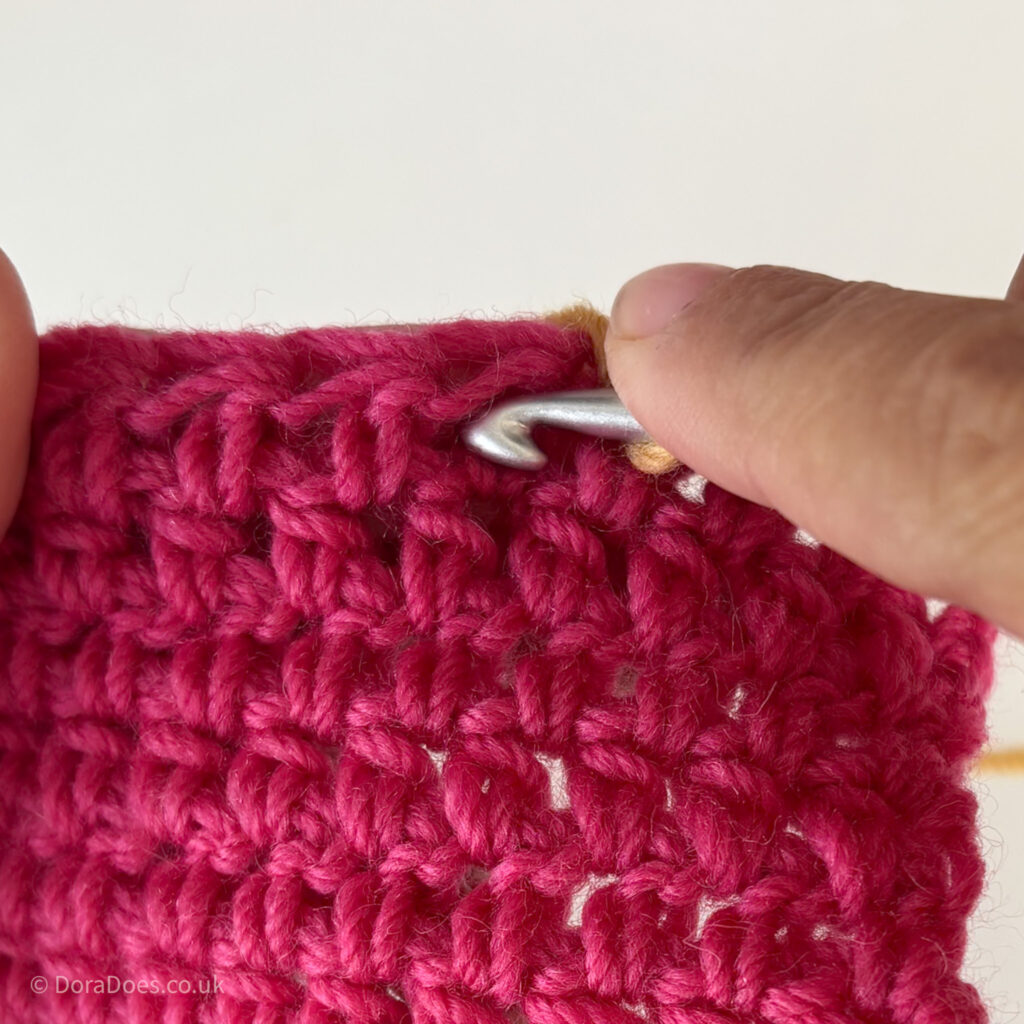
I put together a step by step photo tutorial for working between the posts of four basic crochet stitches. This shows you precisely where to insert your hook, as well as noting where it should come out on the reverse side of your work to ensure your stitches are made in the right place.
I have started with US double crochet and continued with stitch height in descending order. The taller stitches are easier as the posts are more defined, so I go from easiest to trickiest.
If you’re unsure about where the posts are on your crochet stitches, this article explaining the anatomy of a crochet stitch should help you.
When working between the posts of stitches, the stitch is made as normal, just in a different place.
Crocheting between the posts of double crochet
Here are the step by step photos for crocheting double crochet (US terms) between the posts

Crocheting between the posts of half double crochet stitches
Next we move onto the photo guide to working between the posts of half double crochet. These shorter stitches require a little more attention than the double.


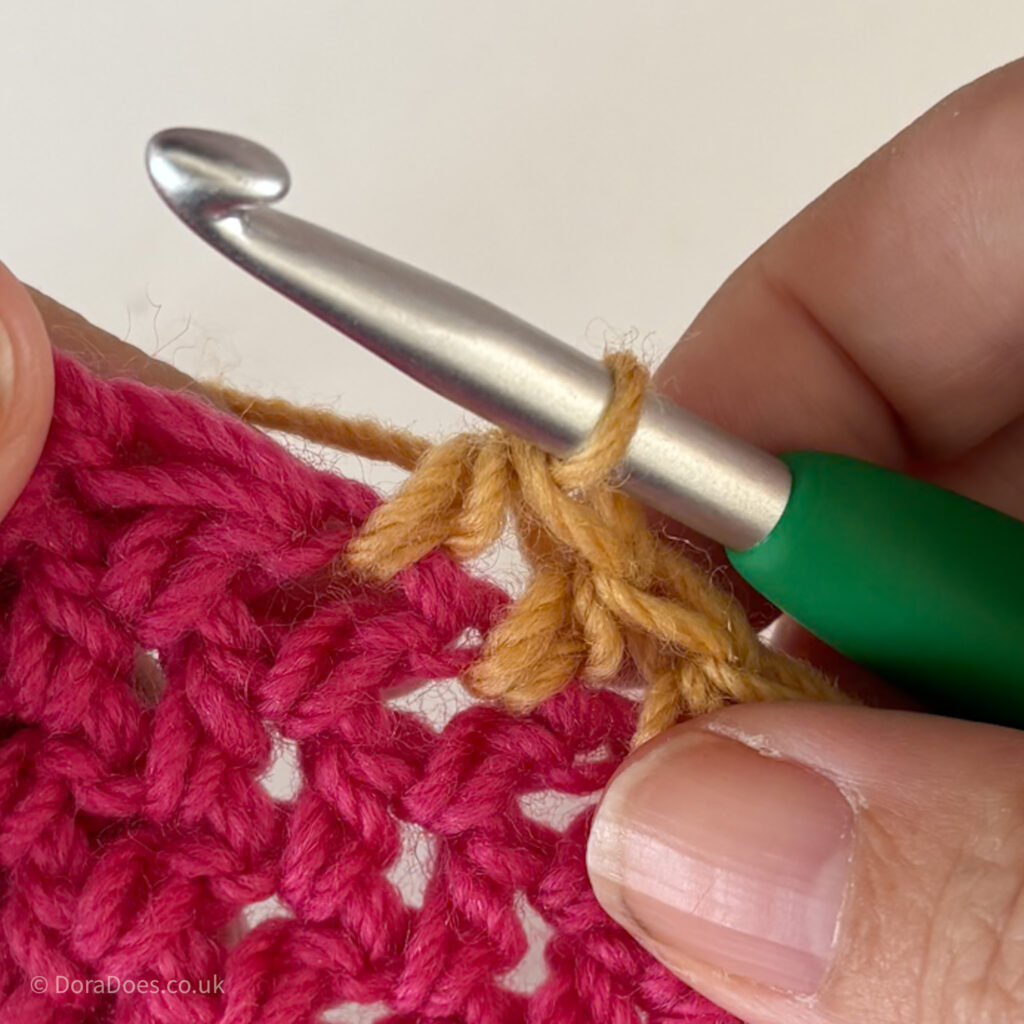
Crocheting between the posts of extended single crochets
Now we move onto my favourite of the four examples, the extended single crochet worked between posts. This is the technique I use in my ‘Between the Thorns’ cowl pattern.
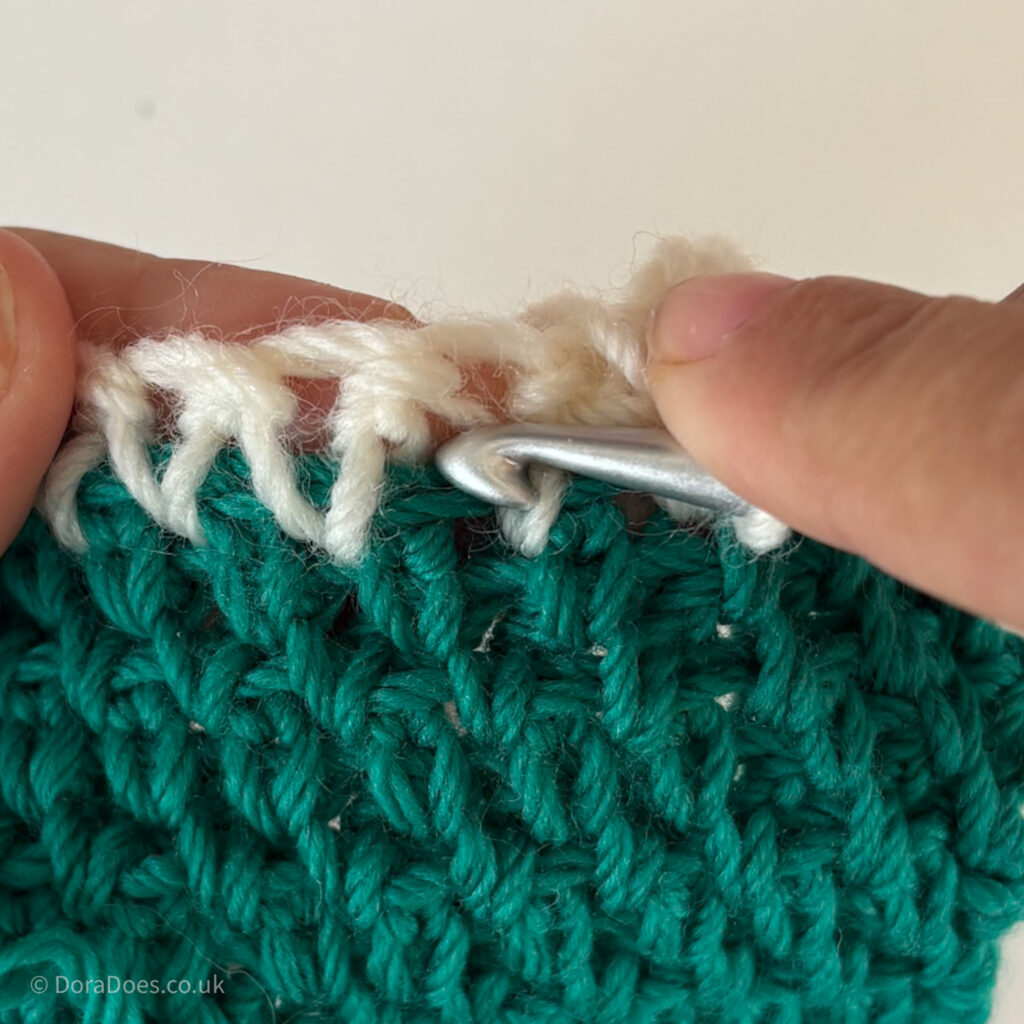

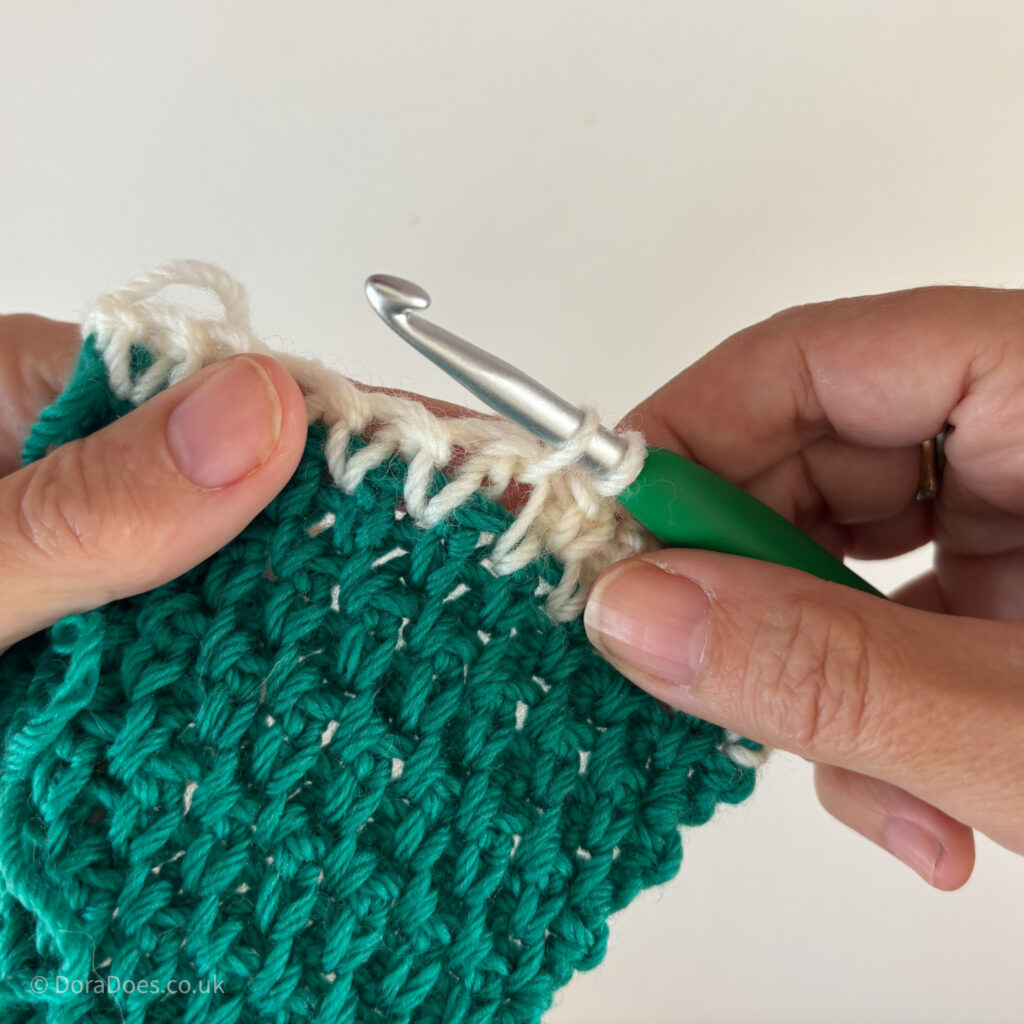
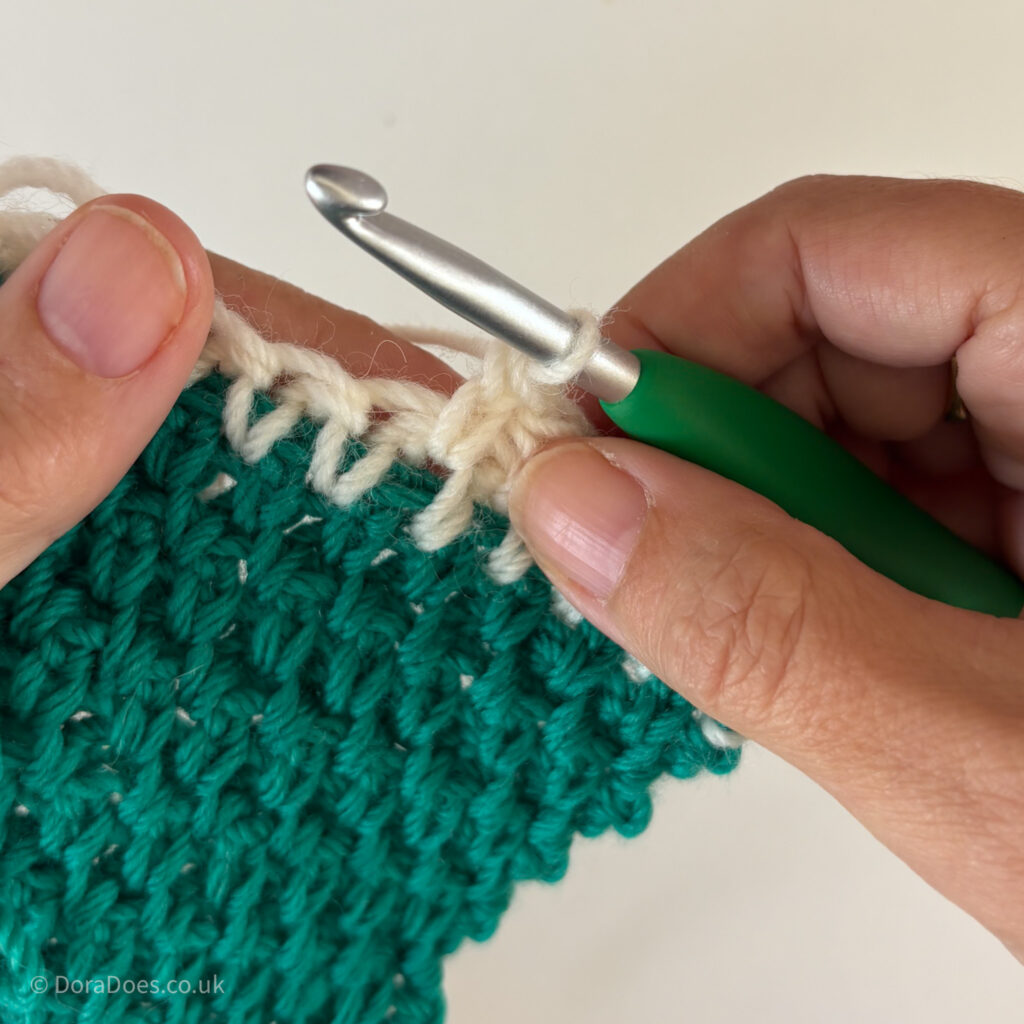

Crocheting between the posts of single crochets
Lastly, we look at the single crochet worked between posts.
Using the between the post technique with singles can be a good alternative to waistcoat stitch if you’re working in rows. It’s not quite the same but is a nod to that knit-look crochet stitch pattern (and in my opinion it’s much easier!!).
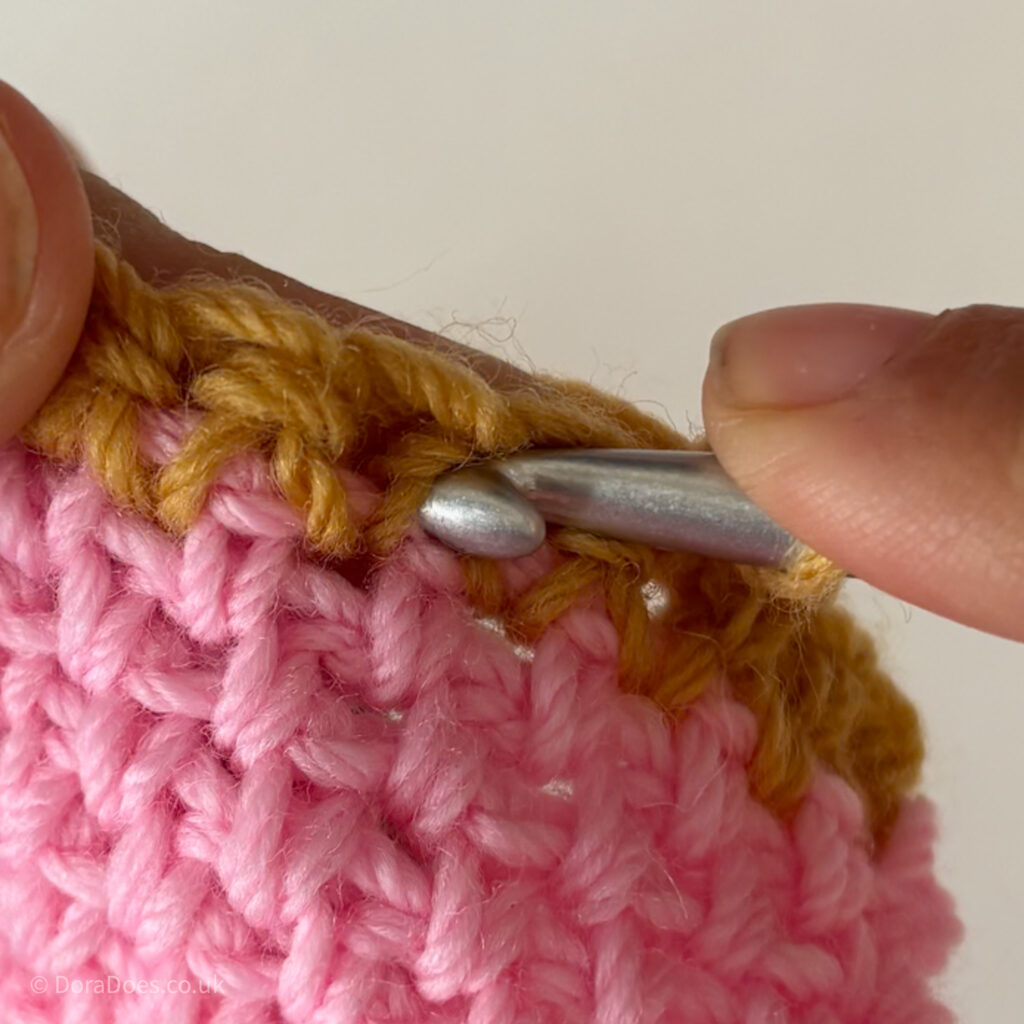

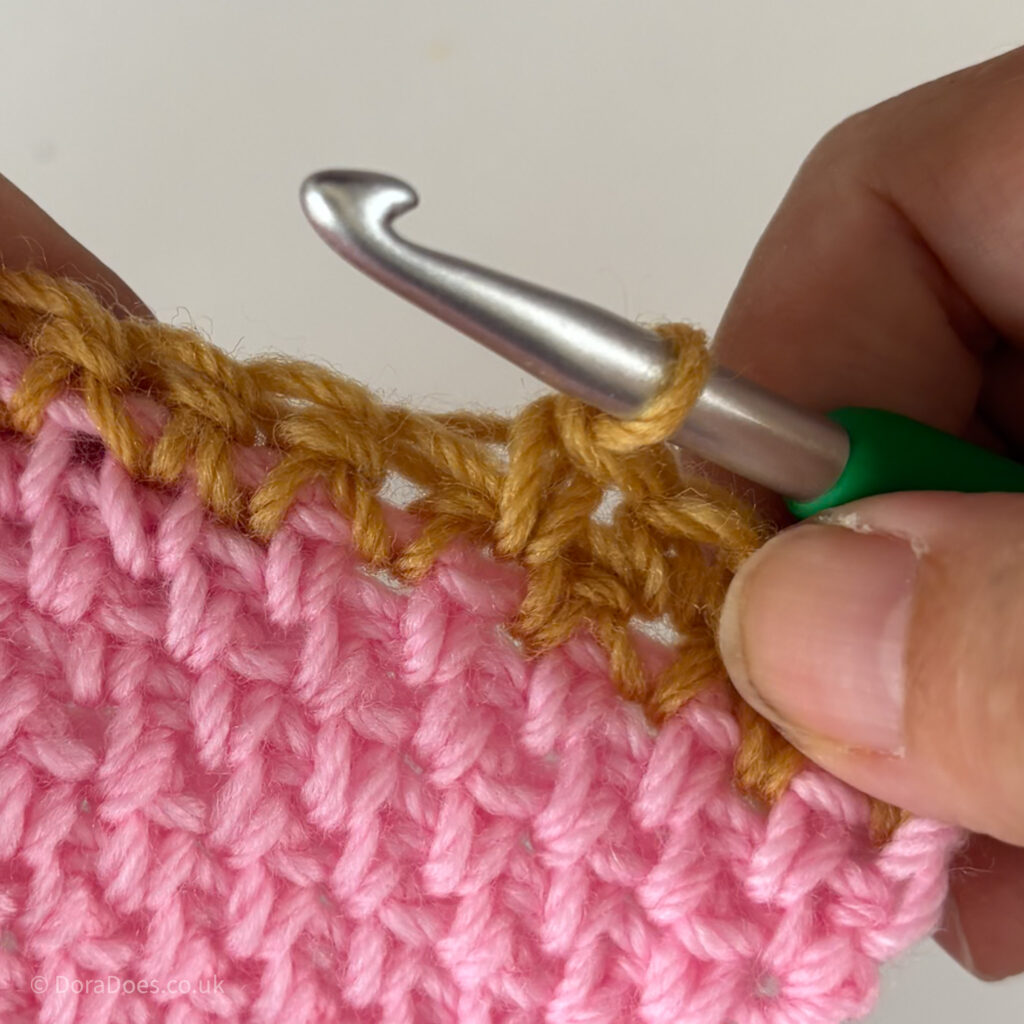
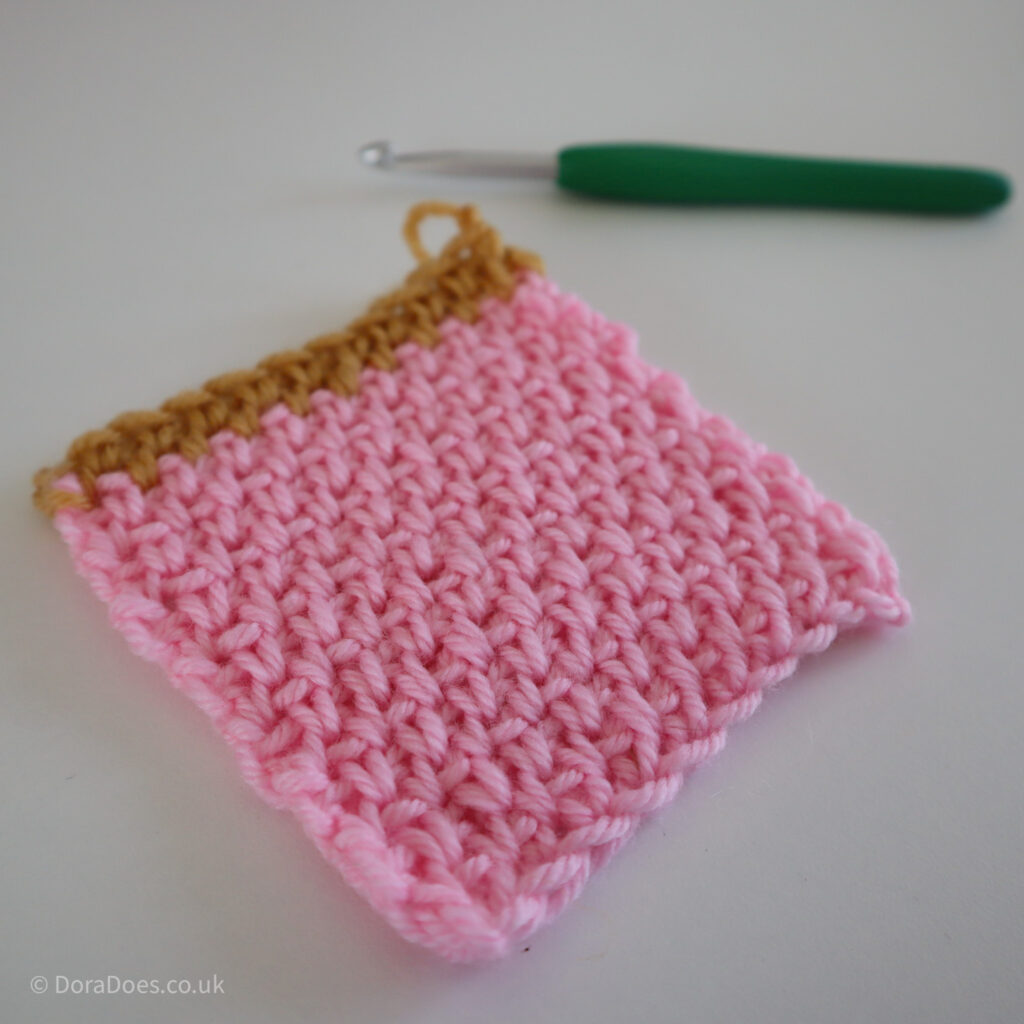
And there we have it, one technique with four stitches and a different result with each. Which one is your favourite?
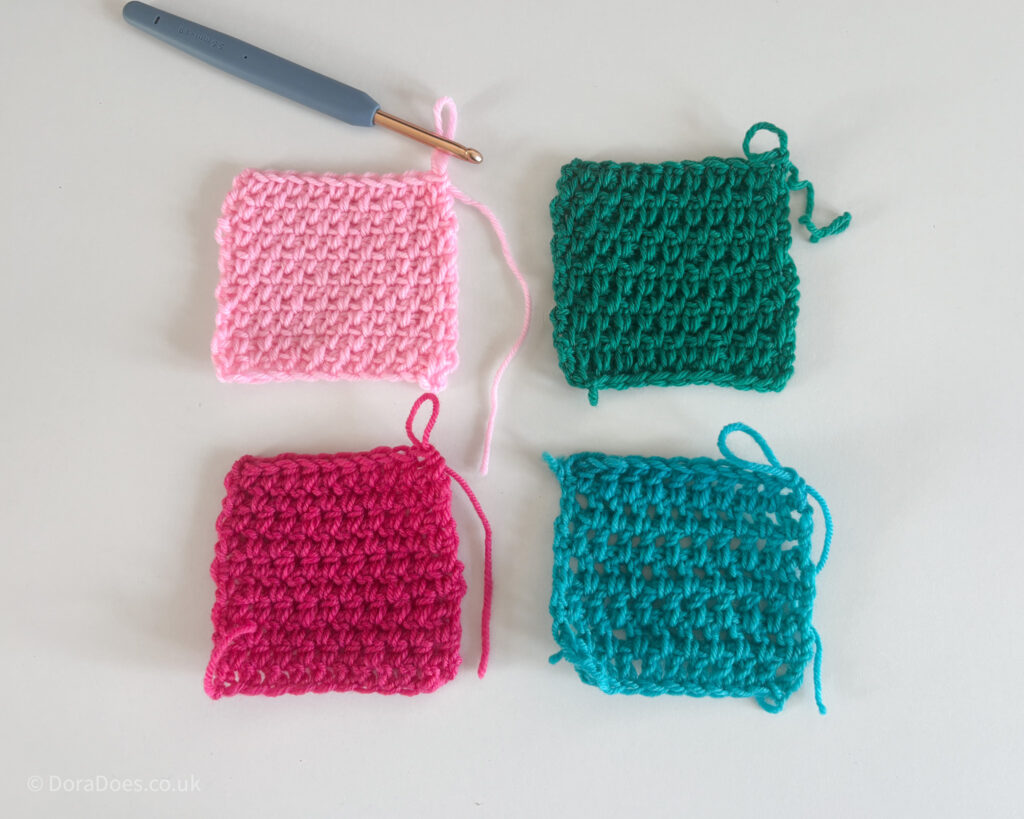
I hope you have found this tutorial interesting and I have inspired you to try something different with your everyday stitches.
If you have any questions or thoughts about this, please do drop them in the comments!
Happy Hooking
Dx
Copyright Dora Does Limited, Registered in England, Company Number 13992263. This content is for personal use only and may not be shared or reproduced in written, photo, video or any other form without prior written consent. All rights reserved. Terms of service.