Abundance – Crochet Waterfall Cardigan Pattern
‘Abundance’ is a round yoke, floaty crochet cardigan pattern which uses simple stitches and is written in 7 women’s sizes.
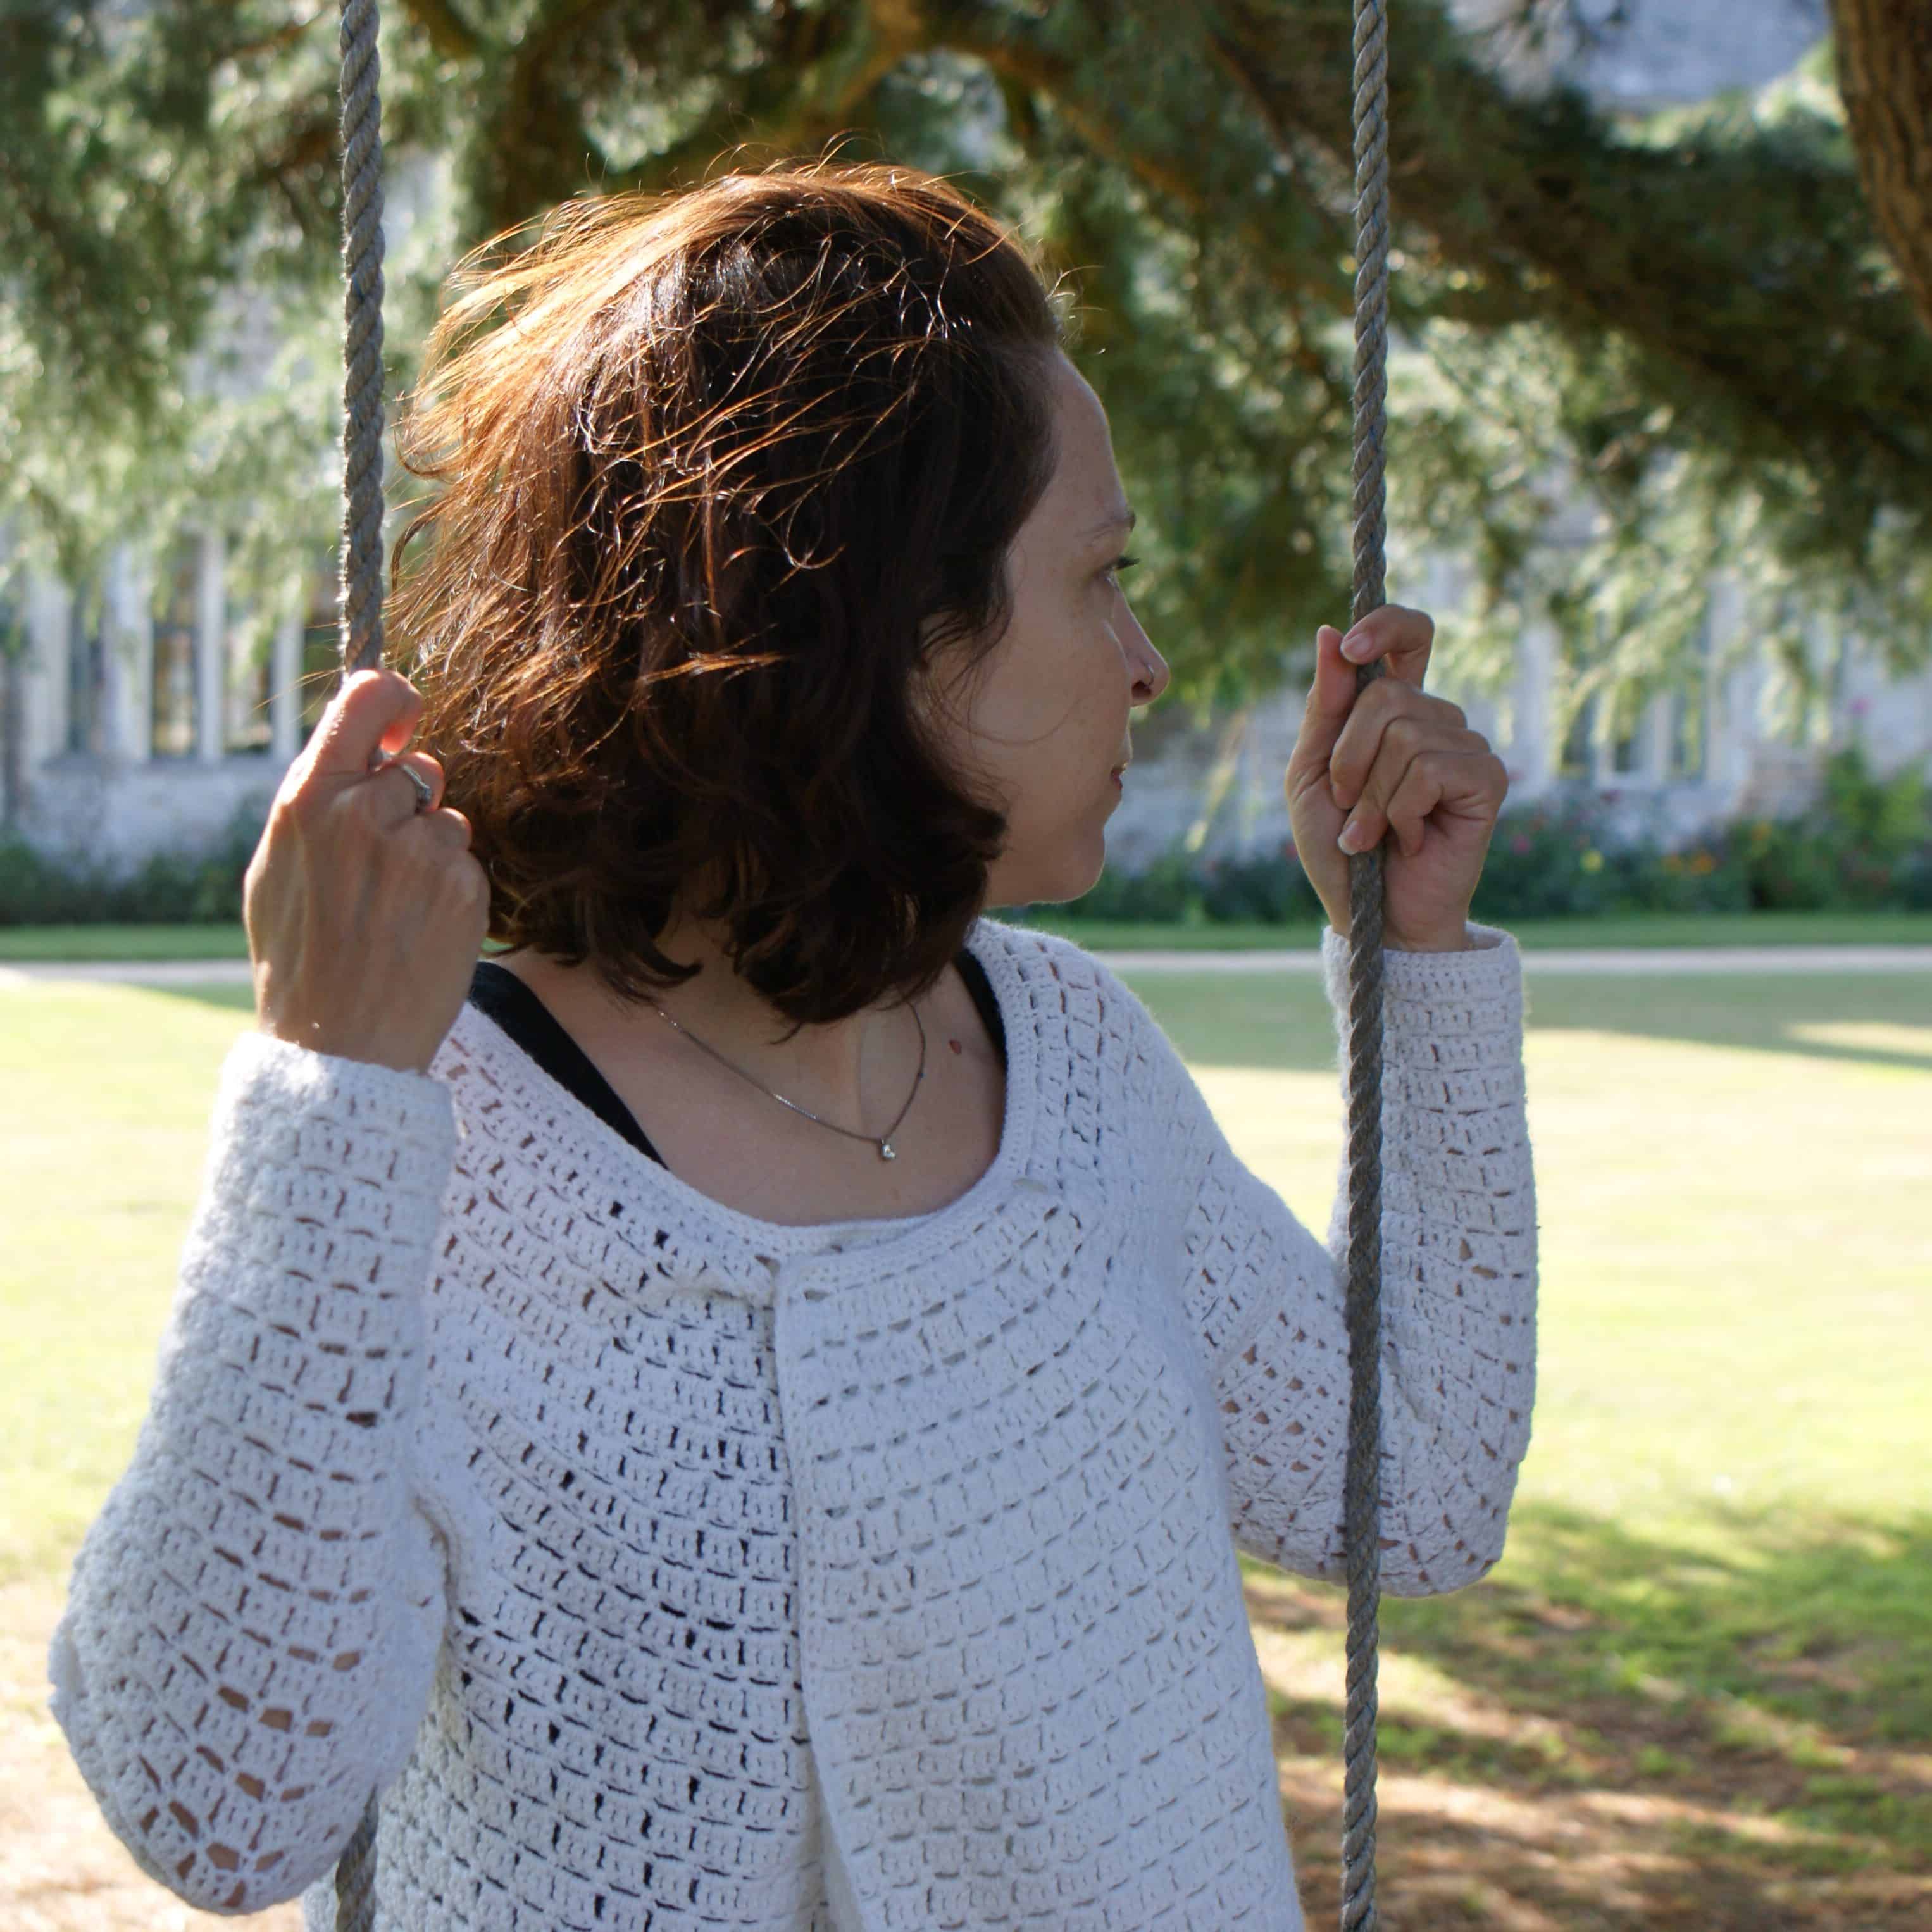
With fitted long sleeves and draping fabric, this crochet cardigan can be worn double breasted, fastened at the neck, or left open waterfall style.
The crochet cardigan is worked using the seamless top down method. If you are not familiar with this method, please have a look at this blog post which explains why it’s such a great way to make sweaters and cardigans!
You can purchase the pattern now from Ravelry, Love Crafts Crochet or Etsy


This post contains affiliate links. This means if you click a link to a product and go on to make a purchase, I receive a small percentage of the sale at no extra cost to you. You can read my full affiliate disclosure here.


Pattern Notes
General Notes
- Please read through the pattern and all associated notes before starting your project
- This pattern uses standard US crochet terminology (UK equivalents are given in brackets in the abbreviations list where applicable) Numbers in brackets at the end of a row / round indicate the number of stitches in that row / round and are only given at the start of a section or where there is a change
- This cardigan uses the ‘block stitch’ pattern and stitch counts are given for the number of ch3-spaces or stitches and blocks (groups of 3 stitches) (block counts these exclude the 2 stitches on either end of the row)
- Ch1 turning chains do not count as sts
- Ch3 at the start of the row counts as an extended double crochet (see special stitches)
- Instructions after * should be repeated as indicated
- Instructions between [square brackets] should be repeated the number of times indicated
- Unless otherwise indicated stitches should be worked in consecutive stitches
- Right and wrong sides are nominal
- As a rule of thumb, and for the purpose of the instructions, the extended double crochet (see special sts) rows are right side (rs) rows and the chain rows are wrong side (ws) rows
Construction
- The cardigan is made top down in rows using a round yoke, increasing from the neckline to the underarms
- If you want to learn more about top down construction, visit this blog post
- For the yoke section, increases are made over 2 blocks on a chain row
- The yoke is split and you continue to work the body then sleeves top down so the finished cardigan is seamless

Skills Used
I would class this as an intermediate pattern which uses a simple stitch pattern. It uses the following skills
- Knowledge of basic crochet stitches, techniques and terminology is assumed
- Working in rows and rounds
- Increases and decreases
- Keeping careful count of stitches in increase sections
- Chainless foundation rows
- Use of stitch markers
The pattern works in block stitch using extended double crochet (UK extended treble) stitches which is a simple modification of the standard double crochet (UK treble) .
You can find a tutorial for block stitch as part of the Maslow’s rainbow tutorial – this uses double crochet instead of extended double but the principle is the same!
This pattern uses US crochet terms.

Materials
Crochet Hook
You will need a 4mm (US G/6) crochet hook, or size needed to obtain gauge. I used my clover amour hook.
Yarn
Drops Flora, 4ply / fingering weight yarn (65% Wool, 35% Alpaca), 50g balls(210m / 231yds), Shade 02, White
7 (7, 8, 9, 10, 11, 12) x 50g balls or 300 (350, 400, 450, 500, 550, 600)g for sizes XS(X, M L, 1X, 2X, 3X) respectively.
If using a different yarn, the approximate meterage required is 1250(1365, 1535, 1760, 1970, 2200, 2400)m.
Yarn Substitution Options
A yarn of a similar weight and fibre which meets gauge can be used for this cardigan.
4ply acrylic yarn could also work if you are vegan, prefer not to use or are allergic to animal fibres.
Different fibres and yarns will produce a different finished result. You may find this post useful when choosing yarn.
Other Materials & Notions
- Yarn needle, scissors and a tape measure
- 2 buttons approx 15mm in diameter
- 4 stitch markers or scraps of yarn for marking the sleeves when splitting the yoke
You may wish to block this project to get the most of the stitch pattern, in which case I recommend a blocking matt and pins. Learn more about blocking here.
How to purchase a Dora Does crochet pattern:
I sell my PDF crochet patterns in my Etsy, Ravelry and Love Crafts stores. You can purchase this pattern on any of these platforms, depending on your preference. Simply click the relevant links throughout this pattern page to be taken to the listing, or visit the store homepages in the links at the start of this paragraph.

Measurements and Finished Size
- The cardigan is designed to be fitted around the sleeves (with zero ease) and an abundance of fabric around the fronts.
- Approximate measurements of the finished garment are given below to help you in choosing a suitable size for you / the recipient of the garment
- It is worth paying particular attention to the upper arm / bicep measurement when choosing your size as this area is fitted
- The pattern is designed for adults and offered in 7 women’s sizes
- Instructions for different sizes are written in increasing order, with the smallest size first and larger sizes following in brackets; i.e. XS(S, M, L, 1X, 2X, 3X) sts or Rows / Rounds
- The item you see pictured is a size S worn by me, UK size 8-10 (US 4-6), 5ft 1in.
Approximate finished sizes
Sizes are given in cm for XS(S, M, L, 1X, 2X, 3X)
- To fit bust: 76(86, 96, 106, 116, 126, 136) – note that because this has a wrap over front section, I have used the ‘to fit bust’ measurement here as a rough guide
- Length (back neck to hem): 47(47, 48, 50, 52, 53, 53)
- Upper arm circumference (bicep): 27(29, 31, 35, 38, 39, 43)
- Armhole depth: 19(19, 20, 22, 23, 25, 25)
- Sleeve length: 39(41, 41, 42, 42, 44, 44)
Because the pattern uses the top down method, you can easily adjust the fit as you go!!
You can find tips on working top down garments here and more details on adjusting top down sweaters in this post.
Stitches & Abbreviations: US terms
(UK Equivalent in Brackets)
- ch = chain
- dec = decrease (signifies a decrease row/round)
- edc = extended double crochet (UK extended treble)
- fdc = foundation double crochet (UK foundation treble)
- inc = increase (signifies an increase row/round)
- rep = repeat
- rs = right side
- sc = single crochet (UK double crochet)
- sk = skip (UK miss)
- sp = space
- ss = slip stitch
- st(s) = stitch(es)
- ws = Wrong side
- yo = yarn over
Special Stitches
Foundation Double Crochet (fdc)
Ch3, yo, insert hook into third chain from hook, yo and pull up a loop (3 loops on hook). *Yo and pull through 1 loop (this creates the base chain of the next fdc). Yo and pull through 2 loops (2 loops on hook), yo and pull through 2 loops to complete the st. To start the next st, yo and insert the hook under the v of the base chain you just created, yo and pull up a loop. Repeat from * for the number of stitches required.
You can find more details on foundation rows including a tutorial here
Extended Double Crochet (edc)
Yo, insert hook, yo, pull up a loop (3 loops on hook), yo, pull through 1 loop (3 loops on hook), yo, pull through 2 loops (2 loops on hook), yo, pull through 2 loops to complete the stitch.
You can find a video tutorial for the extended double crochet here
Gauge
21 stitches (7 blocks) x 12 row in 10 cm of the block stitch pattern (see below) using a 4mm hook or size needed to meet the gauge.
The gauge is based on a gently blocked swatch. Variation in your gauge will lead to variations in the finished size of your project.
Learn how to make and measure a gauge swatch here
Stitch pattern for gauge
The block stitch pattern uses a stitch multiple of 3+2 sts over 2 rows.
Make a chain of 3+2, add 2 for turning chain (does not count as a stitch here)
Row 1: 1edc in third ch from hook and each ch to end, turn
Row 2: Ch1 (does not count as st), 1sc between first and second st, *ch3, skip 3 sts, 1sc between next 2 sts; rep from * to end making your last sc between the second last and last st, turn
Row 3: Ch3 (counts as 1edc), 3edc into each ch3-sp across to the end, 1edc into the top of last st, turn
Repeat rows 2 and 3 for pattern rep.

Purchase the PDF pattern from Ravelry, Love Crafts Crochet or Etsy
The Abundance Crochet Cardigan Pattern
Yoke
Row 1 (rs): 200 (200, 200, 233, 233, 266, 299)fdc, turn
Row 2 (inc): Ch1 (does not count as st throughout), 1sc between next 2 sts, *[ch3, sk 3 sts, 1sc between next 2 sts] 4 (4, 4, 5, 5, 6, 7) times, [ch3, sk 2 sts, 1sc between next 2 sts] 3 times; rep from * to end, turn (77, 77, 77, 88, 88, 99, 110 ch3-sp)
Row 3: Ch3 (counts as 1edc throughout), 3edc in each ch3-sp across to end, 1edc in last st, turn (233, 233, 233, 266, 266, 299, 332 sts / 77, 77, 77, 88, 88, 99, 110 blocks)
Row 4: Ch1, 1sc between first 2 sts, *ch3, sk 3 sts, 1sc between next 2 sts; rep from * to end, turn
Row 5: Ch3, 3edc in each ch3-sp across to end, 1edc in last st, turn
Row 6 (inc): Ch1, 1sc between next 2 sts, *[ch3, sk 2 sts, 1sc between next 2 sts] 3 times, [ch3, sk 3 sts, 1sc between next 2 sts] 5 (5, 5, 6, 6, 7, 8) times; rep from * to end, turn (88, 88, 88, 99, 99, 110, 121 ch3-sp)
Row 7: Ch3, 3edc in each ch3-sp across to end, 1edc in last st, turn (266, 266, 266, 299, 299, 332, 365 sts / 88, 88, 88, 99, 99, 110, 121 blocks)
Row 8: Ch1, 1sc between first 2 sts, *ch3, sk 3 sts, 1sc between next 2 sts; rep from * to end, turn
Row 9: Ch3, 3edc in each ch3-sp across to end, 1edc in last st, turn
Row 10 (inc): Ch1, 1sc between next 2 sts, *[ch3, sk 3 sts, 1sc between next 2 sts] 6 (6, 6, 7, 7, 8, 9) times, [ch3, sk 2 sts, 1sc between next 2 sts] 3 times; rep from * to end, turn (99, 99, 99, 110, 110, 121, 132 ch3-sp)
Row 11: Ch3, 3edc in each ch3-sp across to end, 1edc in last st, turn (299, 299, 299, 332, 332, 365, 398 sts / 99, 99, 99, 110, 110, 121, 132 blocks)
Row 12: Ch1, 1sc between first 2 sts, *ch3, sk 3 sts, 1sc between next 2 sts; rep from * to end, turn
Row 13: Ch3, 3edc in each ch3-sp across to end, 1edc in last st, turn
Row 14 (inc): Ch1, 1sc between next 2 sts, *[ch3, sk 2 sts, 1sc between next 2 sts] 3 times, [ch3, sk 3 sts, 1sc between next 2 sts] 7 (7, 7, 8, 8, 9, 10) times; rep from * to end, turn (110, 110, 110, 121, 121, 132, 143 ch3-sp)
Row 15: Ch3, 3edc in each ch3-sp across to end, 1edc in last st, turn (332, 332, 332, 365, 365, 398, 431 sts / 110, 110, 110, 121, 121, 132, 143 blocks)
Row 16: Ch1, 1sc between first 2 sts, *ch3, sk 3 sts, 1sc between next 2 sts; rep from * to end, turn
Row 17: Ch3, 3edc in each ch3-sp across to end, 1edc in last st, turn
For size XS only
Rows 18 – 21: Continue Row 16 and 17 pattern repeat
Continue to splitting the yoke
For sizes S-3X
Row 18 (inc): Ch1, 1sc between next 2 sts, *[ch3, sk 3 sts, 1sc between next 2 sts] -(8, 8, 9, 9, 10, 11) times, [ch3, sk 2 sts, 1sc between next 2 sts] 3 times; rep from * to end, turn (-, 121, 121, 132, 132, 143, 154 ch3-sp)
Row 19: Ch3, 3edc in each ch3-sp across to end, 1edc in last st, turn (-, 365, 365, 398, 398, 431, 464 sts / -, 121, 121, 132, 132, 143, 154 blocks)
Row 20: Ch1, 1sc between first 2 sts, *ch3, sk 3 sts, 1sc between next 2 sts; rep from * to end
Row 21: Ch3, 3edc in each ch3-sp across to end, 1edc in last st, turn
For size S only
Continue to splitting the yoke
For sizes M-3X
Row 22 (inc): Ch1, 1sc between next 2 sts, *[ch3, sk 2 sts, 1sc between next 2 sts] 3 times, [ch3, sk 3 sts, 1sc between next 2 sts] -(-, 9, 10, 10, 11, 12) times; rep from * to end, turn (-, -, 132, 143, 143, 154, 165 ch3-sp)
Row 23: Ch3, 3edc in each ch3-sp across to end, 1edc in last st, turn (-, -, 398, 431, 431, 464, 497 sts / -, -, 132, 143, 143, 154, 165 blocks)
For size M only
Continue to splitting the yoke
For sizes L-3X
Row 24: Ch1, 1sc between first 2 sts, *ch3, sk 3 sts, 1sc between next 2 sts; rep from * to end
Row 25: Ch3, 3edc in each ch3-sp across to end, 1edc in last st, turn
For size L only
Continue to splitting the yoke
For sizes 1X-3X
Row 26 (inc): Ch1, 1sc between next 2 sts, *[ch3, sk 3 sts, 1sc between next 2 sts] -(-, -, -,11, 12, 13) times, [ch3, sk 2 sts, 1sc between next 2 sts] 3 times; rep from * to end, turn (-, -, -, -, 154, 165, 176 ch3-sp)
Row 27: Ch3, 3edc in each ch3-sp across to end, 1edc in last st, turn (-, -, -, -, 464, 497, 528 sts / -, -, -, -, 154, 165, 176 blocks)
For size 1X only
Continue to splitting the yoke
For sizes 2X and 3X
Row 28: Ch1, 1sc between first 2 sts, *ch3, sk 3 sts, 1sc between next 2 sts; rep from * to end
Row 29: Ch3, 3edc in each ch3-sp across to end, 1edc in last st, turn
Continue to splitting the yoke
Splitting the yoke
This is where you split the body and sleeves, creating the arm holes
Place markers into the sp between blocks after each the following number of blocks (these mark the sleeve sections which you will skip in the armhole row).
XS: 23, 41, 69, 87
S: 26, 45, 76, 95
M: 28, 48, 84, 104
L: 31, 52, 91, 112
1X: 33, 56, 98, 121
2X: 36, 60, 105, 129
3X: 38, 64, 112, 138
Armhole row (ws): Ch1, 1sc between the first 2 sts, [ch3, sk 3 sts, 1sc between next 2 sts] 23 (26, 28, 31, 33, 36, 38) times (to first PM), ch6 (6, 6, 9, 12, 15, 18), sk 18 (19, 20, 21, 23, 24, 26) blocks (to next PM), 1sc between next 2 sts, [ch3, sk 3 sts, 1sc between next 2 sts] 28 (31, 36, 39, 42, 45, 48) times (to 3rd PM), ch6 (6, 6, 9, 12, 15, 18), sk 18 (19, 20, 21, 23, 24, 26) blocks (to last PM), 1sc between next 2 sts, [ch3, sk3 sts, 1sc between next 2 sts] 23 (26, 28, 31, 33, 36, 38) times (to end), turn (74, 83, 92, 101, 108, 117, 124 ch3 sp plus under arm ch)
You can see below how the underarm and armhole will look once some of the body has been crocheted. The yellow scraps of yarn were used as place markers.

Body
Row 1 (rs): Ch3, 3edc in each ch3-sp to underarm, 1edc in each underarm ch, 3edc in each ch3-sp across back to next underarm ch, 1edc in each underarm ch, 3edc in each ch3-sp to end, 1edc in last st, turn (236, 263, 290, 323, 350, 383, 410 sts)
Row 2: Ch1, 1sc between first 2 sts, *ch3, sk 3 sts, 1sc between next 2 sts; rep from * to end turn, (78, 87, 96, 107, 116, 127, 136 ch3-sp)
Row 3: Ch3, 3edc in each ch3-sp around to end, 1edc in last st, turn (236, 263, 290, 323, 350, 383, 410 sts / 78, 87, 96, 107, 116, 127, 136 blocks)

Rows 4 – 35: Rep Body Rows 2 and 3, finishing on a Row 3 rep / rs edc row.
Your stitch count will remain the same throughout the body
If you would like to change the length of your cardigan, crochet the body pattern repeat until you reach the desired length.
Fasten off
Sleeves
The sleeves are worked in the round, joining with a ss and turning at the end of each round. In the underarm part of the sleeve set up round, work your sc between the edc blocks made on the first row of the body.
Join the yarn at the centre st of underarm chain in between blocks
Note: For sizes where there are an odd number of blocks at the under arm, join as close to the centre as possible – e.g. for size L, there are 3 blocks under arm so you will have two blocks on one side of the join and one on the other. Make sure you are consistent on each sleeve with where you join yarn.
Sleeve set up Round (ws): Ch1, 1sc between blocks (in same place as you joined your yarn), ch3, skip 3 sts, *1sc between next 2 sts, ch3, sk 3 sts; rep from * to end, ss into first sc, turn (20, 21, 22, 24, 27, 29, 32 ch3-sp)
Sleeve Pattern Repeat
Round 1 (rs): Ss into first ch3-sp, ch3 (counts as edc), 2edc in same ch3-sp, 3edc in each ch3-sp around to end, ss to top of ch3, turn (60, 63, 66, 72, 81, 87, 96 sts / 20, 21, 22, 24, 27, 29, 32 blocks)
Round 2: Ch1, 1sc between first 2 sts, *ch3, sk 3 sts, 1sc between next 2 sts; rep from * to end, ss into top of first sc, turn
Rounds 3 – 6 (6, 6,8, 8, 8, 8): Continue Sleeve Pattern Repeat – rep Rounds 1 and 2
Note: It is worth checking here that the RS texture of the sleeve matches the RS of the body as when starting the sleeve it is easy to work the wrong way around the arm hole so make sure it’s correct now so you don’t have to frog later!
Do not fasten off
Sleeve Decrease Section
Note: The sleeves are designed to be relatively close fitting. If you want looser sleeves, work fewer of the decrease rounds, or more rounds before you start the decrease. I recommend trying your garment on as you work or checking the measurements for the intended recipient if they are not available to try it on.
Round 1 (rs) (dec): Ss into first ch3-sp, ch3 (counts as edc), 2edc in same ch3-sp, 2edc in next ch3-sp, 3edc in each ch3-sp around to end (59, 62, 65, 71, 80, 86, 95 sts)
Round 2 (dec): Ch1, 1sc between first 2 sts, *ch3, sk 3 sts, 1sc between next 2 sts; rep from * to 8 sts (3 blocks) from end, ch3, sk 4 sts, 1sc between next 2 sts, ch3, sk 4 sts ss into top of first sc, turn (19, 20, 21, 23, 26, 28, 31 ch3-sp)
Round 3: Ss into first ch3-sp, ch3, 2edc in same ch3-sp, 3edc in each ch3-sp around to end, ss to top of ch3, turn (57, 60, 63, 69, 78, 84, 93 sts / 19, 20, 21, 23, 26, 28, 31 blocks)
Round 4: Ch1, 1sc between first 2 sts, *ch3, sk 3 sts, 1sc between next 2 sts; rep from * to end, ss into top of first sc, turn
Round 5 (dec): Ss into first ch3-sp, ch3, 2edc in same ch3-sp, 3edc in each ch3-sp around to 2 ch3-sp from end, 2edc in penultimate ch3-sp, 3edc in last ch3-sp, ss to top of ch3, turn (56, 59, 62, 68, 77, 83, 92 sts)
Round 6 (dec): Ch1, 1sc between first 2 sts, [ch3, sk 4 sts, 1sc between next 2 sts] twice, *ch3, sk 3 sts, 1sc between next 2 sts; rep from * to end, ss into top of first sc, turn (18, 19, 20, 22, 25, 27, 30 ch3-sp)
Round 7: Ss into first ch3-sp, ch3, 2edc in same ch3-sp, 3edc in each ch3-sp around to end, ss to top of ch3, turn (54, 57, 60, 66, 75, 81, 90 sts, 18, 19, 20, 22, 25, 27, 30 blocks)
Round 8: Ch1, 1sc between first 2 sts, *ch3, sk 3 sts, 1sc between next 2 sts; rep from * to end, ss into first sc, turn
Continue repeating the Sleeve Decrease Section (Rounds 1 – 8) until you reach Round 34 (34, 34, 36, 40, 40, 44), which will be a ws round of 13 (14, 15, 17, 19, 21, 23) ch3-sp
Remainder of sleeve
Round 35 (35, 35, 37, 41, 41, 45) – 45 (47, 47, 49, 49, 51, 51): Continue Sleeve Pattern Repeat (stitch count remains the same) finishing on a rs edc round
Do not fasten off
Cuff
Round 1: Ch1, 1sc in each st around to end, ss to first sc, turn (39, 42, 45, 51, 57, 63, 69 sts)
Round 2: Rep Round 1
Fasten off
Neckline
With rs facing, join yarn to end of the first (fdc) row of the yoke
Row 1 (rs): Working into the sp between the fdc sts, ch1, 1sc between first 2 sts, *ch3, sk 3 sts, 1sc between next 2 sts; rep from * to end , turn (66, 66, 66, 77, 77, 88, 99 ch3-sp)
Note: These ch3-sp will be used as buttonholes (you can fasten the the cardigan anywhere along the neckline depending on the drape you want)
Row 2 (dec): Ch1 (does not count as st), *3sc into each of the next 3 ch3-sp, [2sc into next ch3-sp, 3sc into each of the next 3 ch3-sp] twice; rep from * to end, turn (186, 186, 186, 217, 217, 248, 279 sts)
Do not fasten off
Finishing
Round 1 (rs): Ch1, 1sc in each st across neckline to penultimate st, 3sc in last st (to create a corner), continue to work sc into the row ends down the front of the cardigan, working 1 sc in every chain row end and 2sc in every edc row end, to the bottom, 3sc into the first st on the bottom of of the body (to create a corner) 1sc in each st along the bottom of the body to the penultimate st, 3sc in the last st on the bottom (to create a corner), continue to work sc up the other front side to the top (making sure you have an equal st count on both front sides), work 2sc into the first st on the neckline / same st as the start of the round, ss to the first st on the neckline, turn
Note: I have not added stitch counts here as, depending on your tension, you may want to alter the number of sts you make when working down and up the front sides of your cardigan.
This row should help stop the front of the cardigan from stretching but should not be so tight that it puckers.
Round 2: Ch1 (do not work into joining ss from previous round), 3sc in first st, 1sc in each st down the front, 3sc in the centre st of the 3sc corner from the previous round, 1sc in each st along the bottom, 3sc in the centre st of the next 3sc corner, 1sc into each st up the side, 3sc in the centre st of the 3sc top corner, 1sc in each st along the neckline, join to the first st with a ss, turn.
Row 3: ss into each st along the neckline only
Fasten off, block as desired and sew in ends
Buttons
I have chosen matching buttons which will be quite discrete when the cardigan is left unfastened, but you could equally make a feature of your buttons.
The buttons can be sewn to left or right front as your preference – what is important is that one button is on the outside – facing out and the other is on the inside facing in – this will allow you to fasten the tops to the buttonhole of your choosing on the neckline in a double breasted style.
This also supports the reversible nature of the cardigan.
Attaching buttons
With rs facing, sew the first button to the top front left outside corner of the cardigan.
Sew the second button to the inside corner of the front right of the cardigan and you’re done!

How to share your finished makes
I hope you enjoy the pattern and, as always don’t forget to share your efforts!
- On Instagram, you can use the hashtag #DoraDoes to share your finished projects or just tag me @doraexplored
- If you have the bug for creating garments, why not join my dedicated facebook group “My Crochet Wardrobe” and share them there?
- Sign up to the WiP Tip for weekly crochet chat, offers and exclusives straight to your inbox – click here to sign up
Happy Hooking
Dx
I’ll leave you with a few more shots I’ managed to snag in the unexpected February sunshine we had this week!
More Crochet Cardigan Patterns


Copyright Dora Does Limited, Registered in England, Company Number 13992263. This pattern is for personal use only and may not be shared or reproduced in written, photo, video or any other form without prior written consent. All rights reserved. Terms of service.
Dora for Queen !!!! 😀
😂😘