How to crochet a decorative bow (ideal for gifts)

I don’t know about you, but I love to add those handmade touches to gifts. I always think that kind of attention to detail shows the recipient that extra bit of love.
And because I also love crochet, I created a crochet bow pattern, which I designed as an adornment to the Christmas Gift hat, and have posted as a separate pattern to read below.
This crochet bow adds that extra finish to a Christmas or birthday present or a gift for any occasion really.


This post contains affiliate links. This means if you click a link to a product and go on to make a purchase, I receive a small percentage of the sale at no extra cost to you. You can read my full affiliate disclosure here.
The cute crochet bow could also be used to add to a seasonal or festive wreath or a stocking. Those multiple uses are probably reflected in the somewhat catch all title of this post!!
This design is not intended to be used as a toy.
The Bow is made of 3 parts, the ‘bow’ the ‘tail’ and the ‘cover tie’. Below you’ll find the written and step by step picture tutorial which takes you through the process.
Skills Used
This is a pretty simple pattern which uses US single crochet (UK double crochet) and chain stitches, with simple increases.
You’ll need to know how to work in rows and in the round and there is a small amount of sewing involved. Though I show you how to avoid sewing in most of the ends!
The construction is probably the most challenging part, but this is just a little fiddly – once you have the 3 pieces together you can adjust the bow so it sits how you want it.
Materials
In this tutorial, I used about 15g / 40m of double knit yarn and a 4mm crochet hook. I’ve used Paintbox Simply DK in Mustard Yellow (shade 123).
I used a Clover Amour Crochet Hook for this project – one of my favourites – learn more about different crochet hooks here.
This pattern will work with pretty much any yarn and a suitable hook, though using a different yarn weight will alter the finished size and amount of yarn required.
I advise using a hook as recommended on the ball band, or on the smaller end of what is suited to your yarn weight. Keeping your stitches tight will help give the bow some structure.
Finished Size
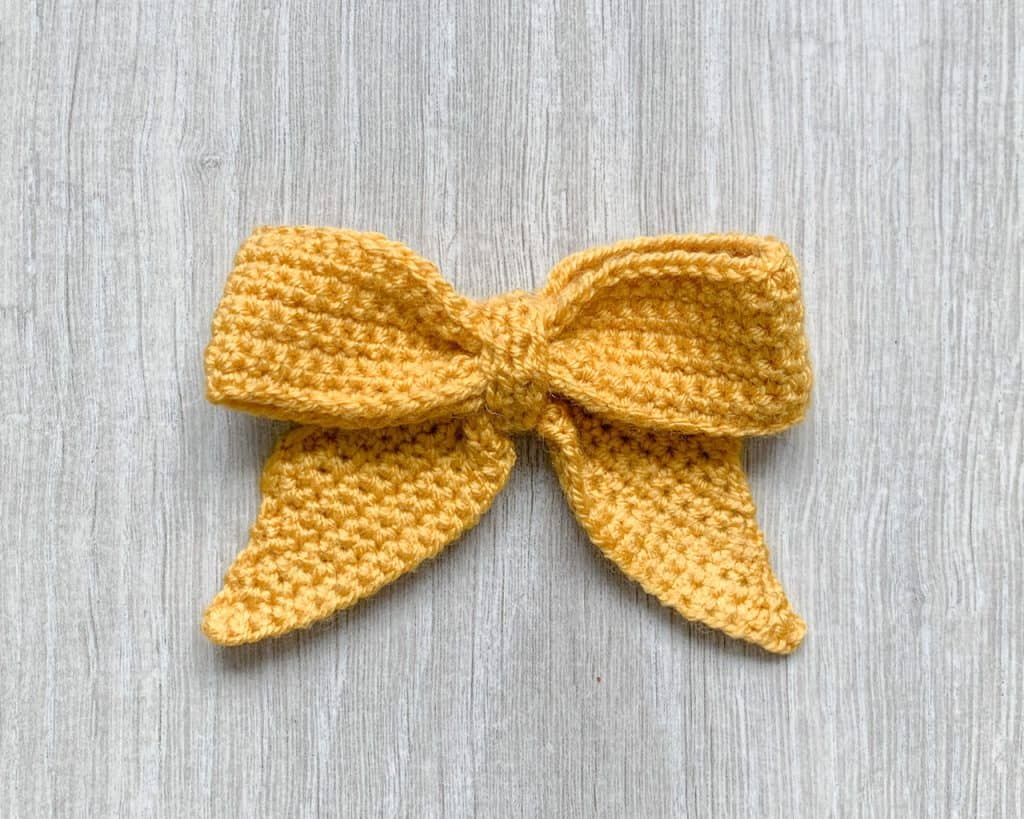
The bow you see pictured measures about 12cm across and the bow and tail sections are each about about 4cm deep.
You can alter the size by amending the stitch and row counts in the starting chains and working different numbers of rows or rounds. I will add guidance throughout the tutorial on how you could experiment with this.
Pattern Notes
- This pattern uses US crochet terms (UK terms in brackets in the abbreviations list)
- Turning chains do not count as stitches
- Stitch counts are given at the end of the row at the start of the section or where there is a change
- Stitch counts include chain spaces
- When making increases, using the invisible increase will help give your ‘tail’ a neater look. You can learn about invisible increases in this article which contains tips for amigurumi
- The pattern is constructed from 3 parts; the ‘bow’ the ‘tail’ and the ‘cover tie’ which are made separately and joined together to finish
- Note that the pictures you see are from a left handed crocheter (i.e. me!), so if you’re right handed you will see a mirror image
- There is no formal right or wrong side. You can choose which one you prefer when constructing your bow
- Gauge is not essential for this pattern
Stitches and Abbreviations (US terms)
UK terms are given in brackets
- ch = chain
- ch-sp = chain space
- sc = single crochet (UK double crochet)
- sk = skip (UK miss)
- sp = space
- ss = slip stitch
Dora’s Crochet Gift Bow Pattern
You can make the 3 separate parts in any order, but I will start with the bow, then work the tail and finally the tie
The Bow
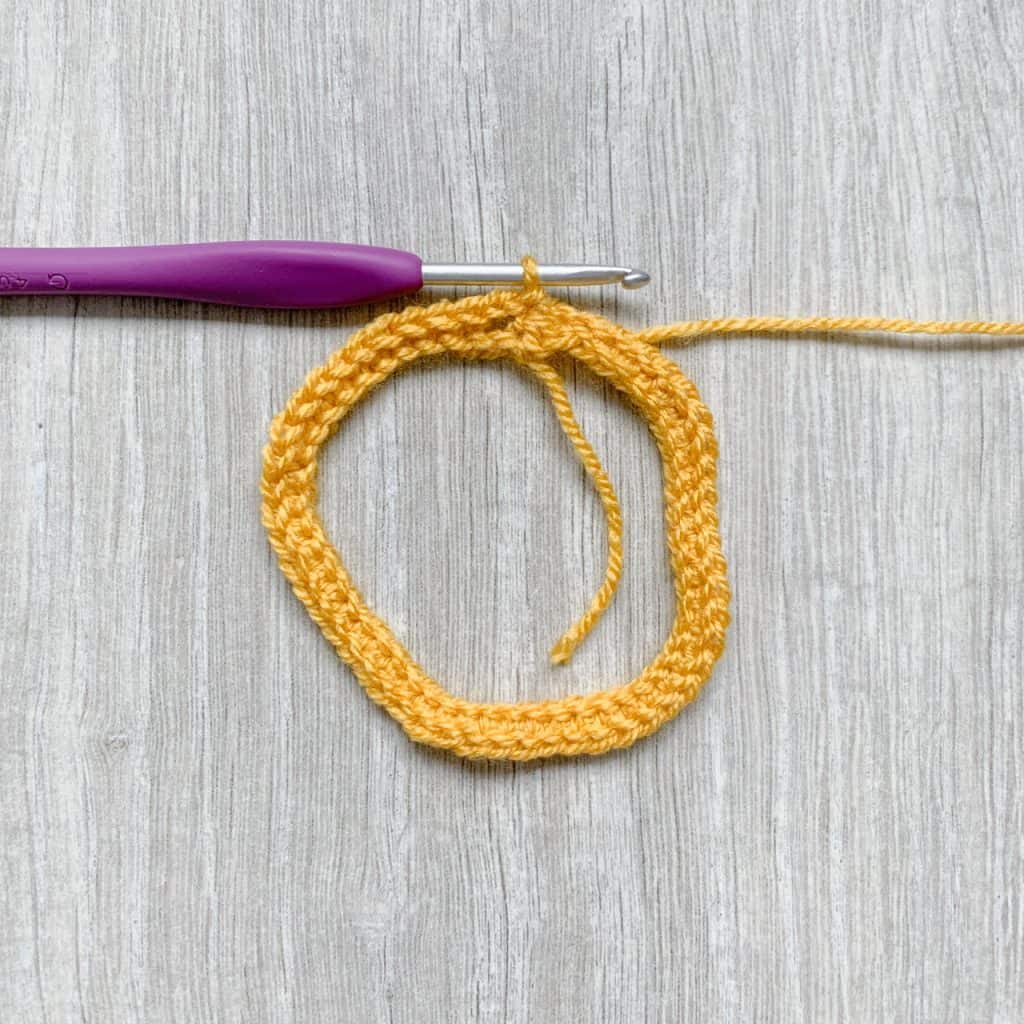
Round 1: Ch52, ss to first st to make a loop (don’t twist!), turn. 52 sts

Round 2: Ch3 (counts as turning ch and 2 sts), sk 2 sts, 1sc in each st to 2 sts from end, ch2, sk 2 sts, ss to first ch of ch3, turn
Rounds 3 – 9: As Round 2
Fasten off leaving about a 10cm tail.

Thread a yarn needle onto the tail.
Fold the loop in half at the join.
Pinch together the centre of the bow (where the chain spaces are) and wrap the tails (You can wrap up the starting tail here too) tightly around the centre (covering the chains) to create a basic bow shape.
Use the yarn needle to secure in pace.

Note that you don’t want this wrap to bee too bulky or too tight, as you’re going to cover it up with the tie at the end.
Set aside.
Adjustments to the bow
You can adjust the size of the bow width by adjusting the number of stitches in the starting chain. I advise keeping the chains either side of the join (you can add more for a bigger bow) as this reduces the bulk when you pinch the centre together to form the bow shape.
To change the depth of the bow you can add or remove rounds. With more rounds you are going to get a more structured bow. If you work too few then you may find you get some curling happening.
The depth and width are proportionate so it’s worth bearing in mind that if you change one, you will want to think about changing the other.

The tails
You will work the tail in rows, increasing at the beginning and end of each row and creating chain spaces in the centre.
Ch18
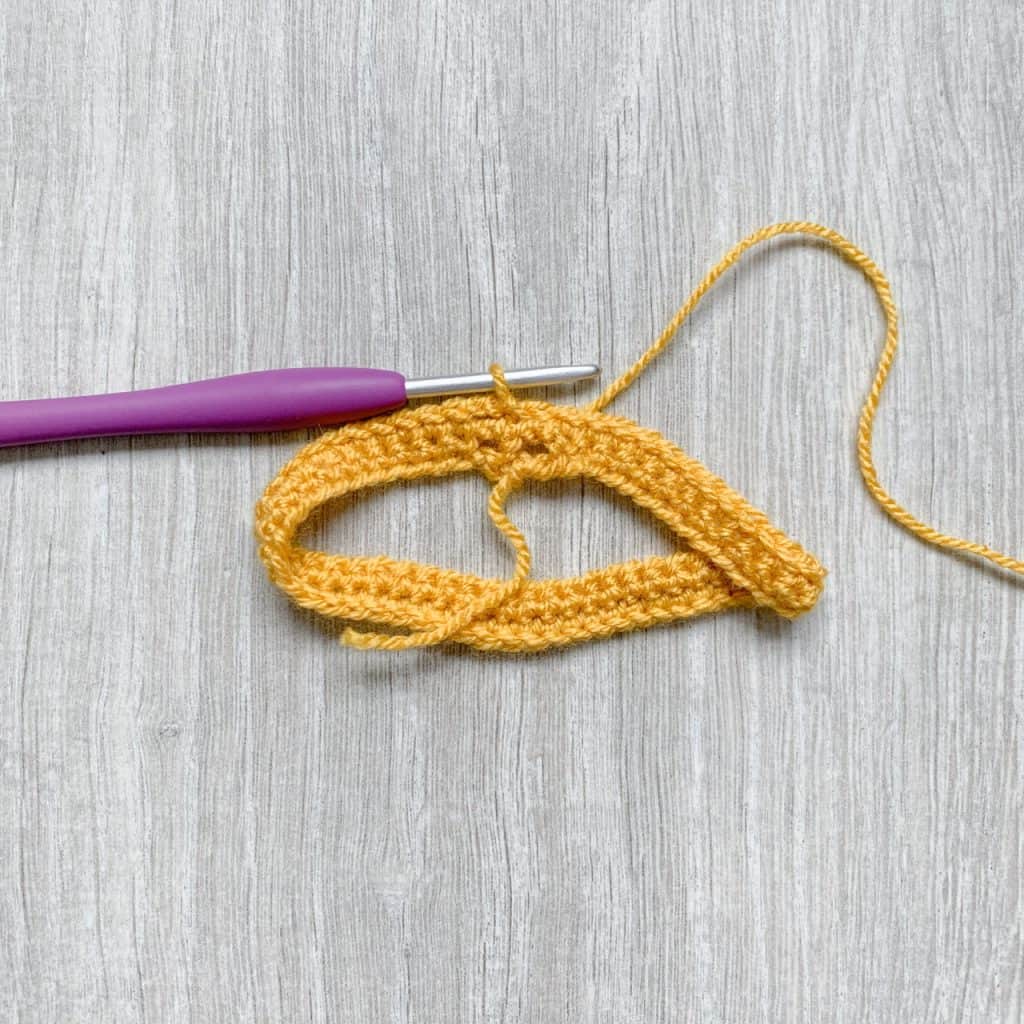
Row 1: 2sc in second ch from hook, 1sc in next 7 ch, ch1, sk 1 st, 1sc in next 7 ch, 2sc in last ch, turn. 19 sts
Row 2: Ch1, 2sc in first st, 1sc in next 8 sts, ch1, sk ch1-sp, 1sc in next 8 sts, 2sc in last st, turn. 21 sts
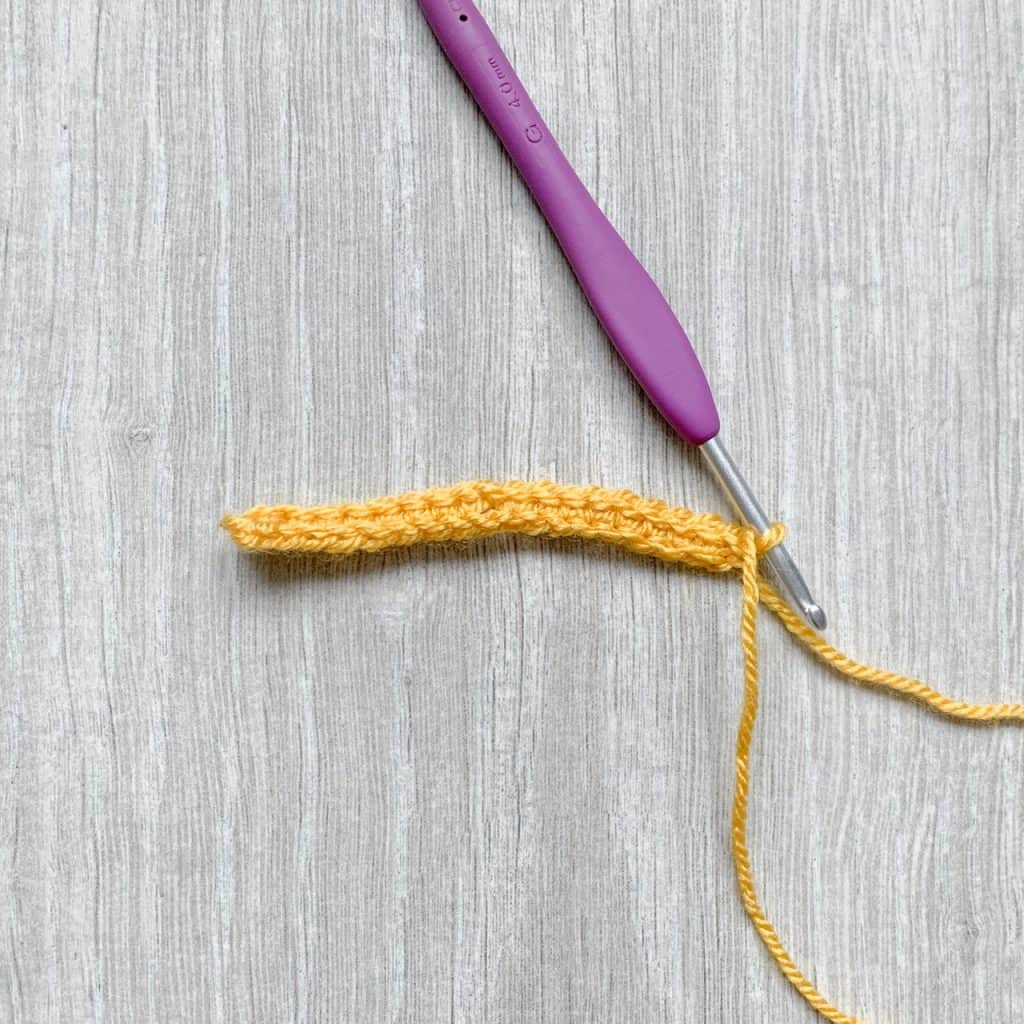
During Row 2, I suggest carrying the original yarn tail under your stitches and dropping it at the centre so you can hide it when you wrap the tails round the centre (as you did with the bow).

You may notice that in the image above I’ve popped the tip of the scissors on one end. This is because for the first few rows you will notice a curl. It should drop out as you work but if it persists you may want to give the tie a gentle blocking (be very careful with this if you’re using acrylic so you don’t melt it).
Alternatively, you could go with the curly look if you prefer!
Row 3: Ch1, 2sc in first st, 1sc in next 9 sts, ch2, sk ch1-sp, 1sc in next 9 sts, 2sc in last st, turn. 24 sts
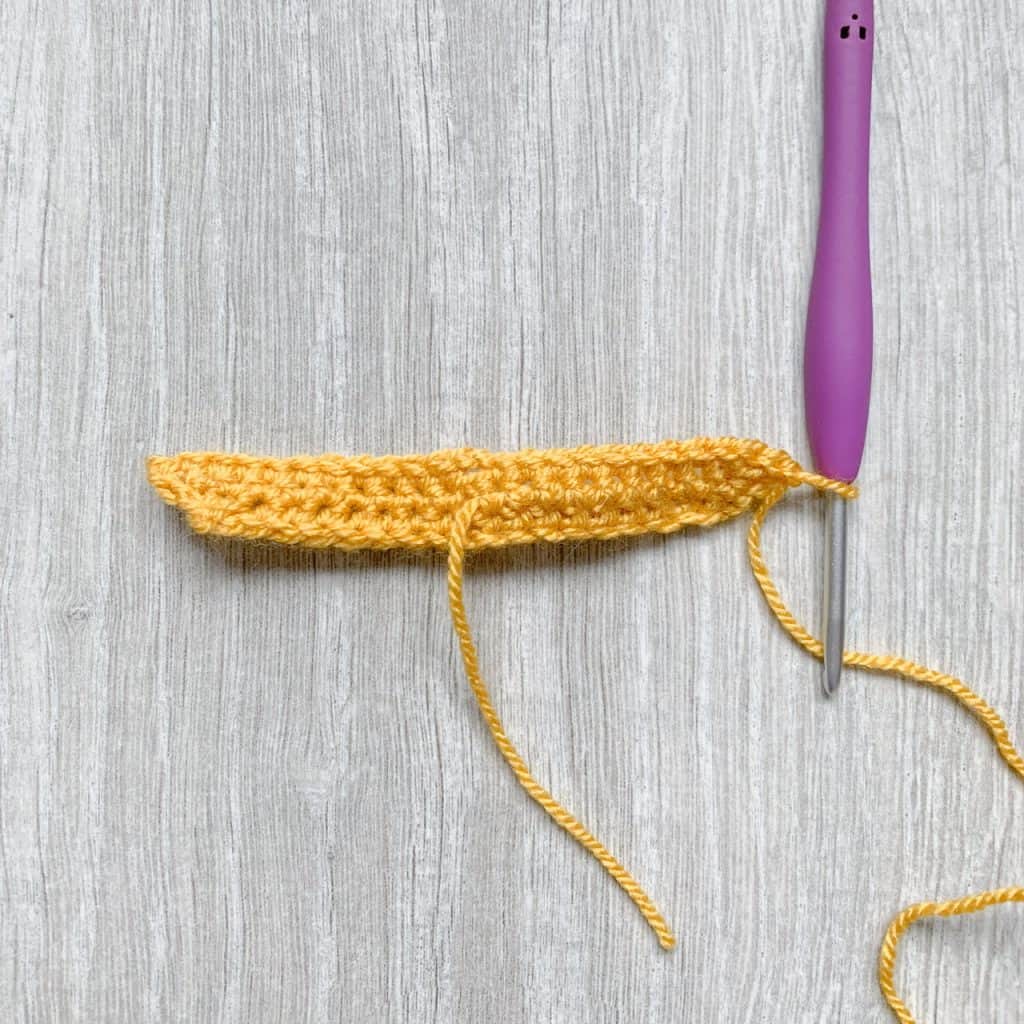
Row 4: Ch1, 2sc in first st, 1sc in next 10 sts, ch2, sk ch2-sp, 1sc in next 10 sts, 2sc in last st, turn. 26 sts
Row 5: Ch1, 2sc in first st, 1sc in next 11 sts, ch3, sk ch2-sp, 1sc in next 11 sts, 2sc in last st, turn. 29 sts

Row 6: Ch1, 2sc in first st, 1sc in next 12 sts, ch3, sk ch3-sp, 1sc in next 12 sts, 2sc in last st, turn. 31 sts
Row 7: Ch1, 2sc in first st, 1sc in next 13 sts, ch4, sk ch3-sp, 1sc in next 13 sts, 2sc in last st, turn. 34 sts
Row 8: Ch1, 2sc in first st, 1sc in next 14 sts, ch4, sk ch4-sp, 1sc in next 14 sts, 2sc in last st, turn. 36 sts
Row 9: Ch1, 2sc in first st, 1sc in next 15 sts, ch5, sk ch4-sp, 1sc in next 15 sts, 2sc in last st, turn. 39 sts
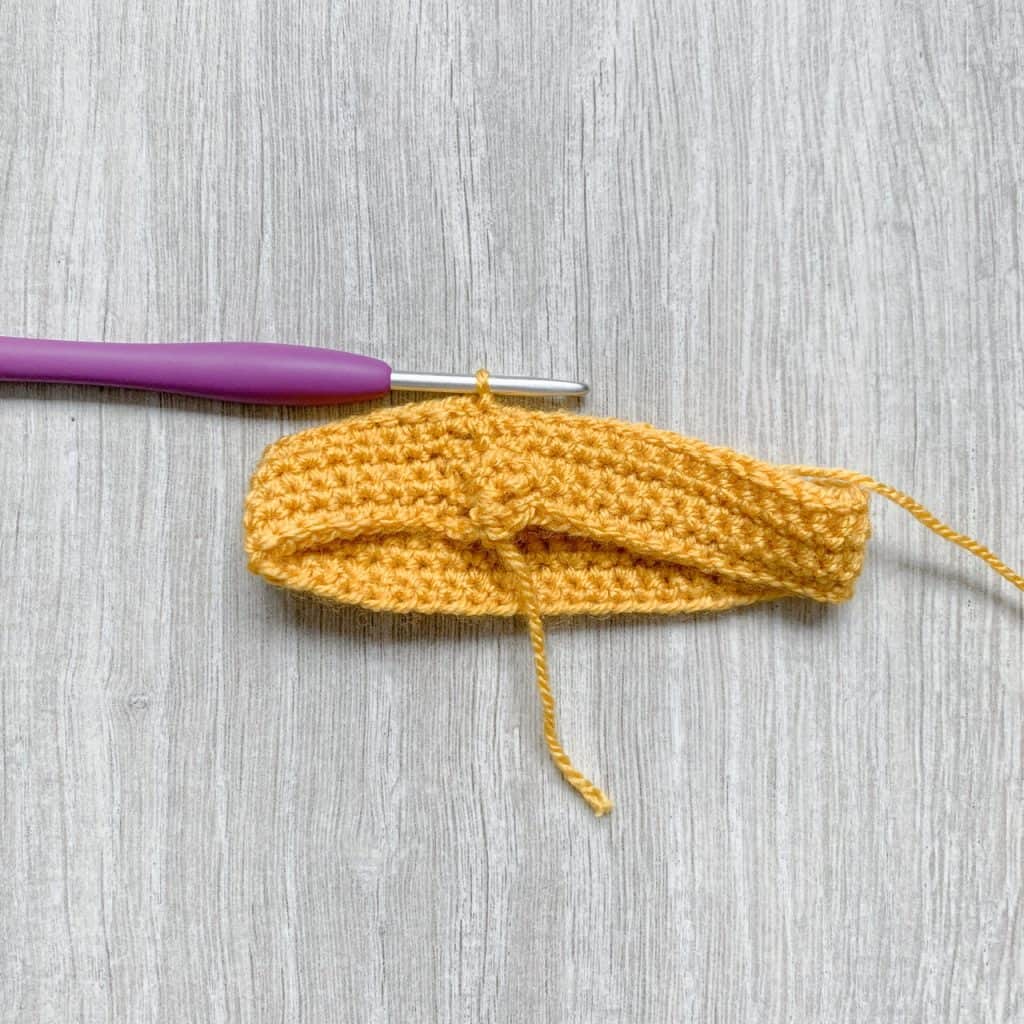
Fasten off leaving a tail of around 10cm

As with the bow, thread a yarn needle onto the yarn end, pinch the centre of the tail and wrap the ends around the centre, securing it with your needle by threading it through the centre.

Adjustment to the tail
You can change the size of the tails in the same way as the bow, by increasing or decreasing the stitch and row count to suit. To achieve a similar proportion to the one you see here, the longest length (row) of the tail should be about 3/4 of the number of stitches used in the bow.
You can make a longer tail to give the effect of ribbons dangling. This could look great on a wreath for example.
If you wanted asymmetric lengths, you could move where you make the chains as this is the area where you pinch the piece together to join to the bow.

The Centre Tie
Finally you’ll create the centre tie which will be used to wrap over the middle of the two other pieces to secure them together. You can adjust the tie to achieve the look you want. I’ve kept mine quite narrow here, but you could definitely go wider.
The tie is worked in rows but is wrapped so the stitch direction is at right angles to the bow and tail.
Ch11
Row 1: 1sc in second ch from hook and each ch to end, turn. 10 sts
Row 2: Ch1, 1sc in each st to end, turn
Row 3: As Row 2

Fasten off leaving 10 cm tail
Construction
Now you have you’re 3 pieces, you’re ready to put it all together!

Align the centres of the bow and the tail so that the bow is on top.
Thread a yarn needle onto the tie and, wrap it at a 90 degree angle (so the rows are vertical) over the centre of the tie and the bow, ensuring they pull both tightly together.
Use your yarn needle to sew together the row ends of the tie at the back of your bow. (This is the fiddly bit!). Make sure you tuck in any ends left on the bow or tail.

Fasten of and weave in any last ends
Note that you may want to leave the last end long so that you can use it to attach to your gift / wreath etc.

And there you have your finished bow!
You may want to adjust and plump the bows until it sits the way you want it to.
I hope you find this tutorial useful and that your gift recipients appreciate your efforts.
How to find me and share your finished makes
- On Instagram, you can use the hashtag #DoraDoes to share your finished projects or just tag me @doraexplored
- Sign up to the WiP Tip for weekly crochet chat, offers and exclusives straight to your inbox – click here to sign up.
- Check out my YouTube Channel for my biweekly ‘Crochet Studio Sessions’ podcast.
Happy Hooking
Dx
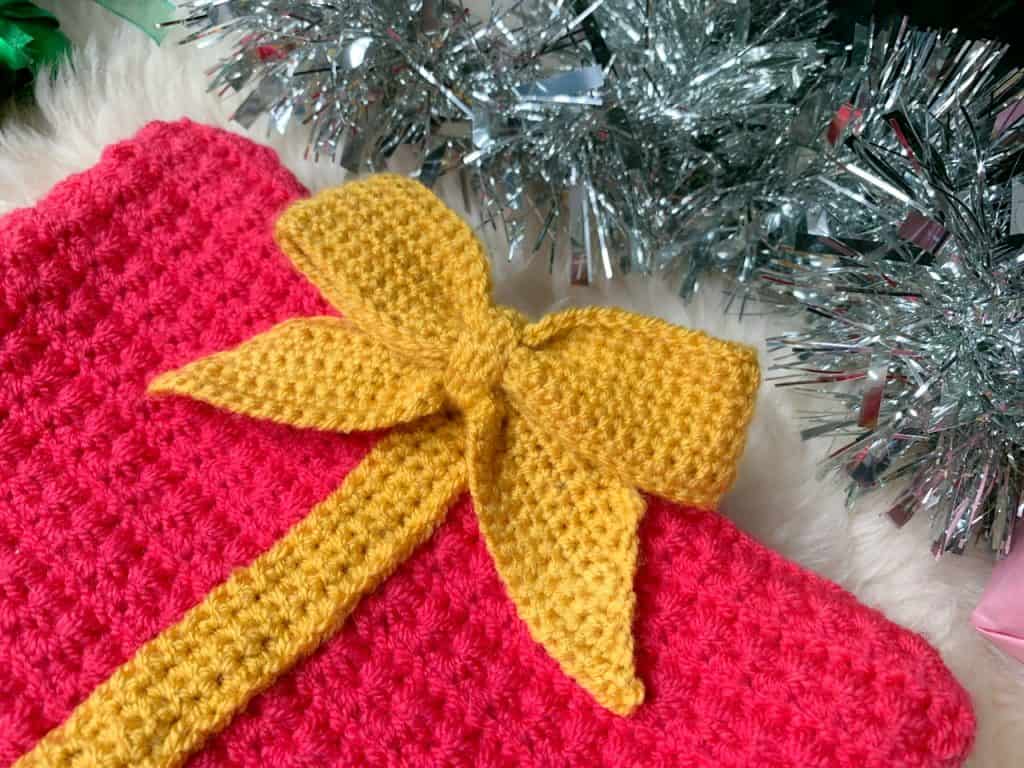
P.Here’s a peek of how the bow looks attached to my upcoming addition to my Christmas Hat collection. You’re the first to get a sneak peek!

If you liked this, you can find more crafty tutorials here.
Browse Christmas Crochet Patterns
Copyright Dora Does Limited, Registered in England, Company Number 13992263. This pattern is for personal use only and may not be shared or reproduced in written, photo, video or any other form without prior written consent. All rights reserved. Terms of service.


hi, a video would be so helpful. I dont know if I am creating the chains and then skipping that amount of chain or if I am just chaining and skipping one??
Hi there, can you confirm which round you’re referring to and I will be able to advise. Thanks
Dora
Could you possibly leave a video at the bottom because it is hard to crochet it from just photos. Please consider it.🙏🙏🙏
Unfortunately I don’t have current plans to create a video tutorial for this one, but your request is noted. I am always happy to offer advice if you have a specific query about the design.