How to crochet waffle stitch

Waffle stitch was probably one of the first textured stitches I tried after learning to crochet. I love the texture, because who doesn’t like waffles right?
One of the first items I designed, long before I started publishing patterns, was a waffle stitch hat (below) which I’ve worn winter after winter. I dug it out recently and the pom pom is starting to look a little sorry for itself so it’s time for a refresh!

It made me realise how much I love that stitch, Especially for winter accessories and cosy blankets, so I thought I would put together a tutorial for you to enjoy too!
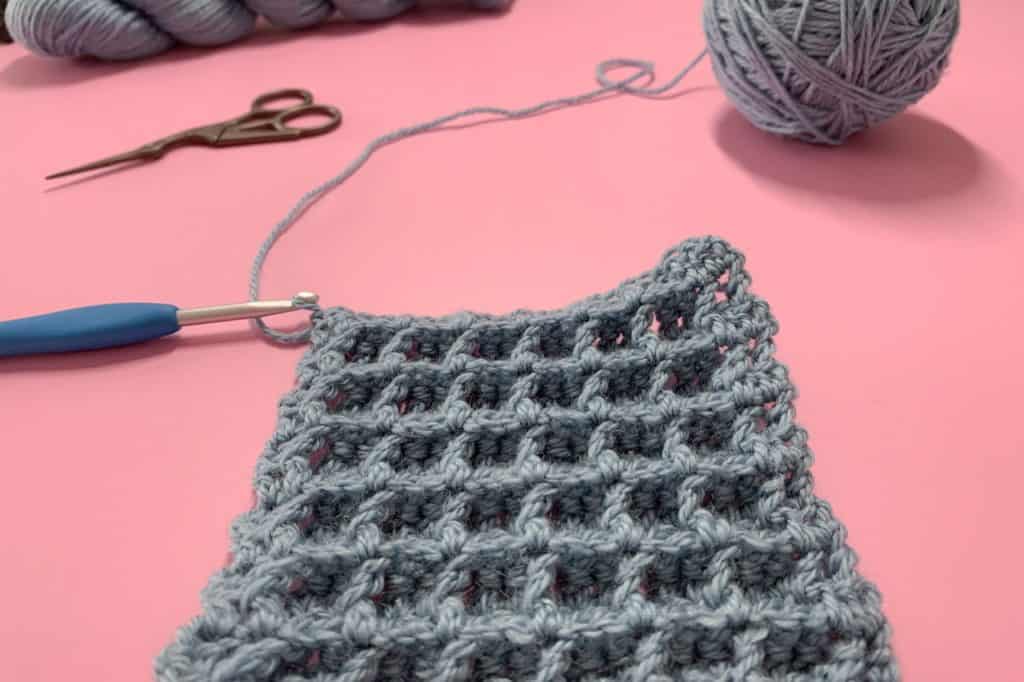
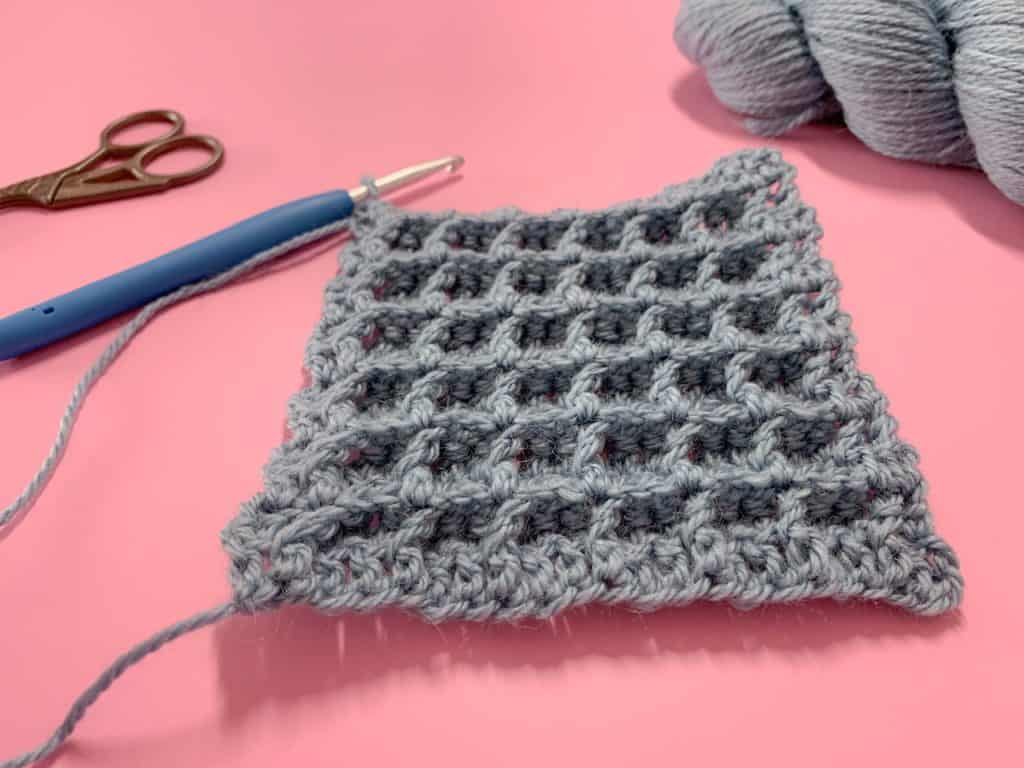
Warning – it’s a bit of a yarn eater, but it’s worth it. Just check out that waffle texture in this close up shot!

An overview of the crochet waffle stitch
Waffle stitch is a deceptively simple stitch pattern. It uses a combination of double crochet (dc) and front post double crochet (fpdc) (UK raised treble front) to create it’s unique waffle pattern.
Skill Level: Advanced Beginner
Stitches used: Chain (ch), Single crochet (sc) (UK double crochet)
Stitch Multiple: Works with a multiple of 3 stitches worked flat on the foundation row. If you’re starting with a foundation chain, you’ll need to use 3+2 chains with the extra 2 serving as the turning chain (but not counting as a stitch).
Note that you can learn more about working with stitch multiples here.
Row Multiple: Once you’ve worked the foundation row (which is just a row of double crochet (UK trebles), then the pattern just uses a 2 row pattern repeat.
Below you will find the simple written instructions for waffle stitch, followed by a link to the video tutorials (right and left handed) and, lastly, the step-by-step picture tutorial.
Stitches & Abbreviations
US Crochet Terms
- ch = chain
- dc = double crochet (UK treble crochet)
- fpdc = front post double crochet (UK raised treble front) – follow this tutorial to learn how to work front post stitches
- rep = repeat
- st(s) = stitches
Pattern Notes
- Turning chains do not count as stitches
- Instructions after *asterisks should be repeated as indicated
Crochet Waffle Stitch: Written Tutorial
Make a chain of 3+2 stitches
Row 1: 1dc in 3rd ch from hook and each ch to end (so you have a multiple of 3dc), turn
Row 2: Ch2, 1dc in the first st, *1fpdc in the next st, 1dc in the next 2 sts; repeat from * to 2 sts from the end, 1fpdc in the next st, 1dc in the last st, turn
Row 3: Ch2, 1dc in the first st, *1dc in next st, 1fpdc in the next 2 sts; rep from * to 2 sts from end, 1dc in each of last 2 sts, turn
Repeat rows 2 and 3 for the pattern.
And that’s really it – I told you it was deceptively simple!
Crocheting waffle stitch in the round
Note that the tutorial above describes waffle stitch worked flat allows for a kind of buffer dc on each side of the main stitch pattern.
If you’re making a cowl, infinity scarf or maybe a hat like the one at the top, which you want to work in the round, then you’ll need to adjust the pattern slightly.
To do this, you’ll remove the instructions at the beginning and end of the rows and just work the pattern repeat given after the *asterisks, joining at the end of each round and turning.
Waffle Stitch: Video tutorial
Below you can view the right handed video tutorial for waffle stitch. Click here for the left handed version.
left handed version here:
Waffle stitch: Photo tutorial
Note that these photos demonstrate waffle stitch being made left handed. If you are right handed, you will see a mirror image – the process is exactly the same either way!!
To start your foundation, make a chain of 3+2 stitches

Row 1: 1dc in 3rd ch from hook and each ch to end (so you have a multiple of 3dc), turn
I have 21 double crochet in this swatch

Row 2:
This is the right side row, also called the public side as it is the side of the pattern which will face outwards.
Ch2, 1dc in the first st,

1fpdc in the next stitch. Note that you can find a tutorial for post stitches, known as raised stitches in the UK, here.

1dc in the next 2 stitches. This will complete your first repeat of the row.
Then repeat the same 3 stitches; 1fpdc, 1dc in next 2 sts:

Repeat this 3 stitch combination to 2 stitches from the end of the row.
Then work 1fpdc in the next stitch, 1dc in the last stitch to complete the row. This is your first pattern repeat row.

Turn your work to start the next row.
Row 3:
This will be the wrong side, private side or back of your work.
Ch2, 1dc in the first stitch. You can see already that the back looks very different!

For your pattern repeat, 1dc in next stitch, 1fpdc in the next 2 stitches.

Continue this 3 stitch repeat; 1dc in next stitch, 1fpdc in the next 2 stS, to 2 sts from end.


To finish the row, work 1dc in each of last 2 stitches.
Essentially you are reversing what you did on the previous row. So you work a dc into the fpdc from the previous row and work fpdc into each dc from the previous row.
The picture below shows you what it looks like when you turn for the start of the next row (row 4 here)

This is your 2 row pattern repeat complete. You will just repeat rows 2 and 3 for the pattern.
Let’s work the next couple of rows and show you what that looks like as it grows.
Row 4:
Work as row 2: Ch2, 1dc in the first st, *1fpdc in the next st, 1dc in the next 2 sts; repeat from * to 2 sts from the end, 1fpdc in the next st, 1dc in the last st, turn
Now you can really see the waffles start to form.

Row 5:
Work as Row 3: Ch2, 1dc in the first st, *1dc in next st, 1fpdc in the next 2 sts; rep from * to 2 sts from end 1dc in each of last 2 sts, turn
Here’s what the back will look like part way through row 5.

And when you turn at the end of row 5, that’s two sets of 2 row pattern repeats completed, you can see your waffle shapes.

If I work another row 2 repeat, you will start to get a feel for the pattern.

So just keep repeating those two rows as desired by your project!
I hope you found this tutorial useful. Waffle stitch is super warm so prefect to work in those cold months where all you want is to be cosy!
Happy Hooking
Dx


Downunder it was 29.8 today – the beginning of the middle month of spring. Only the gods know what kind of a summer we’re in for. 🙁
And up there you guys are settling in for cold weather. Autumn is my favourite month, so enjoy it, dear Michelle !
I’ve not made anything using waffle stitch so far, but I do have the odd year still to go .. [grin]
Haha!! Well, it’s grey and raining here in Cambridge! I never quite know how to deal with the seasonal disparity! Though waffle stitch would make a great place mat / heat protector (I can’t think of the right word to stop hot pots burning surfaces!) – but it’s still something that could be tried in summer – or added to the waiting list!!
M’dear, I am more than willing to be instructed by you on anything ! XO