How to crochet Alpine Stitch – Video, photo and written tutorial

Since my early days of crocheting, I always loved making post stitches (or raised stitches if you use UK terms). There’s something deeply satisfying about working them and I love the textures they can create.
So when I stumbled across alpine stitch, I got giddy with all the heart eyes…
It was such a pretty texture, and I love the tactile nature of crochet cables, especially on homewares such as cushions and items worn close to the body.
I confess I have yet to make a design just using this stitch, but am working on something I hope will be super special so watch this space!
Mostly I have used it for scarves and simple accessories. You don’t really need a pattern to get going with this stitch though. It lends itself beautifully to weighty blankets or cosy accessories.
The Alpine Stitch is quite robust and when worked with a tighter tension, it creates an opaque fabric so is great for pillows or even bags. So versatile! (Now my project list is increasing!)
I find it a deeply calming stitch to work too and, for that reason, I included it on my list of my 5 favourite mindful crochet stitch patterns.
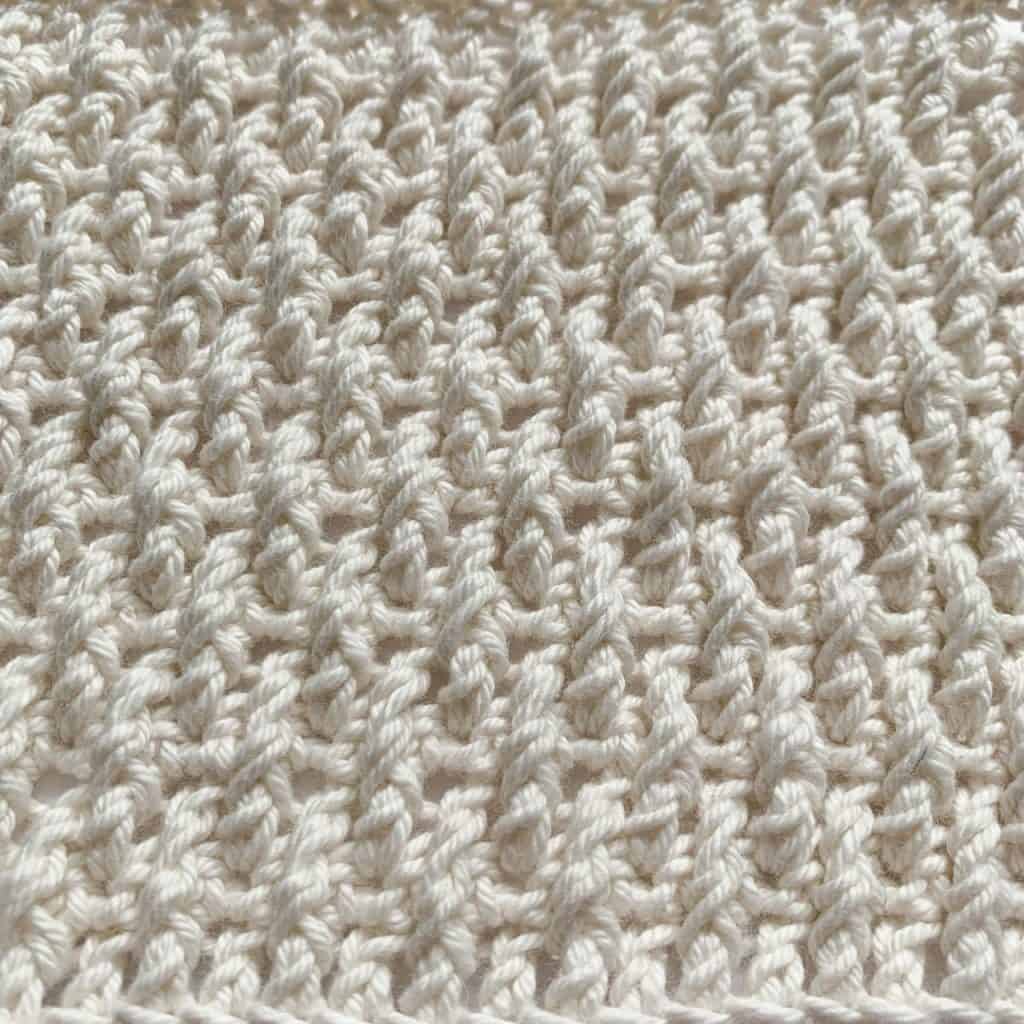
After that I figured it was about time I shared the love, so put together this tutorial.
If you want to get right in there, I have added the basic written instructions first.
The video tutorials, in right handed and left handed follow the written instructions, and if photos work best for you, the step by step picture tutorial follows the video.
The photo section includes a lot more detail about what to look out for when working the stitch pattern as well as tips for improving the finished look of your work!
What you need to know first
There are various ways to work this stitch pattern and I have highlighted the one I prefer.
It can be worked with any stitch multiple but I have written the tutorial using odd numbers. I prefer the way it looks with this approach as it gives it a sense of balance!
The stitch uses a 4 row pattern repeat, alternating between rows of double crochet & post stitches and rows of single crochet (all US terms)
This is a relatively simple stitch pattern suitable for an adventurous beginner. It assumes knowledge of basic crochet stitches and front post stitches. If you don’t know how to work front post stitches, you might want to check out this explanation (another video tutorial on my to-make list!!), but you will soon get the gist if you just watch the Alpine stitch video!
The turning chains do not count as stitches throughout.
Okay, shall we begin!?!
Stitches & Abbreviations (US Terms)
- ch = chain
- cont = continued
- dc = double crochet (UK treble)
- fptr = front post treble (UK raised double treble front)
- sc = single crochet (UK double)
- st = stitch
- RS = right side
- WS = wrong side

Alpine Stitch – Written Instructions
Make a chain of an odd number of stitches;
Row 1 (RS): 1dc in 3rd ch from hook and each ch to end, turn
Row 2 (WS): Ch1 (does not count as st), 1sc in in each st to end, turn
Row 3: Ch2 (does not count as st), 1dc In first st, *1fptr in corresponding dc 2 rows below, 1dc in next st; rep from * to end, turn.
Row 4: Repeat Row 2
Row 5: Ch2, 1fptr in first dc 2 rows below, *1dc in next st, 1fptr in correstponding dc 2 rows below; rep from * to end, turn
Row 6: Repeat Row 2
For the pattern: Repeat rows 3 – 6 and finish up on a row 2 repeat.
Alpine Stitch – Video Tutorial
Below you can watch a right handed video tutorial for the Alpine Stitch, find the left handed version here
Alpine Stitch – Step by Step Photo Tutorial
I know that everyone learns in different ways so below you will find a step-by-step photo tutorial to supplement the written and video options.
I seem to have selected a rather fluffy yarn for this tutorial (which I only realised when I came to edit the close up pics!!) but you should still be able to get a clear view of each step!
Chain an odd number of sts to start.
Row 1 (RS): Work a double crochet into the 3rd ch from hook and each stitch to end, turn – I have used 11 sts here – turn
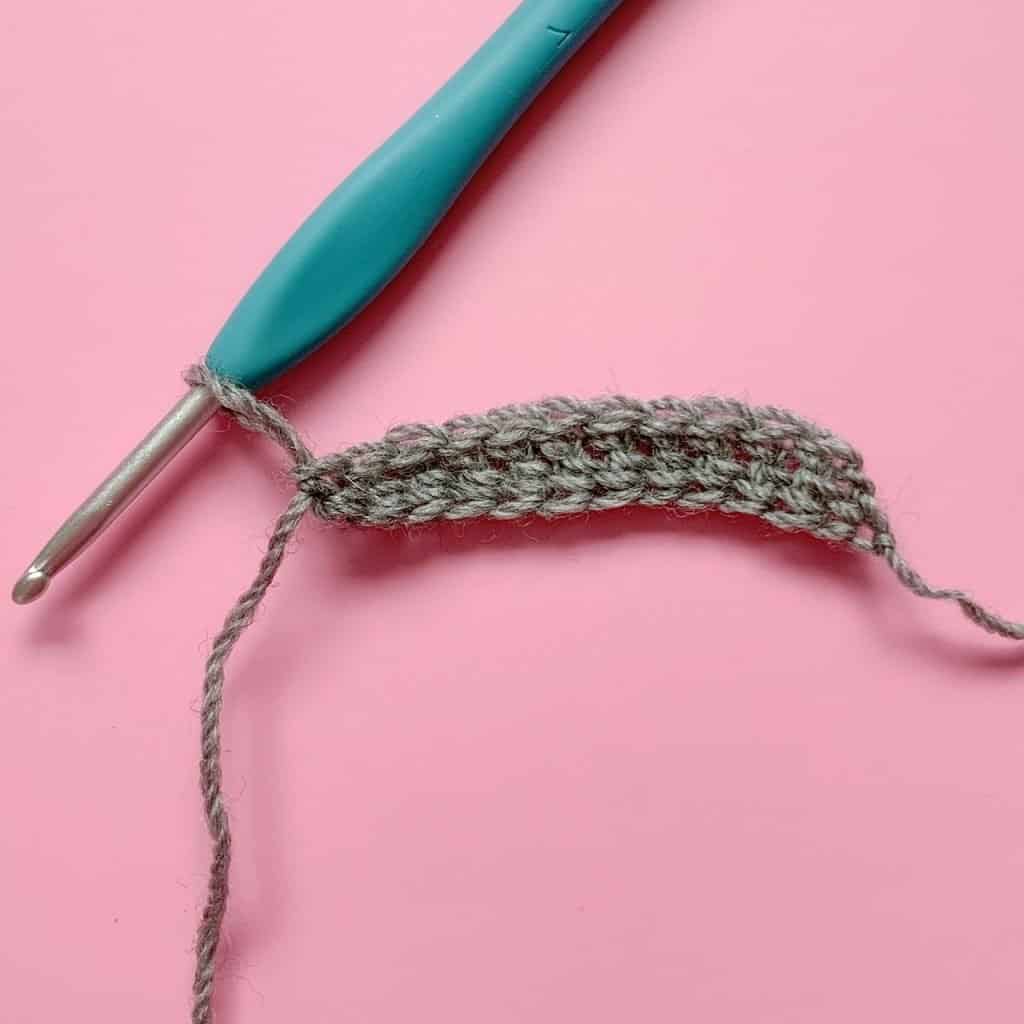
Row 2 (WS): Ch1 (does not count as st), 1sc in in each st to end, turn
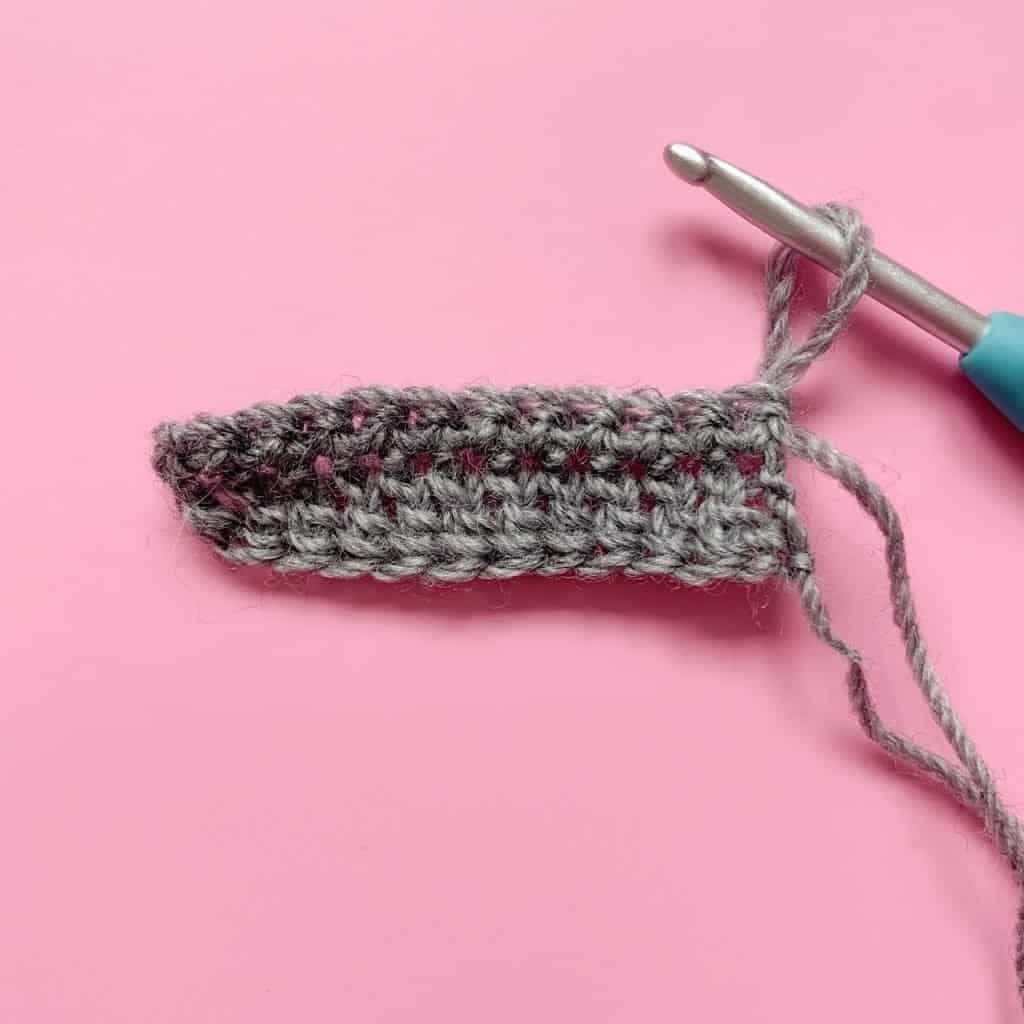
Row 3: Ch2 (does not count as st), 1dc in first st,
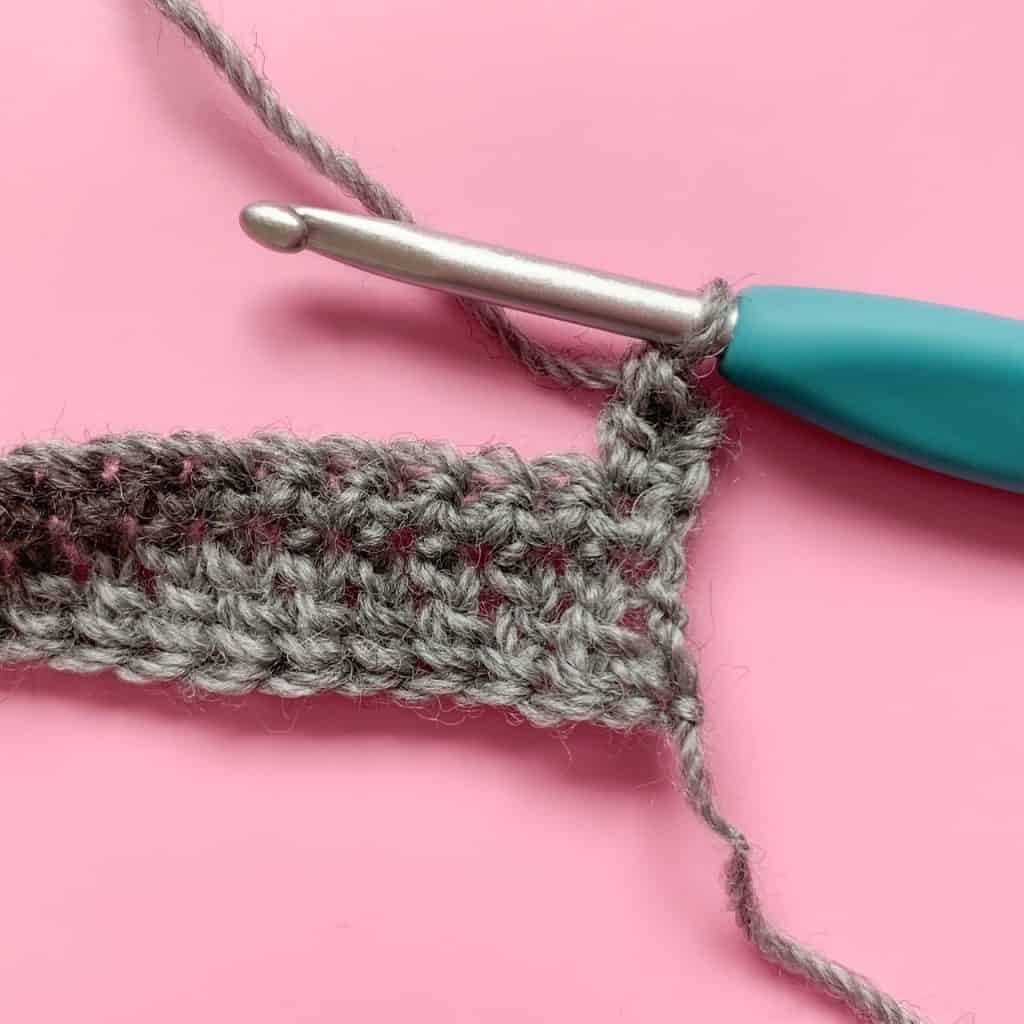
Row 3 cont…: 1fptr in the corresponding dc 2 rows below (you will skip the sc row)


Row 3 cont…: 1dc in next st
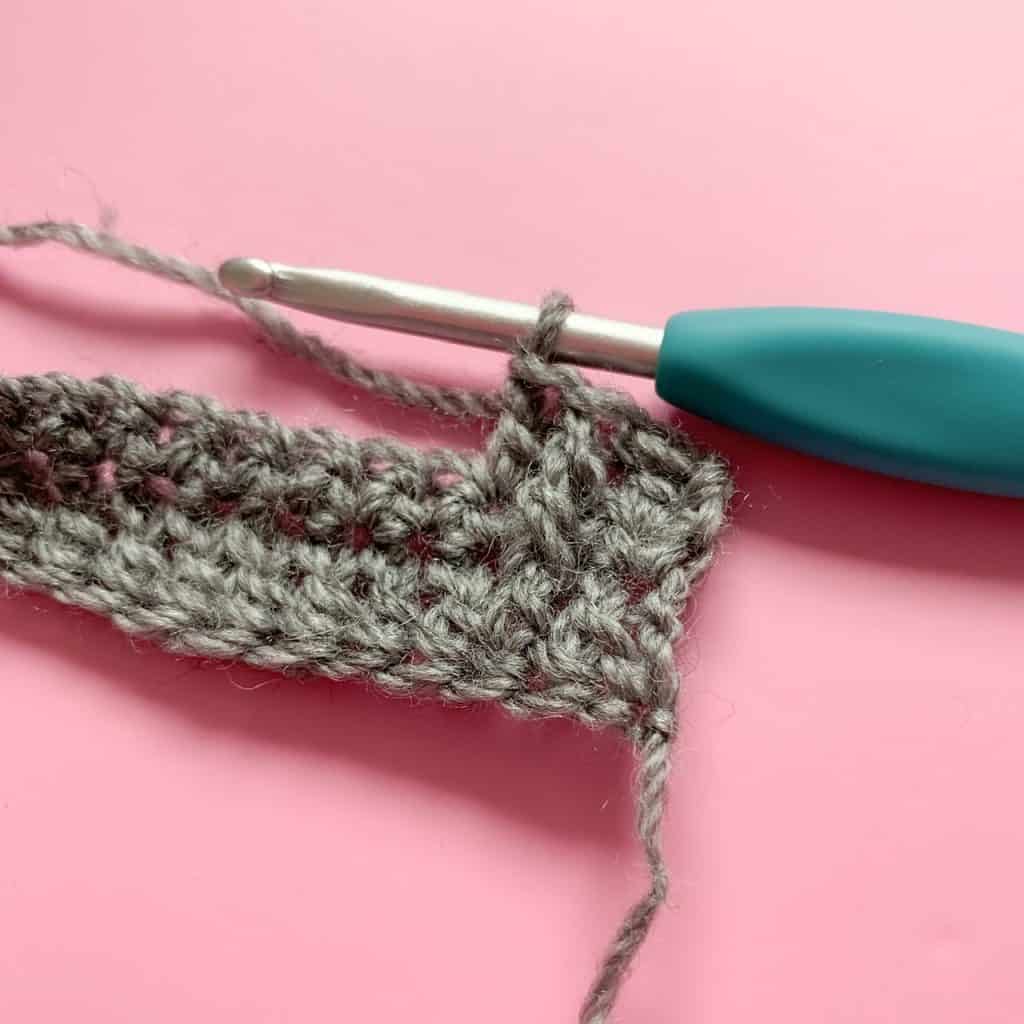
Row 3 cont…: *1fptr in the corresponding dc 2 rows below, 1dc in next st; rep from * to end, turn.
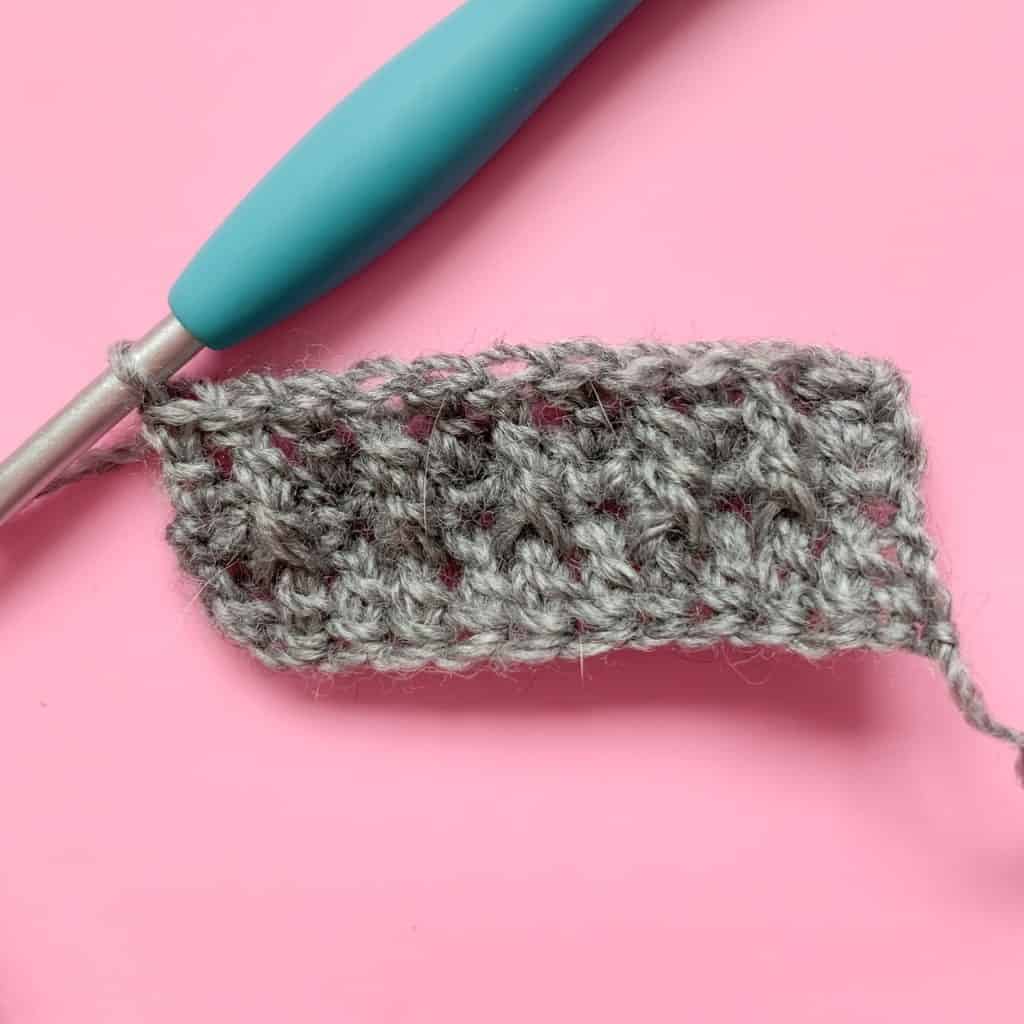
Row 3 is essentially just alternating dc and fptr all the way across which is the basis of the pattern.
Row 4: Ch1, 1sc in each st to end, turn (As Row 2)
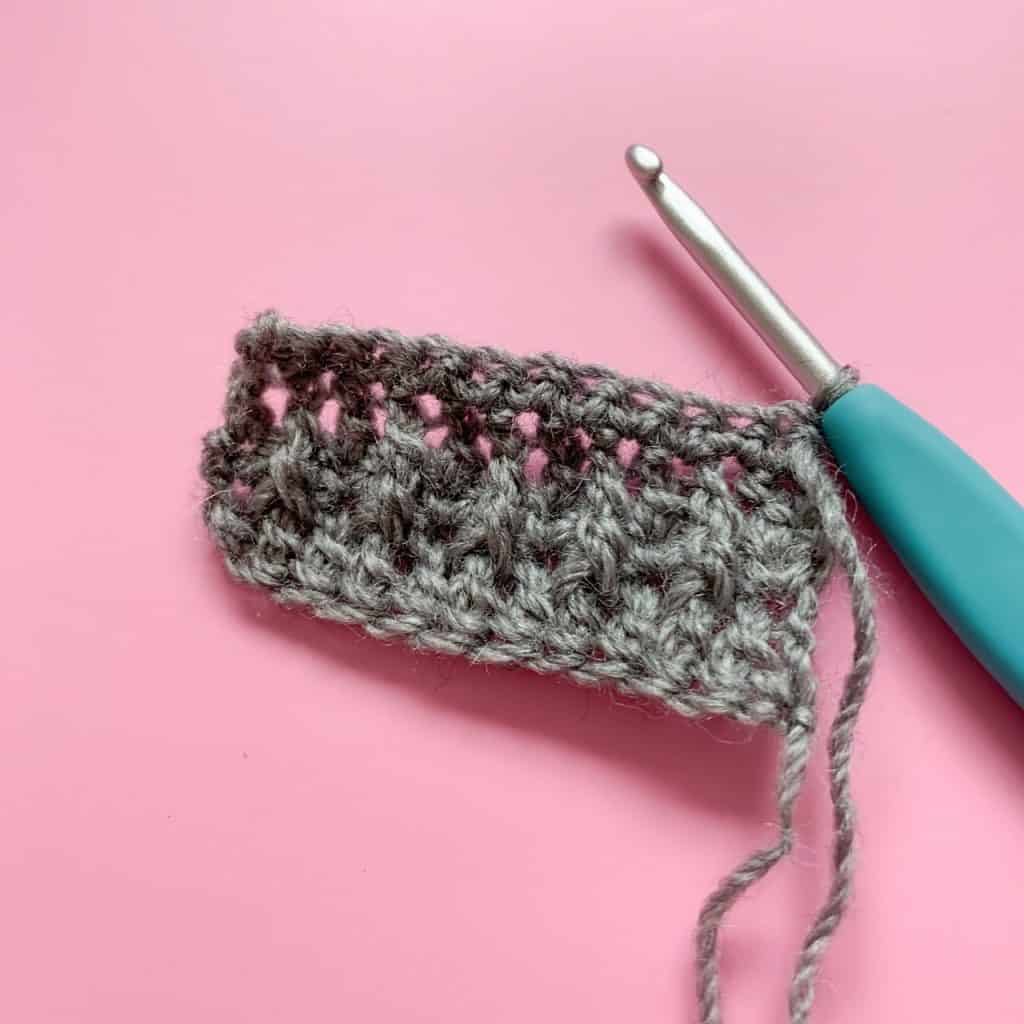
In Row 5 (below) you will also alternate between dc and fptr (just like Row 3) but this row will start the row with a fptr worked into the dc 2 rows below
Row 5: Ch2, *1fptr in the first dc 2 rows below
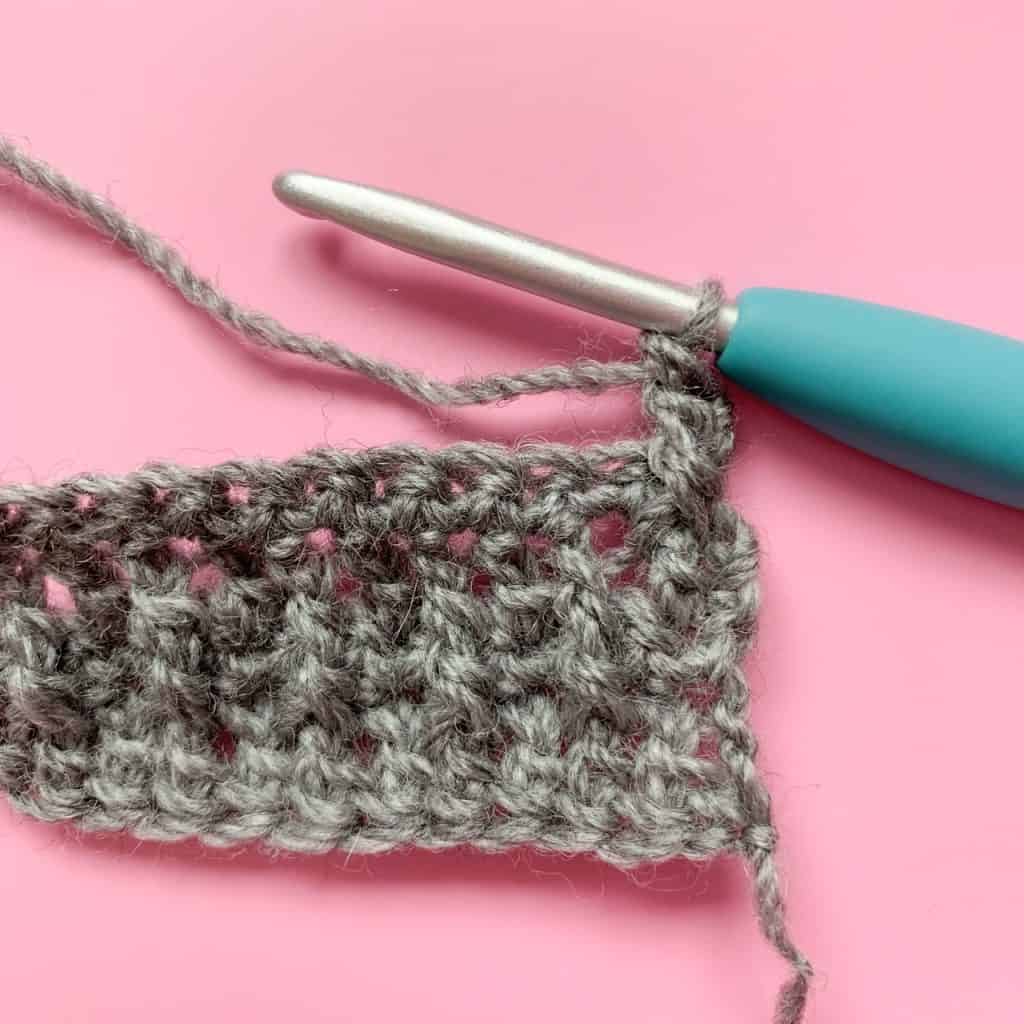
Row 5 cont…: *1dc in next st, 1fptr in corresponding dc 2 rows below; rep from * to end, turn

Row 6: Ch1, 1sc in each st to end, turn (As Row 2)
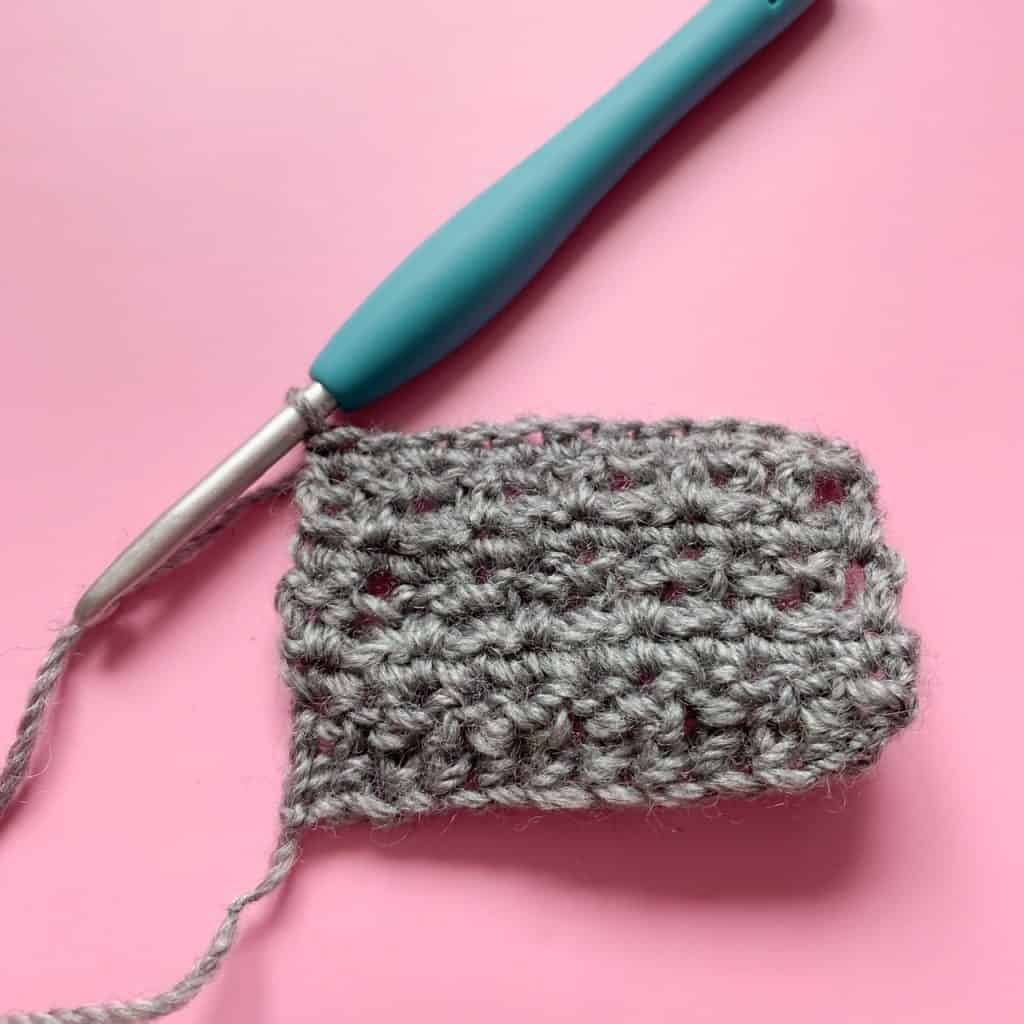
For the pattern repeat: Continue with the 4 row pattern by repeating rows 3 – 6.
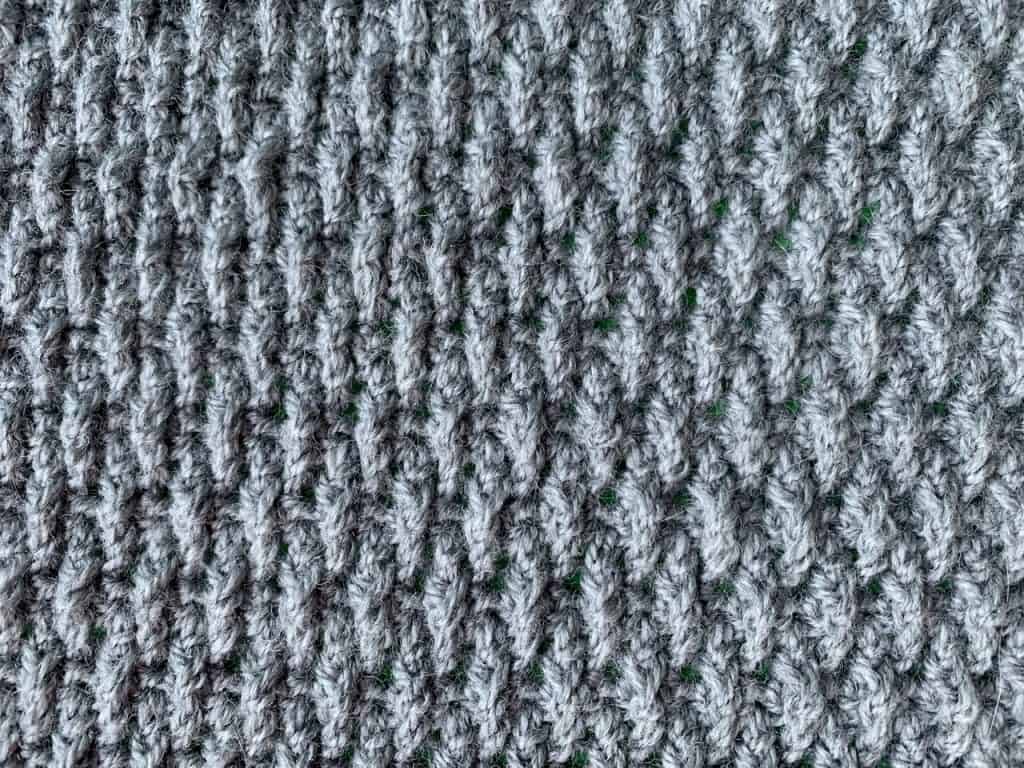
Here’s what you’re aiming for!
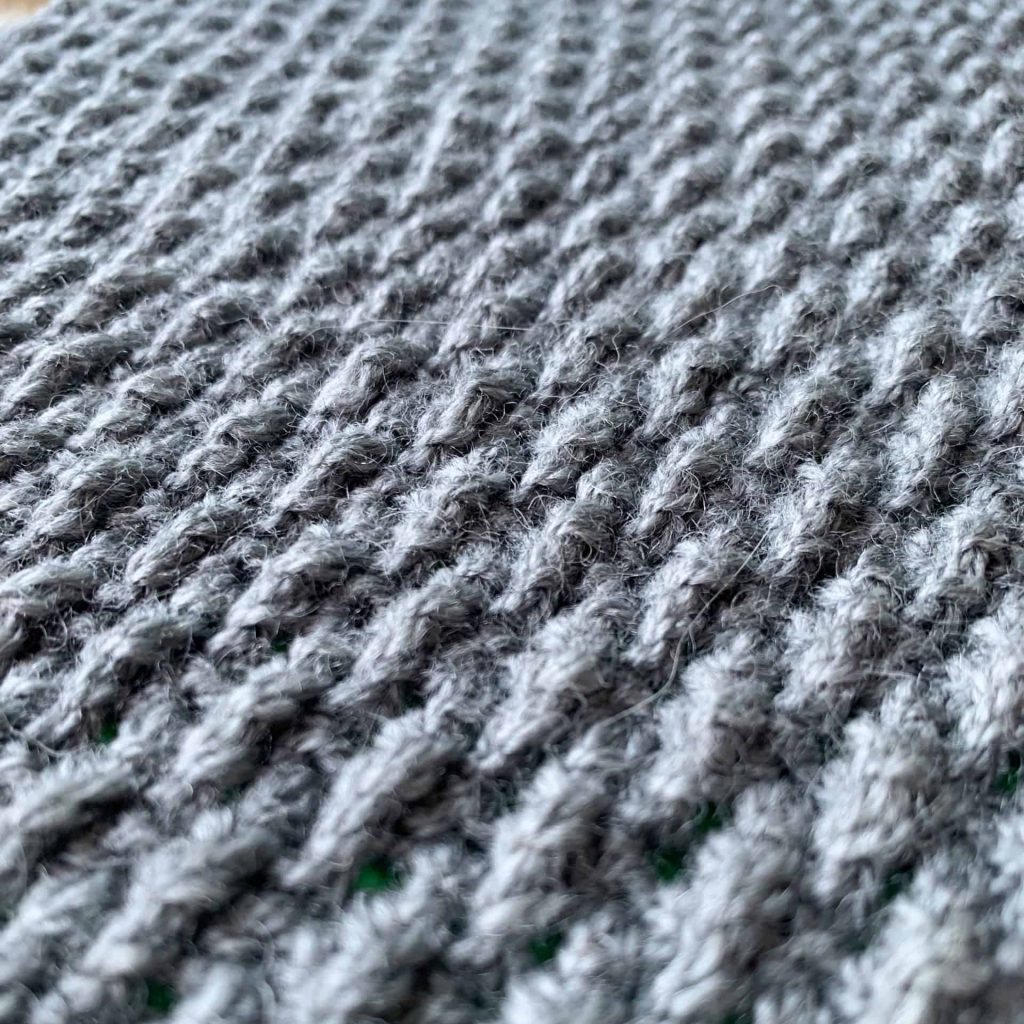
Tips for working Alpine Stitch
- Fptr will always be worked into the dc 2 rows below and dc will always be worked into the sc from the previous row.
- Make sure you do not work into the sc above the post stitch you just worked around (there is more info on this in the video)
- If you are finding gaps at the end of the row where you work an fptr as the last stitch of the row, try replacing it with a front post double crochet (fpdc) instead!
- When working this stitch, you are likely to see a little curl in the corners but this flattens out as you work and can be irradiated with a bit of blocking if required!
I hope you have found this tutorial useful, and are convince about what a glorious stitch this is to work!
Click here for more stitch tutorials!
Until next time,
Happy Hooking
Dx


I do like and appreciate the trouble you go to with your instructional things, Michelle !
So stop mucking about and do one of these for the non-Icelandic method of mosaic crochet, OK ? Tatsiana’s method, we might call it. But I can’t get my head around her text: I want DORA’s text !!
https://www.lillabjorncrochet.com/2017/07/nya-mosaic-blanket-free-crochet-pattern.html
In truth, I think my problem lies in having learned to do Tinna’s method; and now the alternative keeps not making it into the far recesses of the ancient brain. Sighh ..
Her designs are another kind of art all together. She’s a genius!!!
And so are you, my dear: your whole ethos is wonderful !
Ahh. You are so unwaveringly kind to me! 😊