
Never break the (Yarn) Chain

It’s the Friday after Thanksgiving. The hight street calls it Black Friday, makers are reclaiming it as Indy Friday, but I’m sticking with Festive Friday and today only you can get 10% off everything in my Etsy store using the code FESTIVE at the checkout. Below you can also see the 4th in my series of Free Festive Friday patterns.
To this day, I have vivid recollections of making paper chains to decorate the house at Christmas. Cutting up bits of coloured paper, throwing some glitter at it with dried out pritt-stick but being proud, nonetheless, of the end result!
I think that may have even been the source of my hatred of cutting things, before I discovered a)sharp and b)left handed scissors!
I tried to find a picture to verify my memory but just came across this one of me and my siblings with our (by today’s standards) very sad looking tree full of very handmade decorations! (How ‘amazing’ is my dress, those curtains and that carpet by the way!!)

I’m fairly sire the paper chain thing was an 80s trend as it disappeared once I passed the age of about 8. However, the last couple of years Ive seen people recreating this, and more interestingly, recreating this in crochet!
So I decided that I would try my own modern tribute to the retro paper chain.
I wanted to use thinner cords, rather than the fatter flat paper, to make it a bit more like an actual chain. It’s been a while since I made any sort of cord using crochet so I started doing a bit of research. I found several tutorials for the crochet equivalent of an icord which just seemed too fiddly for my patience to enjoy. I knew I would be making a lot so wanted something quick and enjoyable.
Then I discovered a super quick way of making a cord incorporating the tail into the working yarn but the cord was a bit thinner than I had envisaged. Next I discovered the Romanian cord which is used in lace making. This was beautiful and worked up pretty quickly and simply. It was a little too flat but I was getting closer.
In the end I devised my own method of creating the cord I wanted. It’s a simplified version of the Romanian cord. I’m sure that it already exists somewhere and has it’s own name but I’m calling it the Quick Slip Stitch Cord, because that describes it explicitly – it does what it says on the tin!
This is another stashbusting project. You can use any yarn, you can go to town with mix and match to get a folky mis-matched effect, which would be an authentic recreation of my infant cutting skills!
I’ve chosen to use a multitude of colours in DK all from my stash because I wanted to create a rainbow effect and throw colour everywhere!
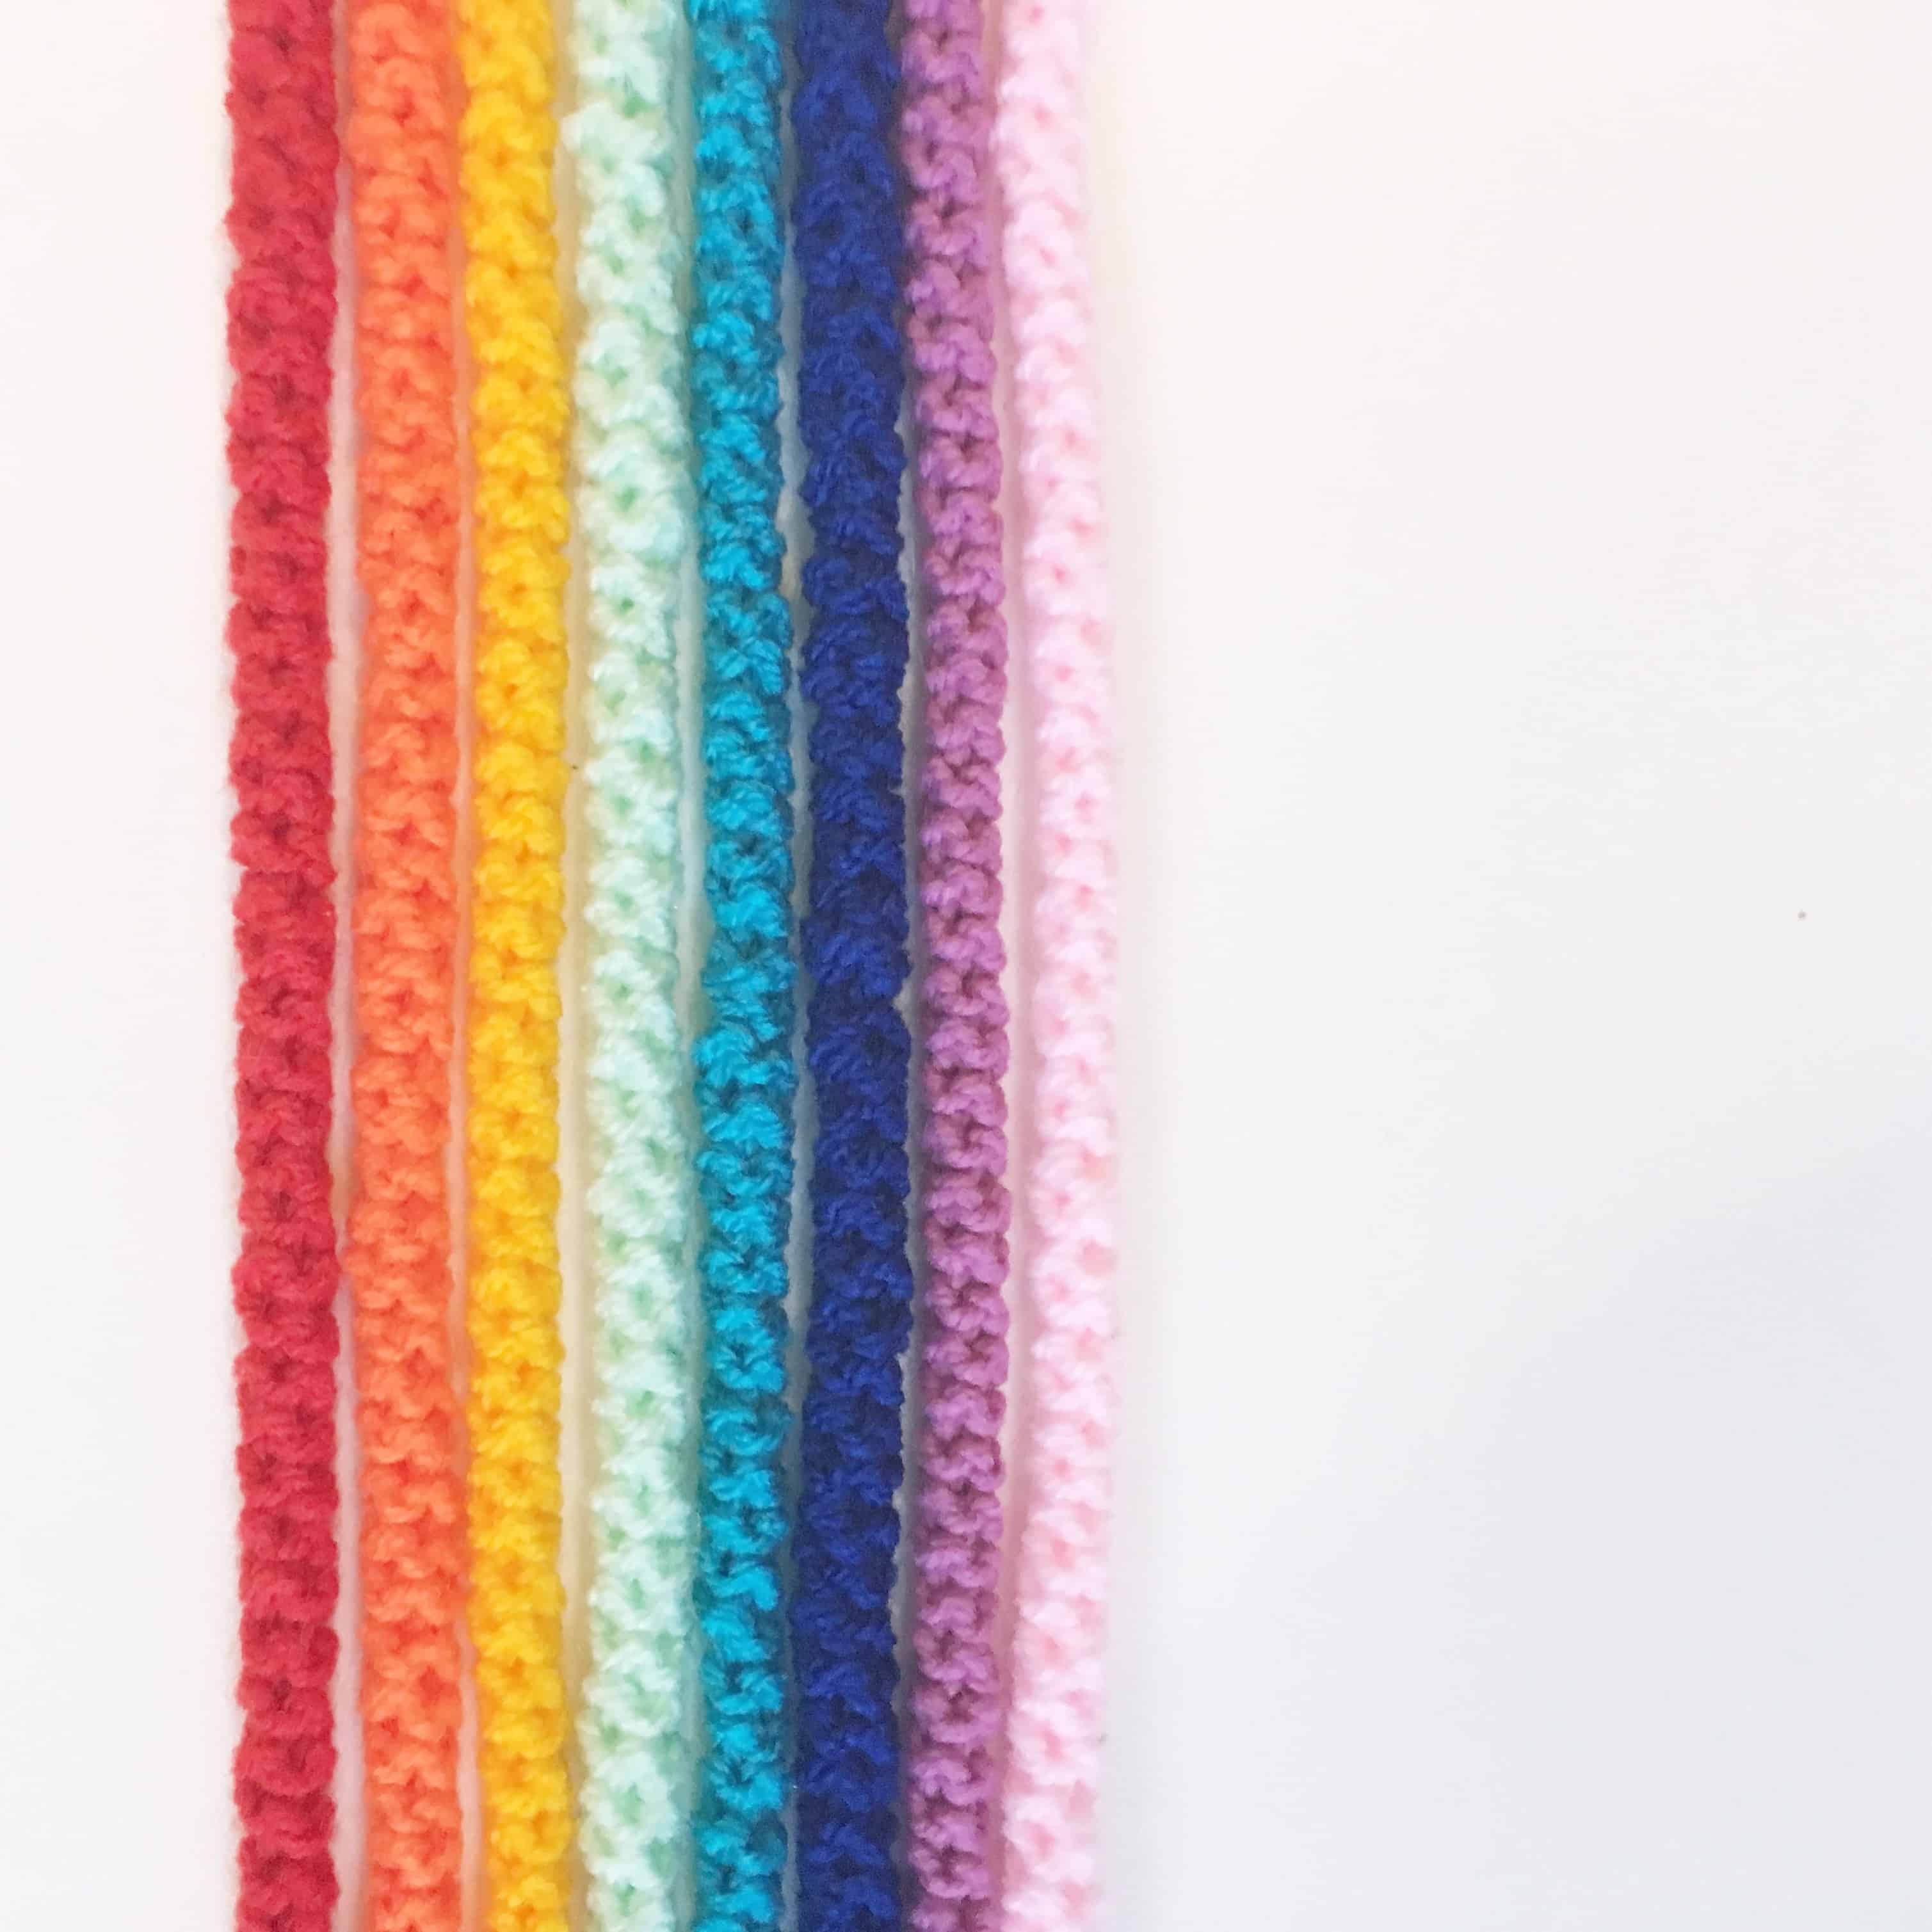
How to Crochet The Quick Slip Stitch Cord
Firstly we need to make a number of cords. You can see a video below demonstrating how to make them (written instructions are underneath).
You can also view a left handed version here
To Make the Cord
Chain 3, join with slip stitch (sl st) to the 3rd chain from hook
Work a sl st through the single, top loop of each of the 3 chains.
Turning the cord as you go, work a sl st into the top (back) loop of each sl st and continue round and round and round until you achieve the length of chain you are looking for.
Mine each measure about 8in.
Fasten off, leaving a tail
To Make the Chain
Take your first starting cord and sew the ends together using the tails to create the first link.
Take the next cord and loop it through the first, sewing the ends together to create the next link.
Add the rest of the cords to the previous link to make your chain. Make as many cords as you want and you can add more as you go to increase the length.

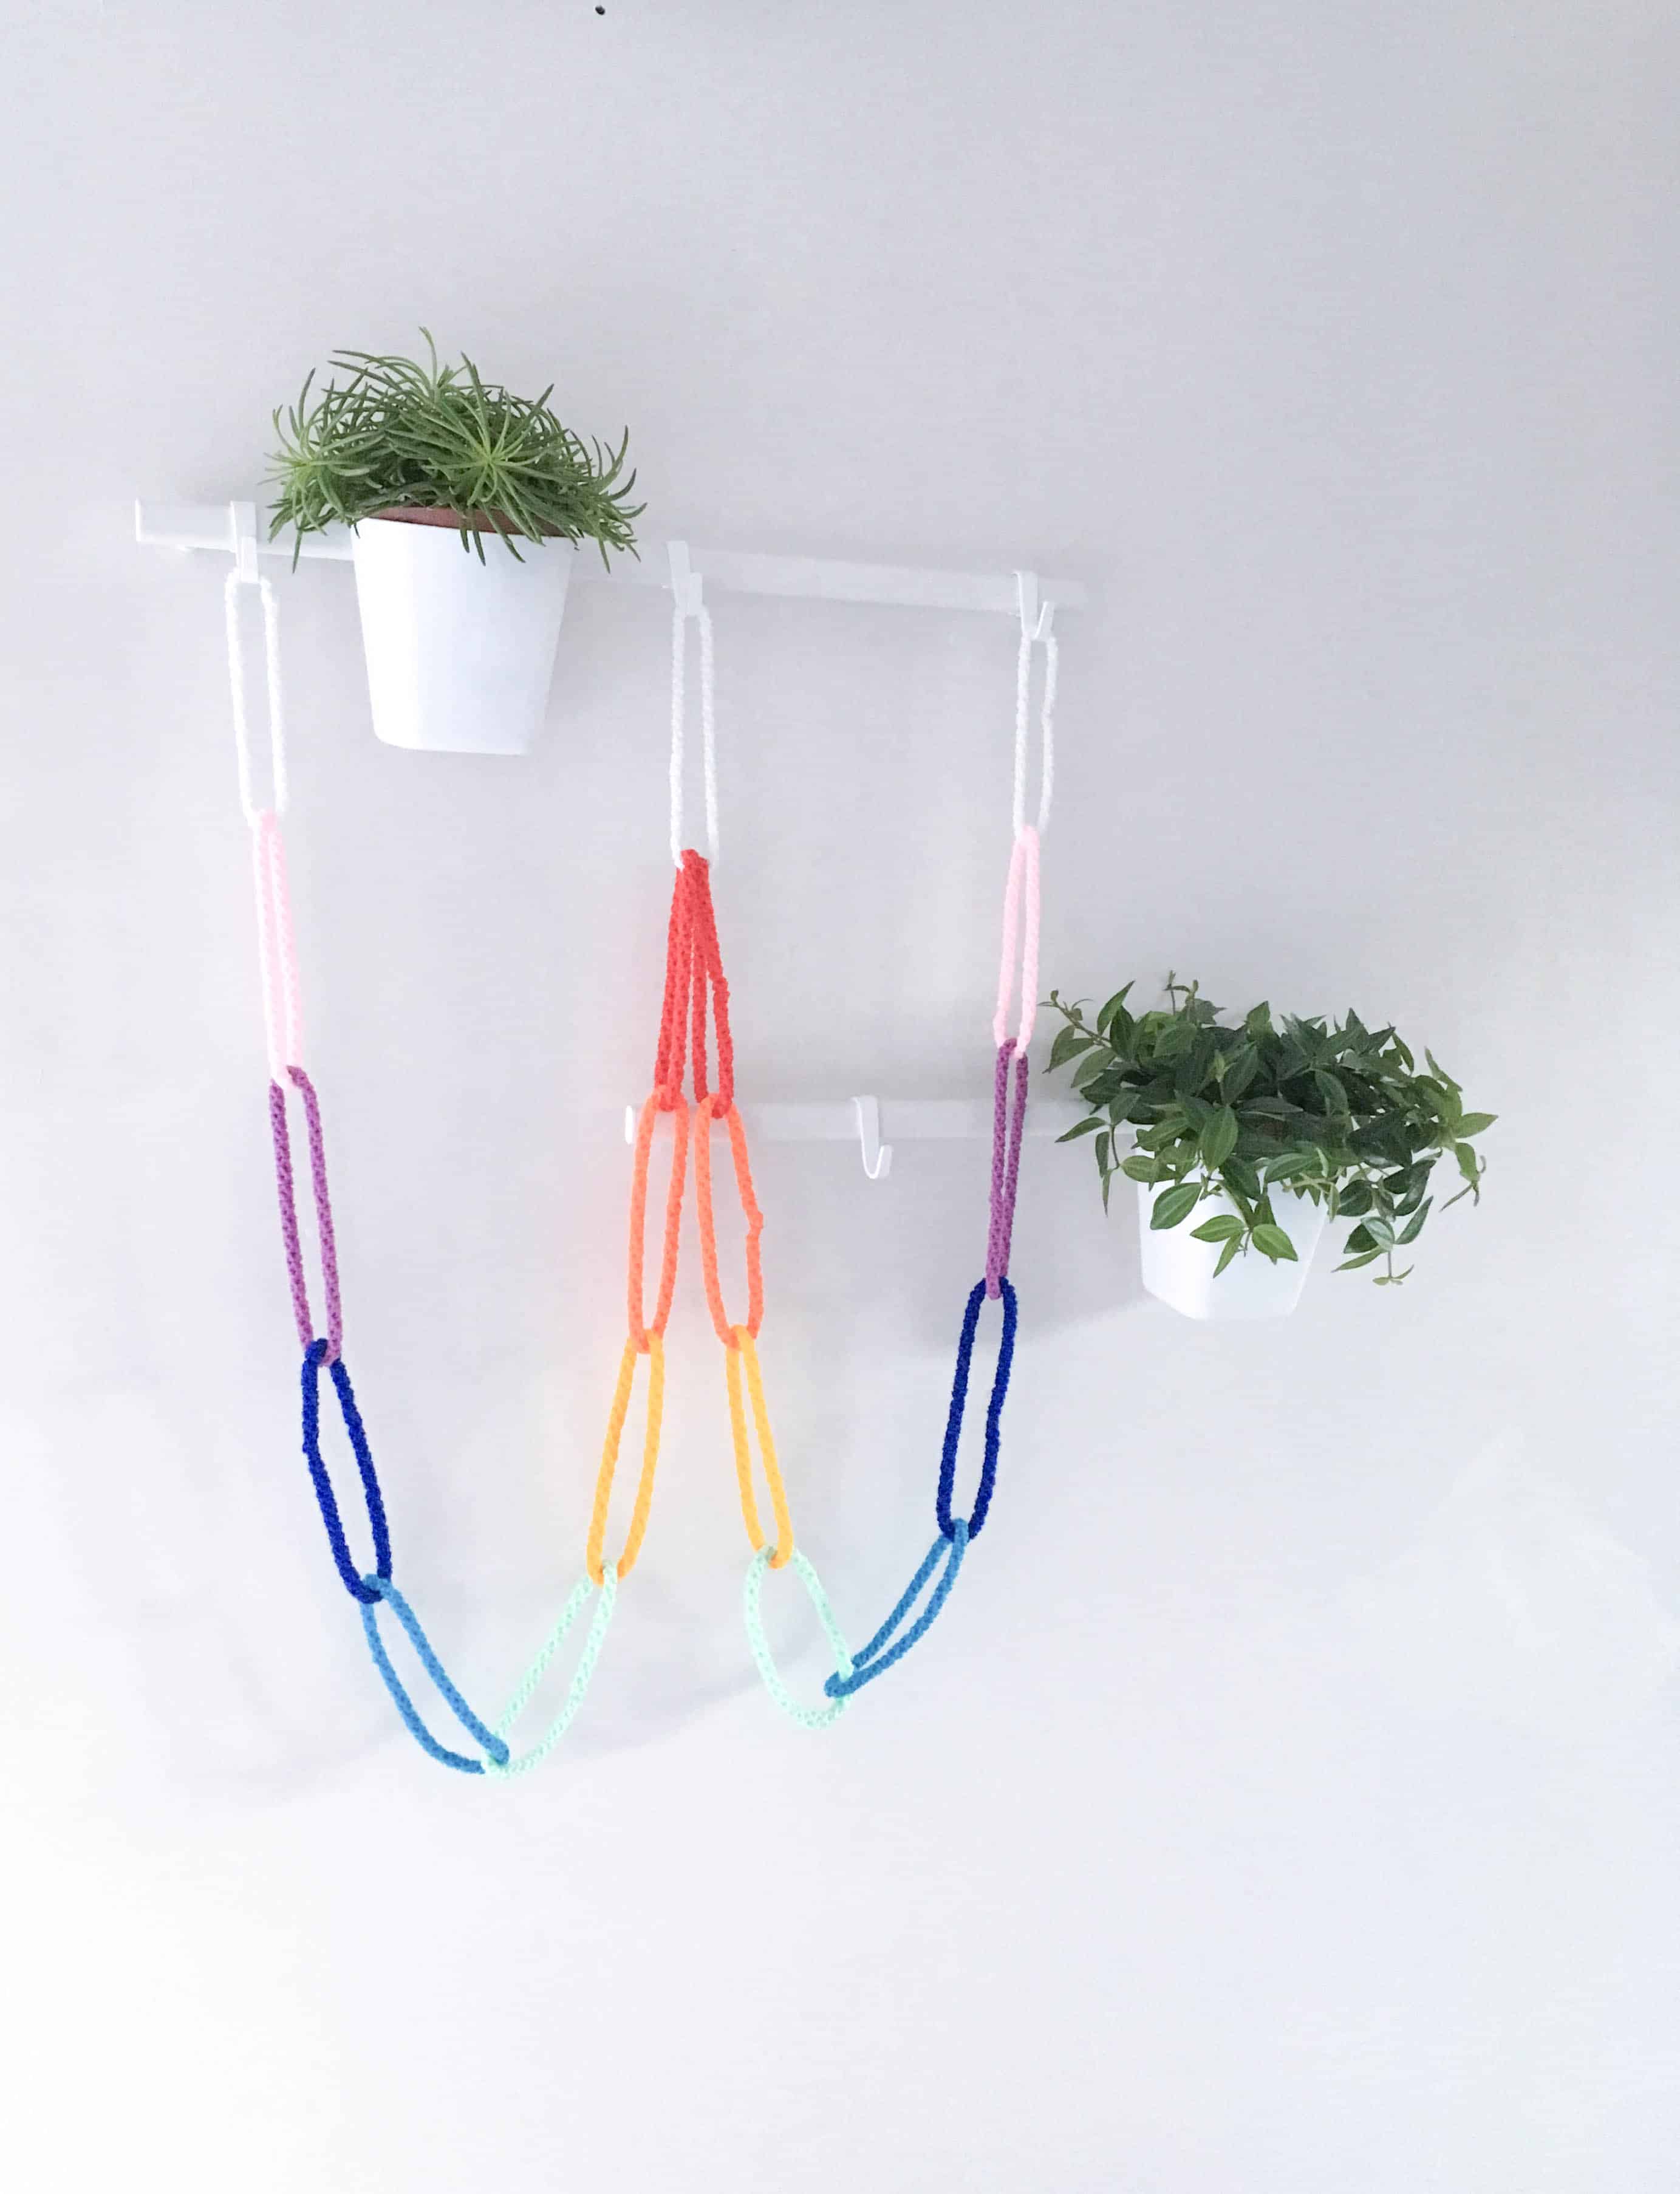
Hang your finished decoration and remember… never break the chain!
Happy Hooking!
Dx


2 Comments