
The Pom Pom Tree
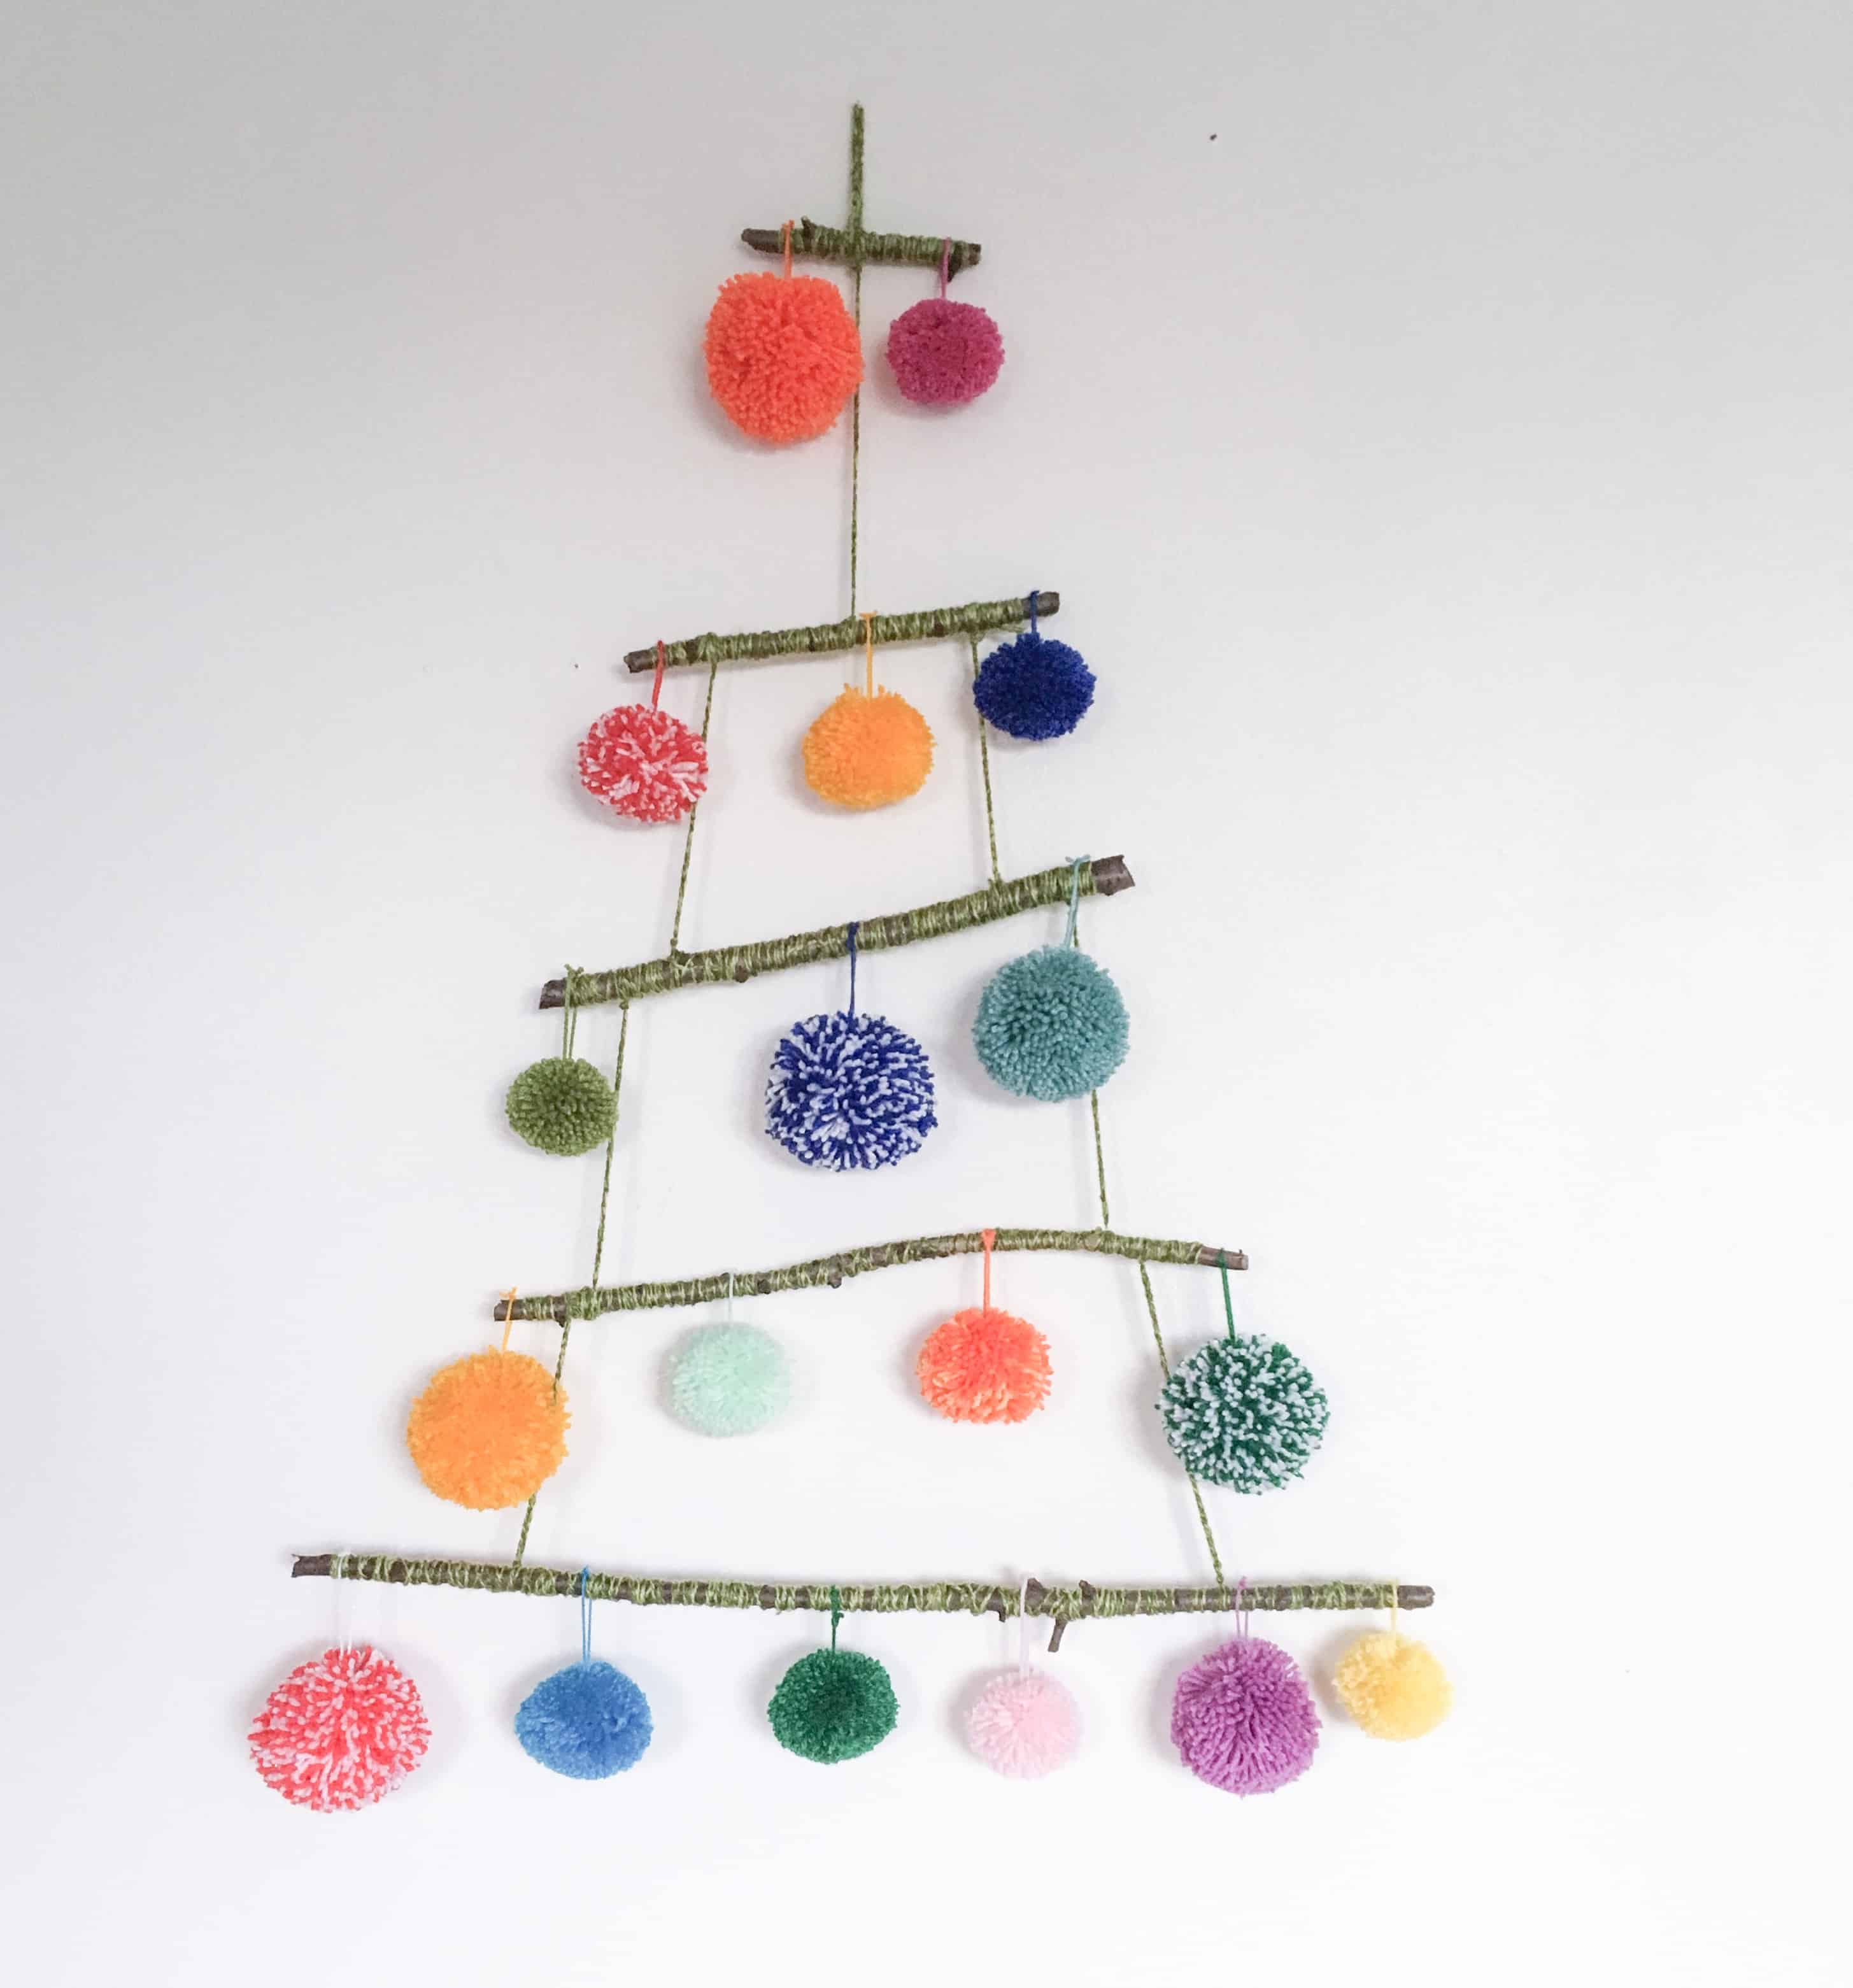
I’m so joyful about this festive project. It’s so simple but makes me so happy!
I was looking at some beautiful weaving pictures on Instagram which use sticks to hang the weave off. At the same time, I was in the process of making a pom pom for another pattern I am working on and just put both together.
It was one of those things that just came to me and felt like the most obvious idea in the world (for that very reason I haven’t googled it to see if someone beat me to it – I’m sure they have!).


This post contains affiliate links. This means if you click a link to a product and go on to make a purchase, I receive a small percentage of the sale at no extra cost to you. You can read my full affiliate disclosure here
To add to the eureka moment, this was so much fun and so simple to make.
This project is a perfect stash buster and plays to my interests in up-cycling, reusing and repurposing!
How to make a Pom Pom Tree!
You will need
- Some Sticks (from the garden or park)
- Some Yarn (this is great for stashbusting!)
- Scissors
- A pom pom maker (recommended!)
- Crochet Hook (optional)
Pom pom safety warning
Pom poms can be a choking hazard if the small pieces of yarn come loose.
Children, toddlers, infants and babies or pets should never be left unattended with pom poms or in reach of this decoration. The safety of babies, infants, toddlers and children is paramount. The same warning applies to your pets. Please be cautious and use your own judgement.
Handmade pom poms should not not be used with or added to items intended for use by babies, infants, toddlers, young children or pets.
Disclaimer
By using this website and associated dora does products, you accept and agree to its Terms of Service
Information given on this website and in associated crochet patterns and products is for reference only. Any reliance on information given on this page, website and associated reference materials is at your own risk.
This project is intended for decorative purposes only. No liability is accepted for accident or injury as a result of making or displaying this project. Always take extra care to ensure pieces are securely attached and be mindful of choking hazards and health and safety risks.
Step 1: Pick up sticks
First of all, collect some fallen sticks in a range of sizes from your garden or from a local park or wood, ensuring you respect any local regulations.
If you don’t get to nature much this is a perfect excuse to get your wellies, hats and scarves on and get out there. I always loved collecting sticks and bits from nature as a kid and that hasn’t really changed.
Last week I went to dig out the mug I had bought at the Royal Observatory for my brother’s birthday some months back and when I put my hand in the bag, I spiked it on a conker shell I had collected with a bunch of acorn caps from Greenwich Park the same day! I’m forever finding things like this in my pockets!
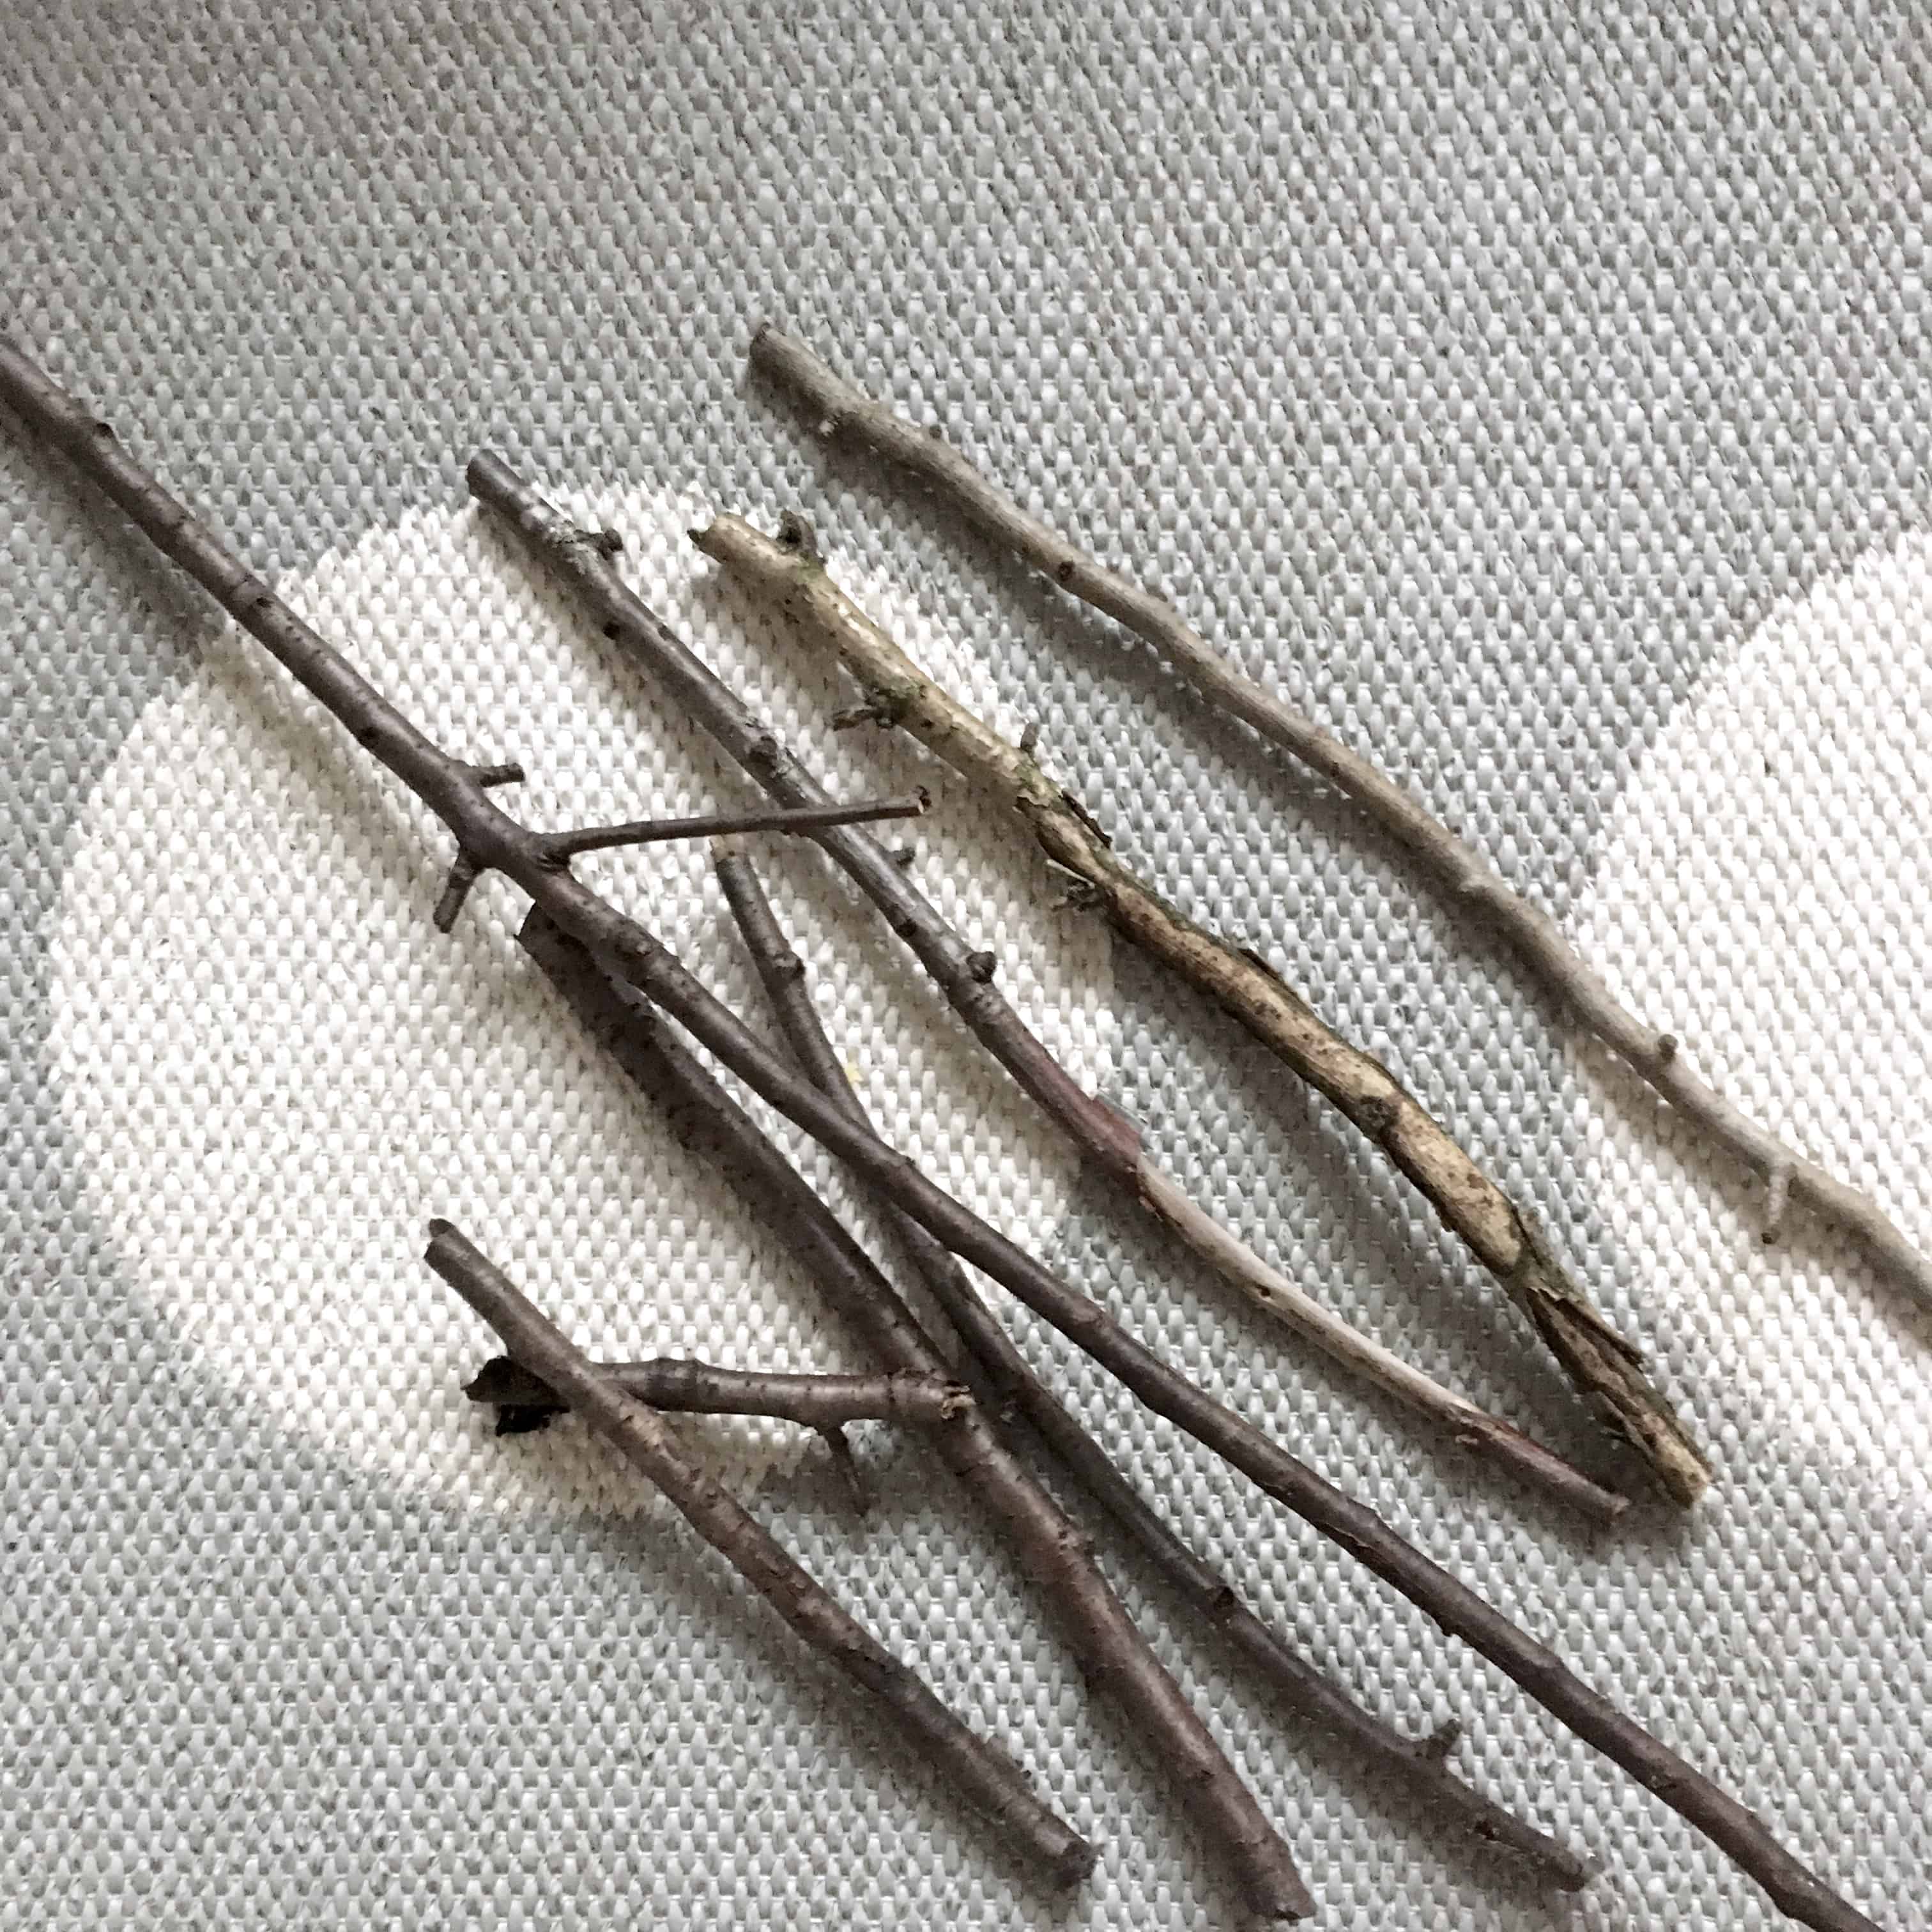
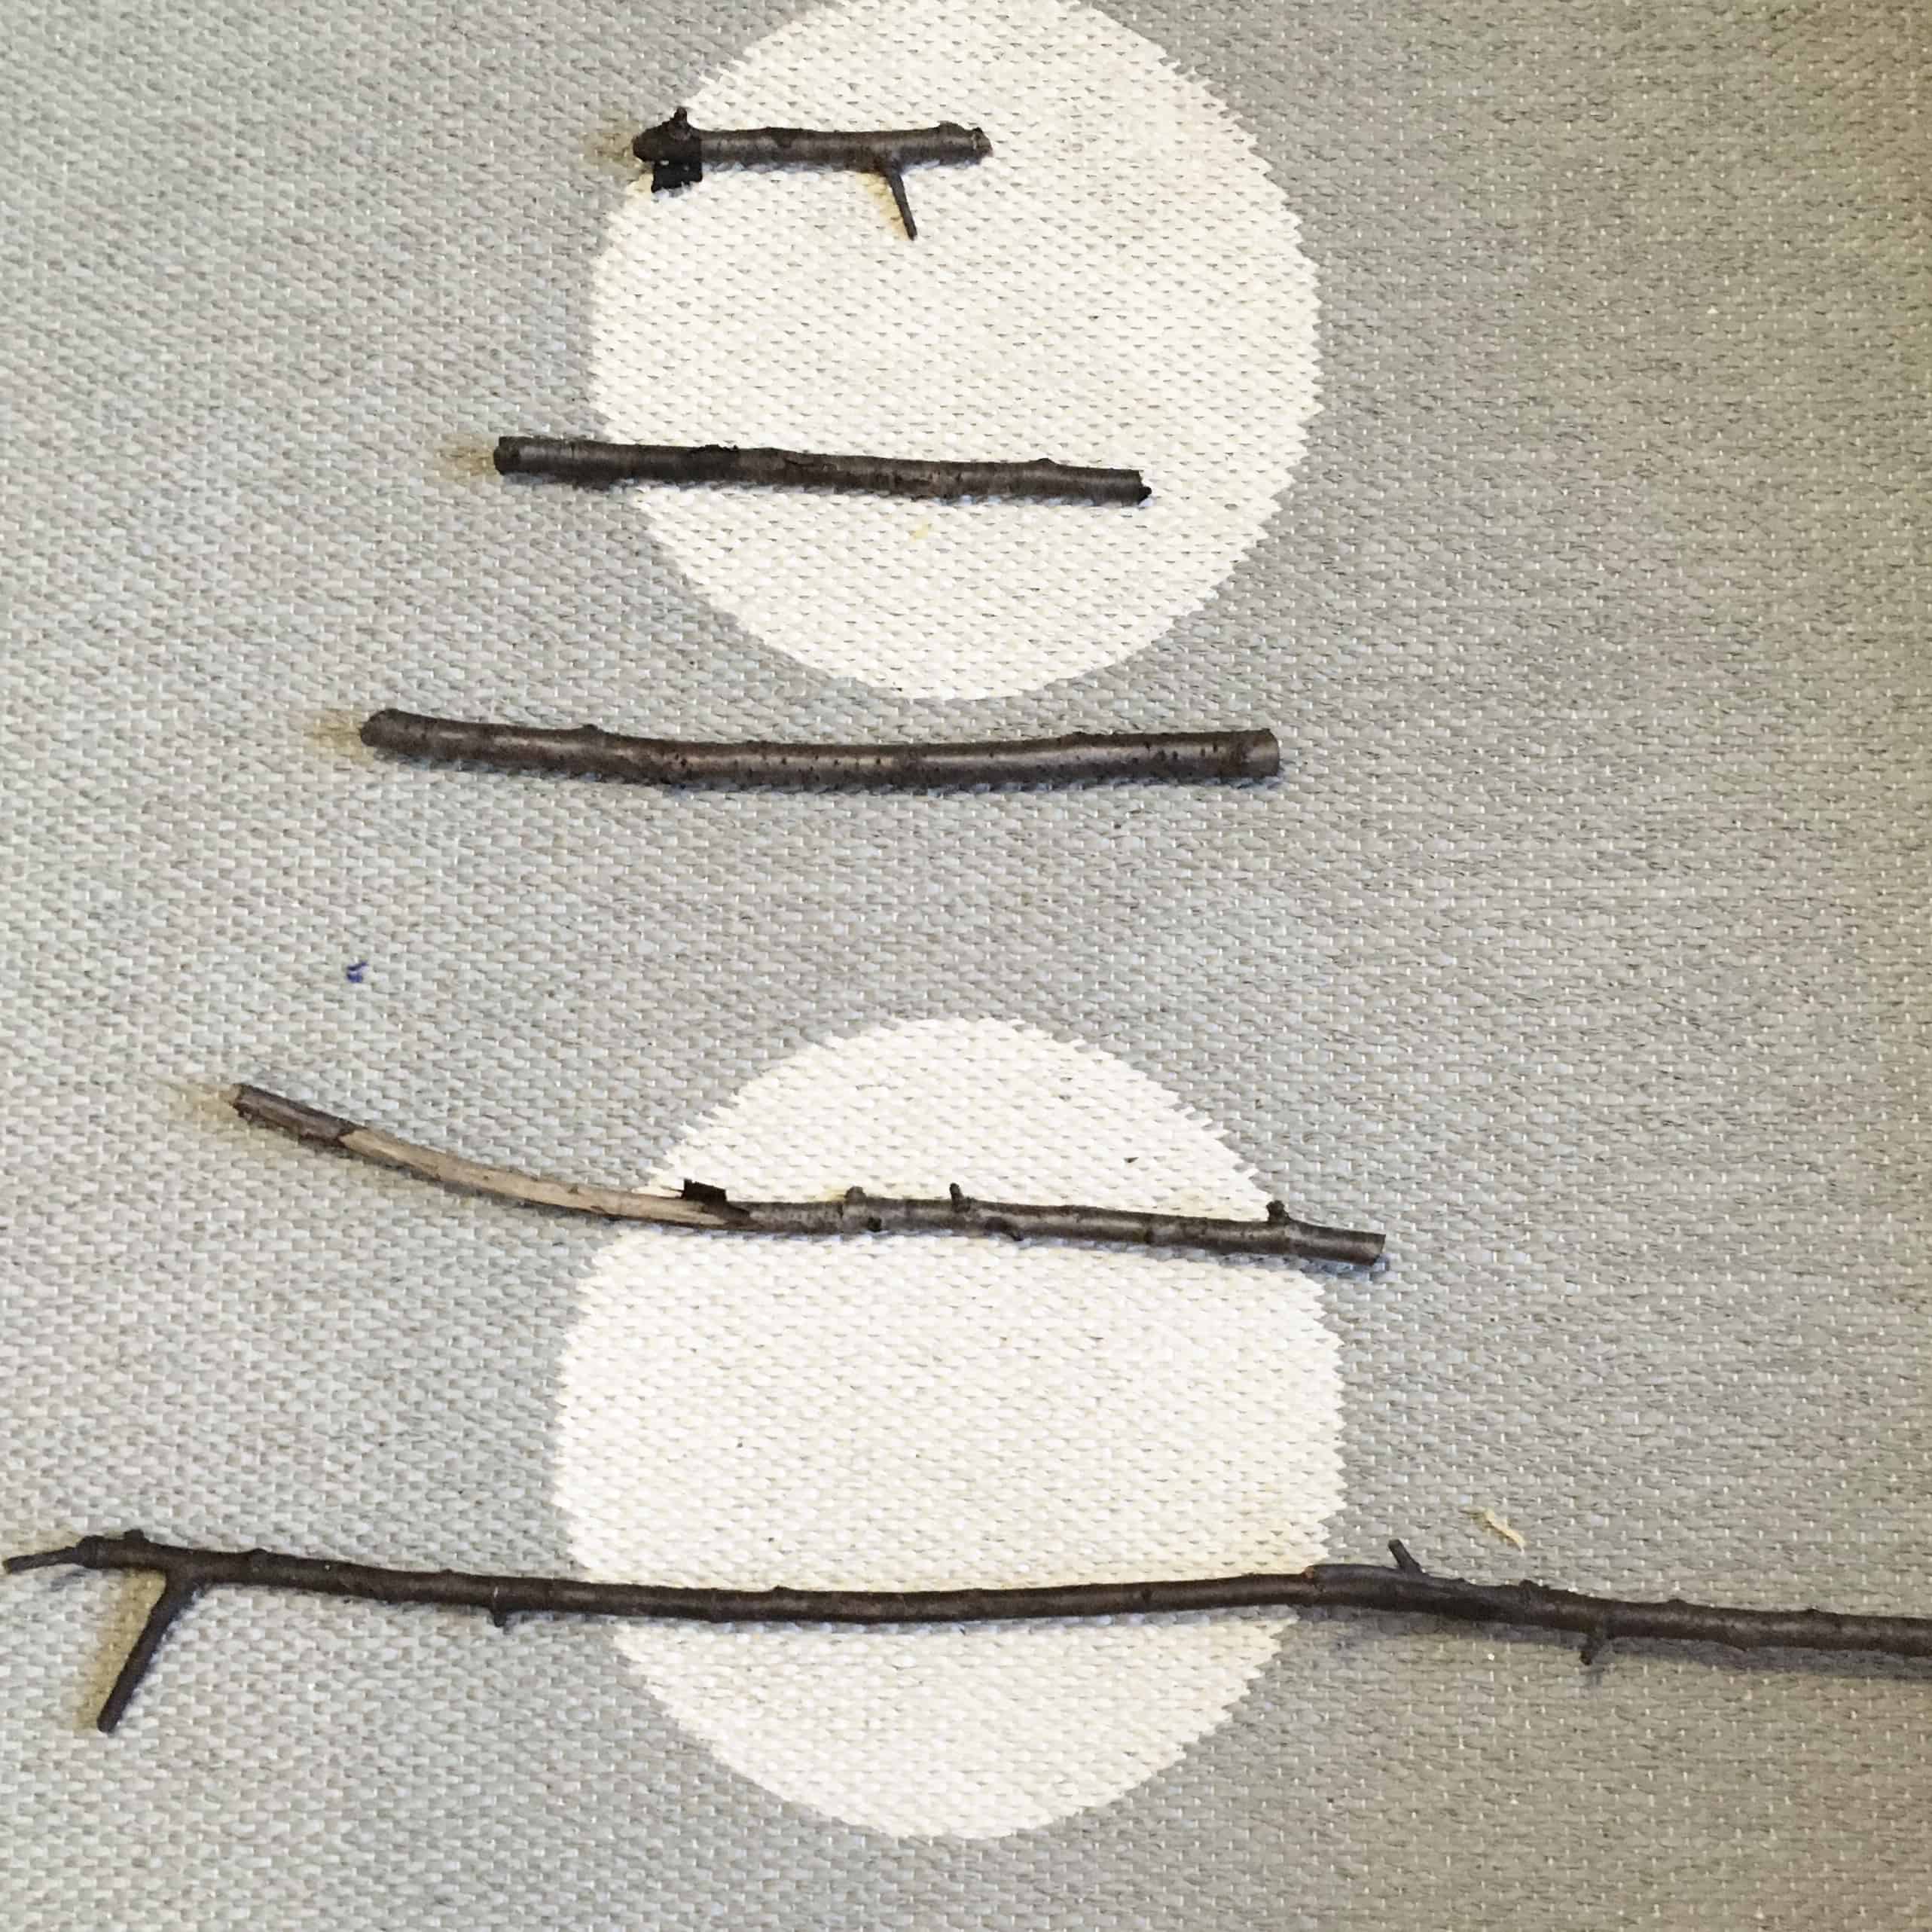
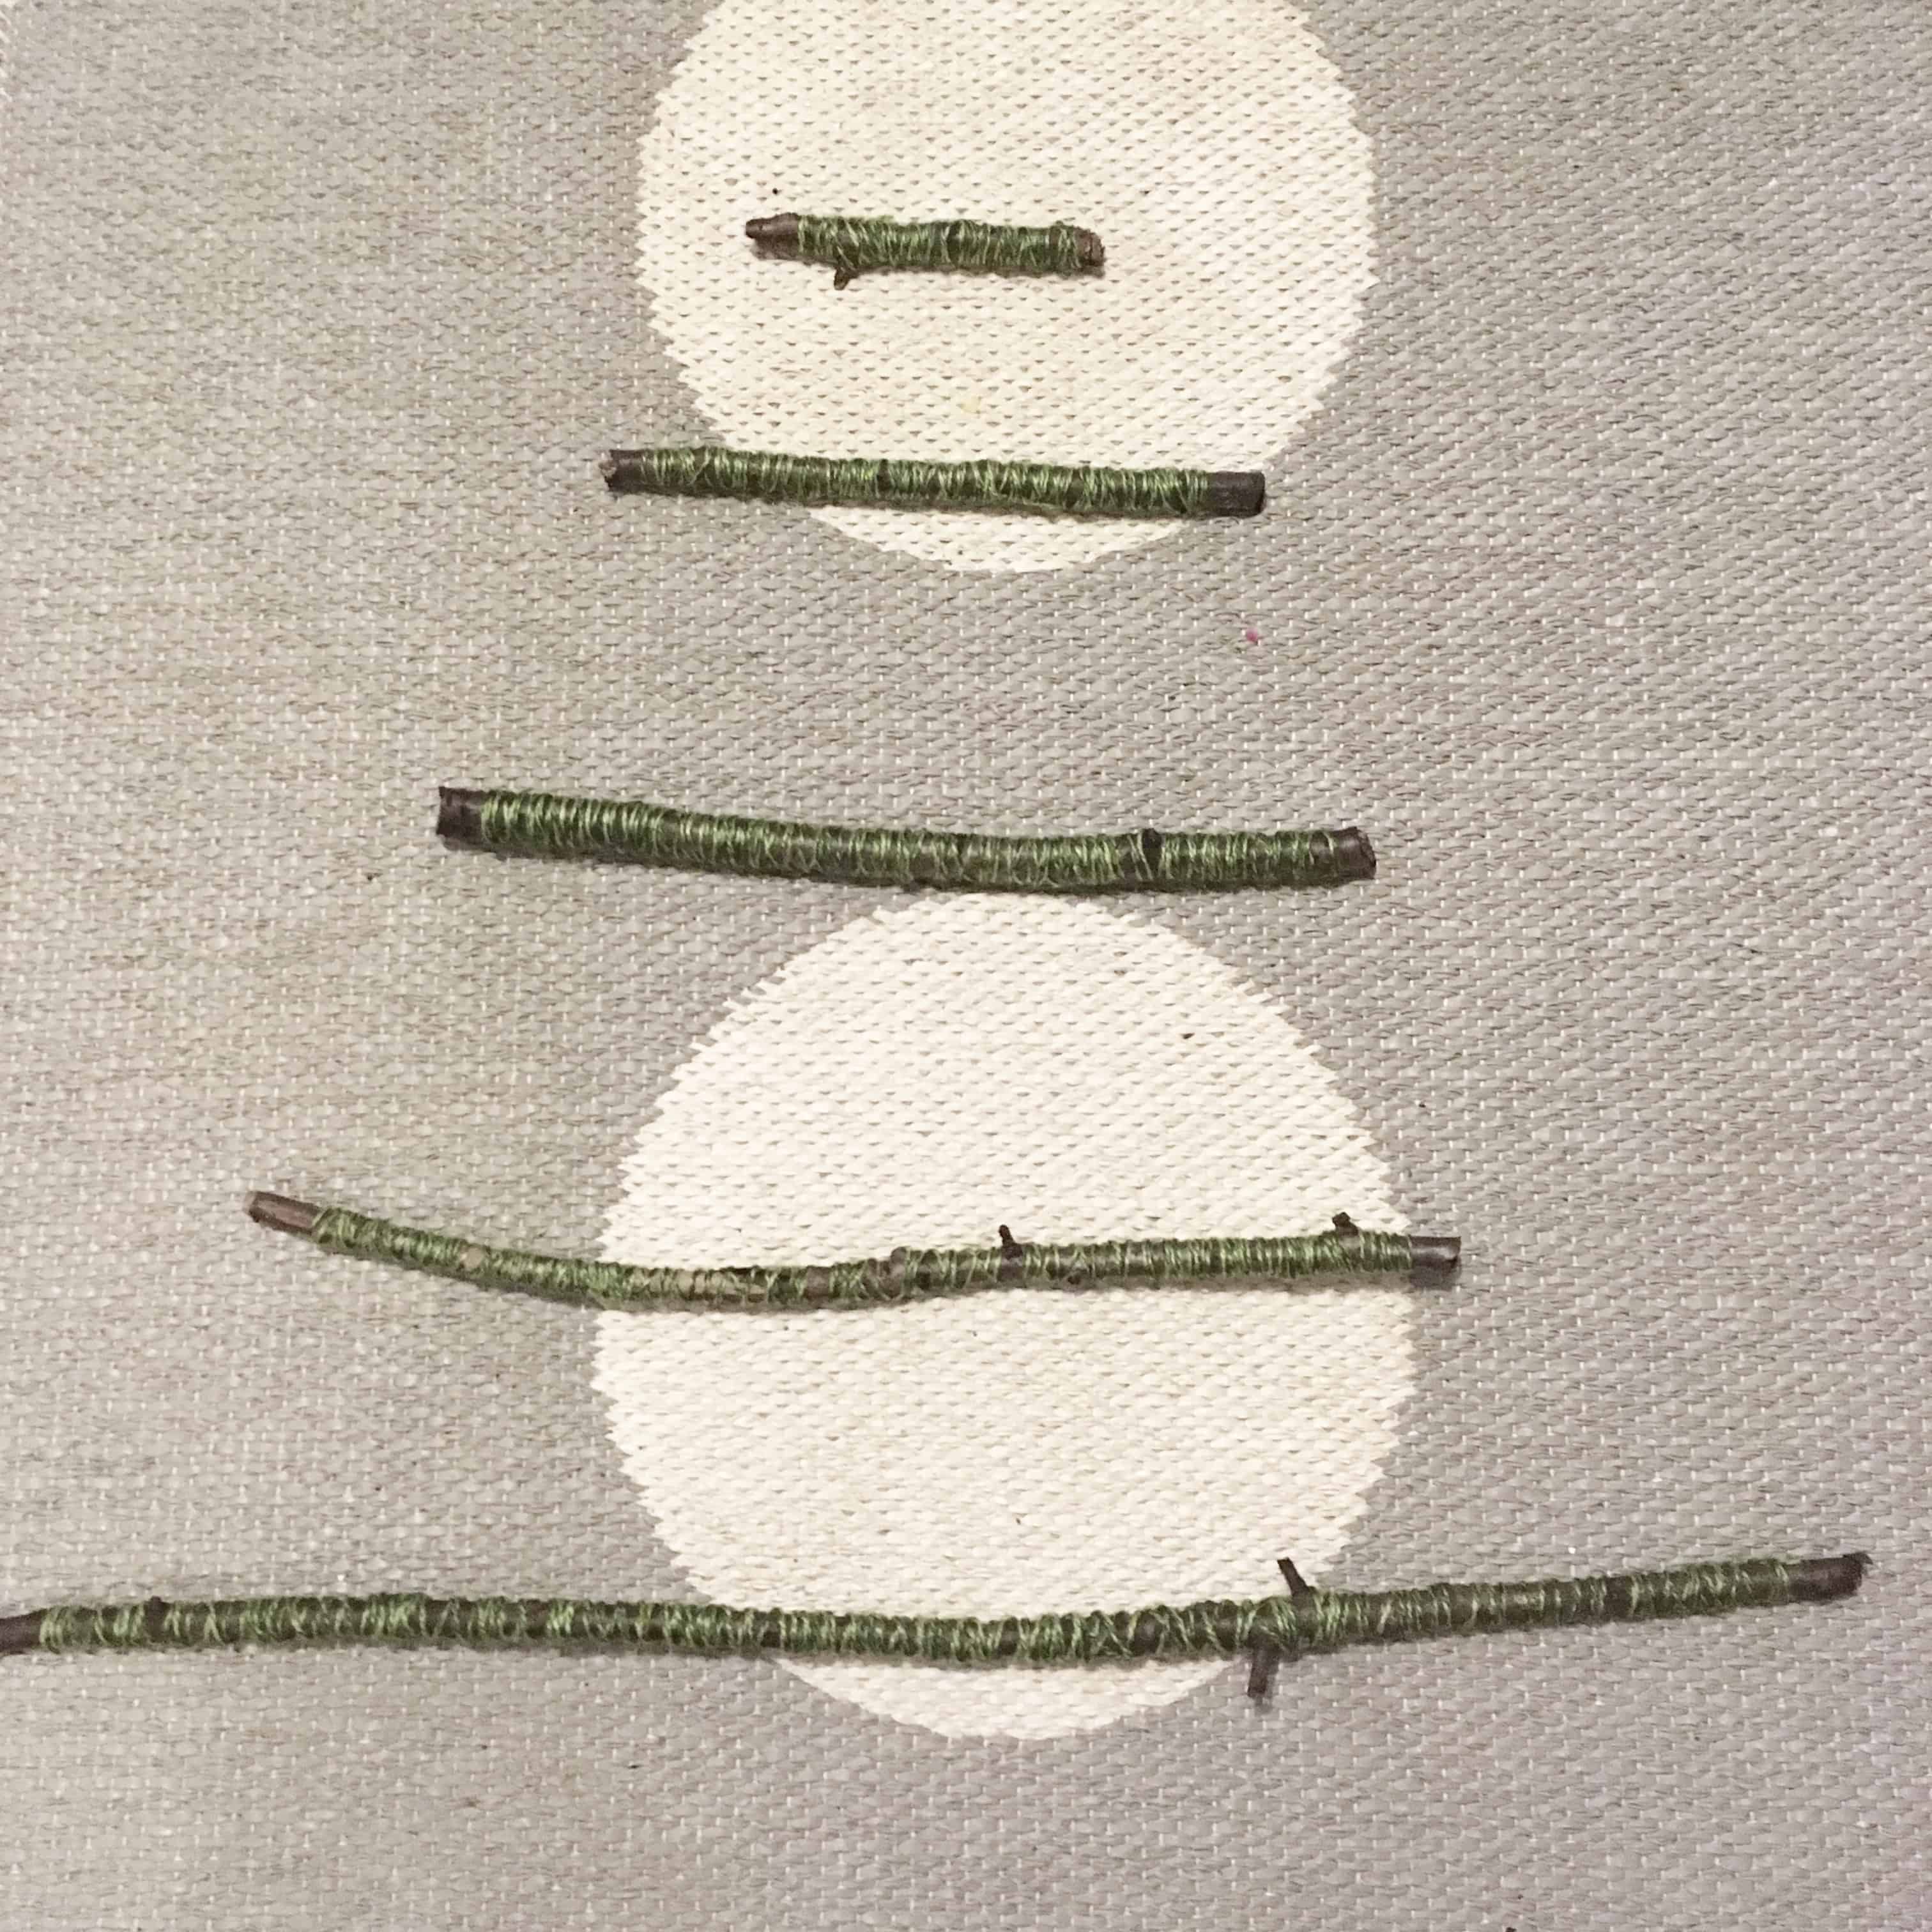
Here is my pile of sticks, from which I selected 5 different sizes and laid them out from small to big – the small ones being the top of the tree!
Step 2: Wrap with yarn or twine
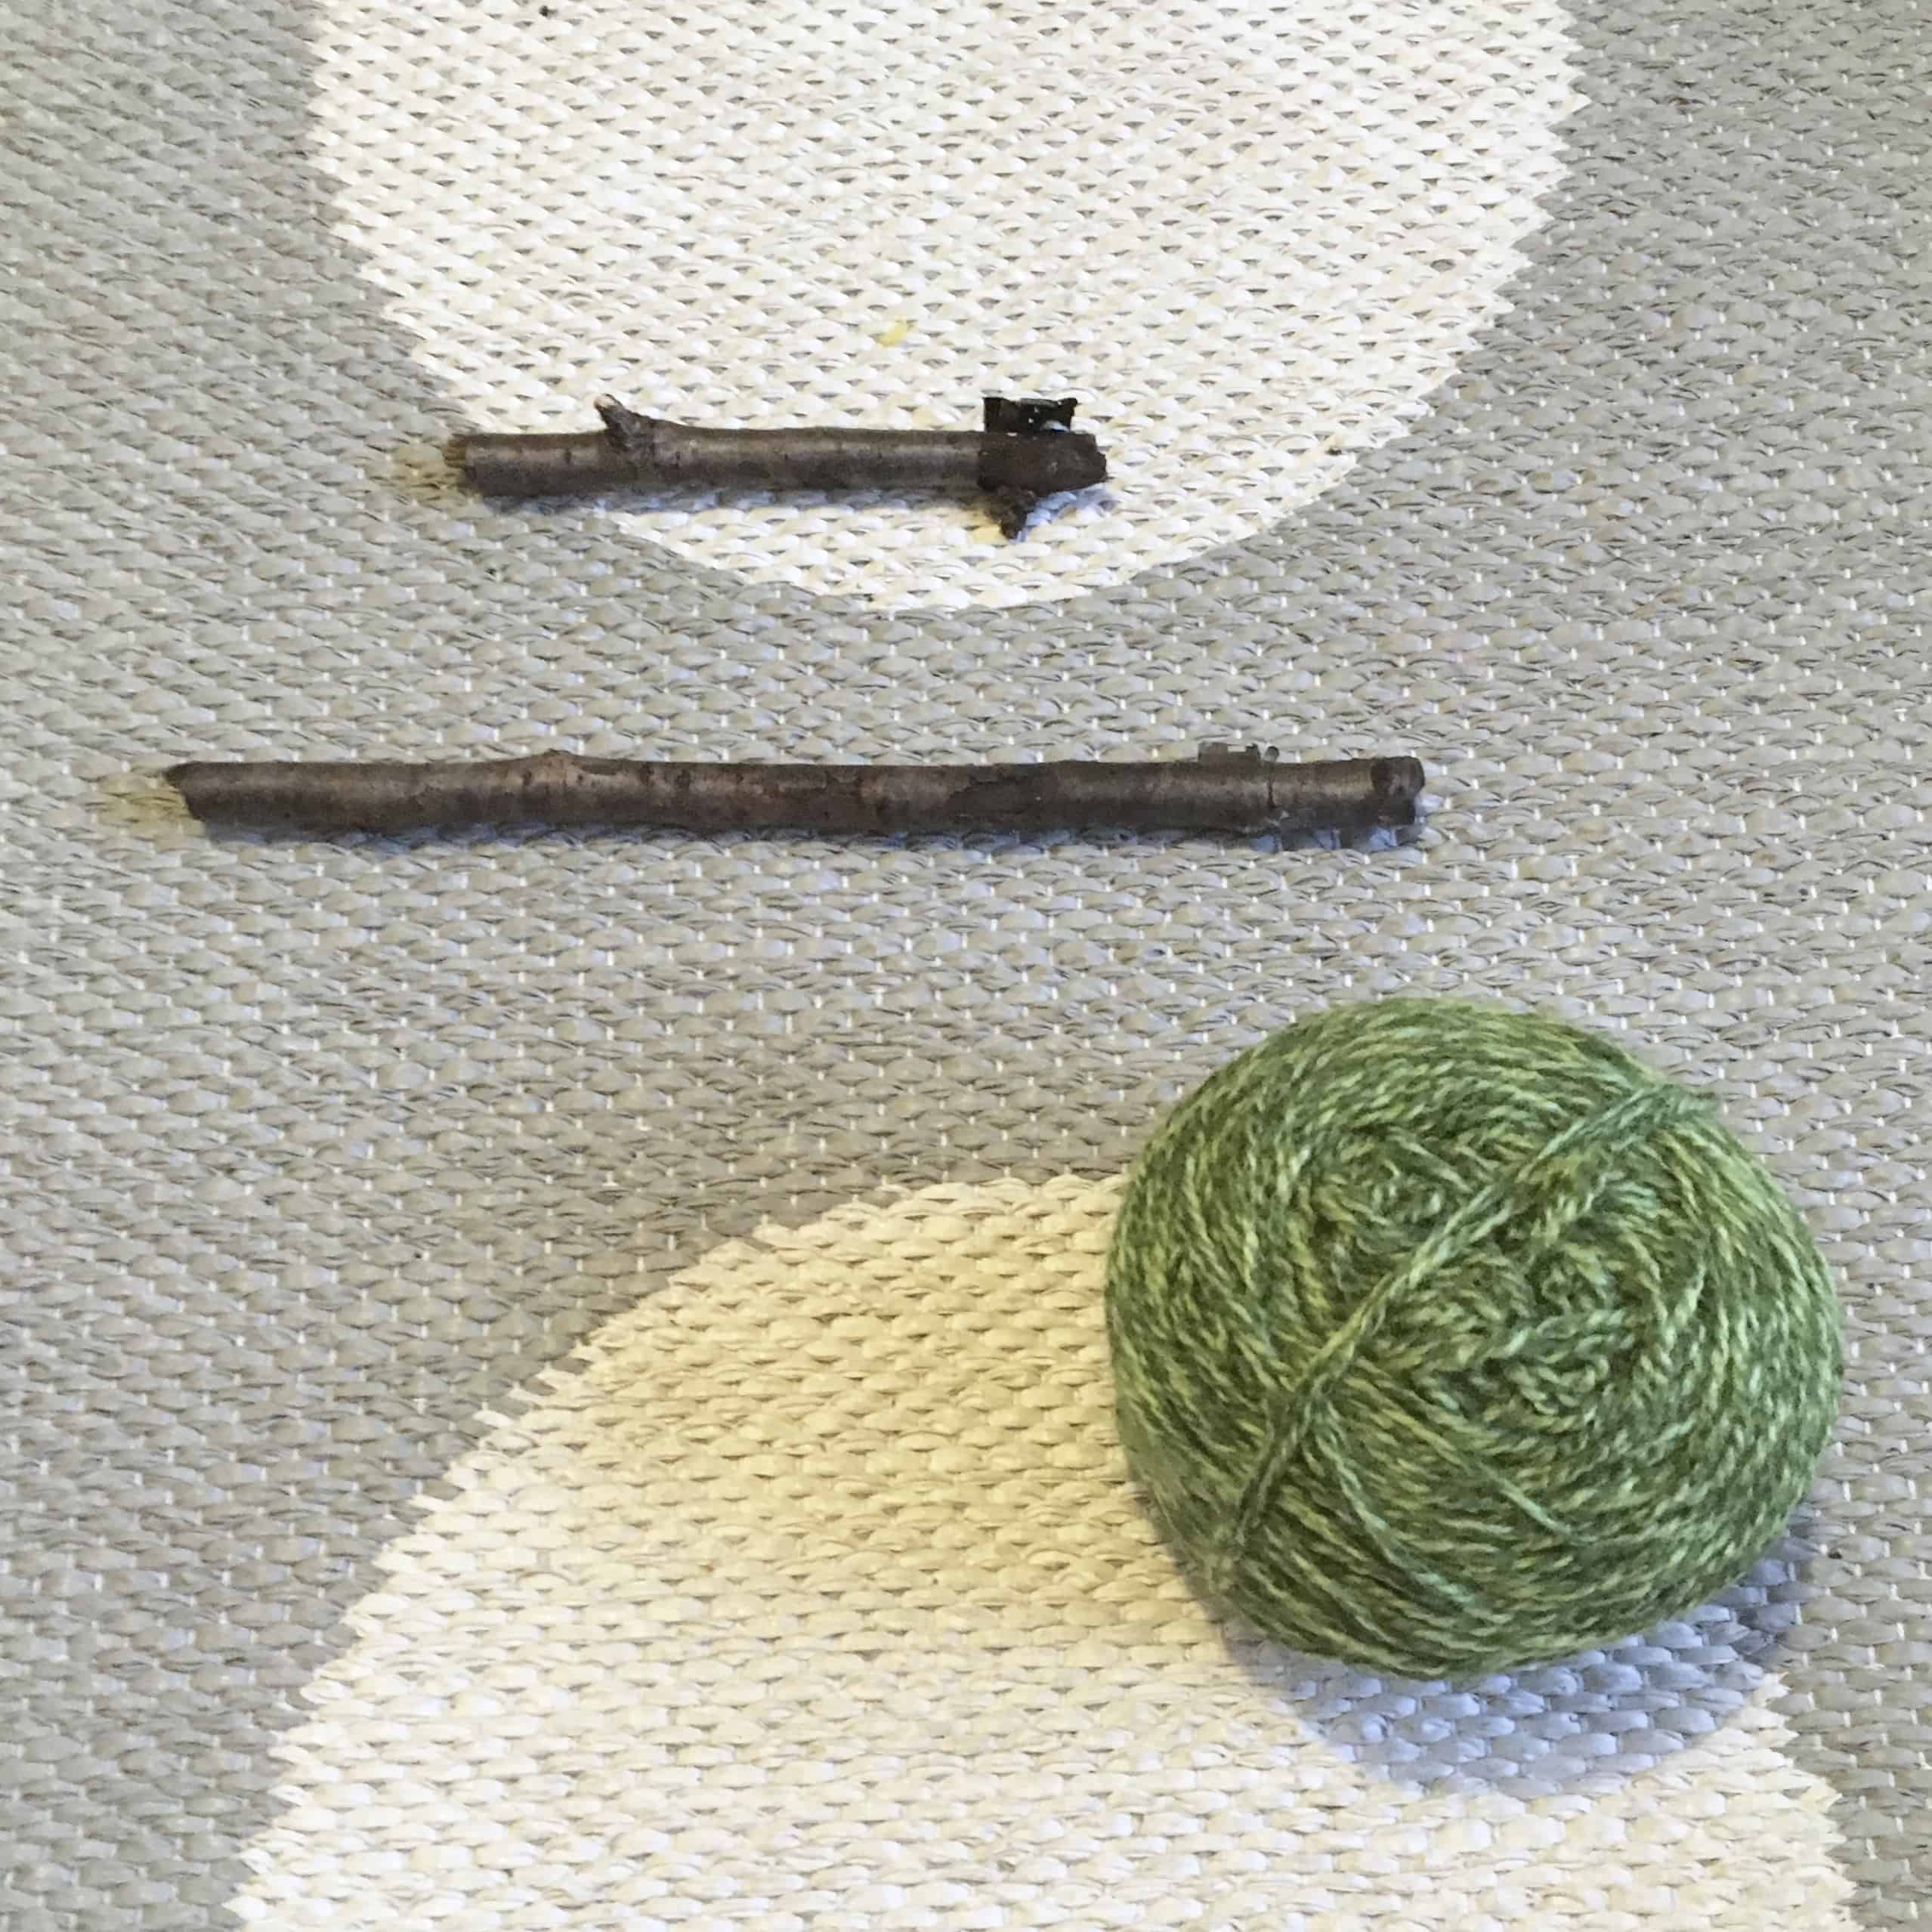
Using some variegated green yarn which I’ve had in my stash for ages, I wrapped the yarn around each of the sticks, covering them in the green yarn as a symbolisation of the evergreen leaves. This section is totally optional. I think it would look great just with the bare sticks, or you could go to town and over them in tinsel!
My cat preferred the yarn covered ones and was quite reluctant to part with the big one!

Step 3: Make crochet chains to hang sticks together
This is where the little bit of crochet happened! I made 7 cords by chaining 30 stitches and fastening off, leaving a long tail. If you don’t crochet (why not!?!) then you could use garden string, twine or something similar.
Use these cords or your string to tie the sticks together so they hang down in a shape that works. I used one cord from the smallest stick to the next smallest one. Then one on each end of that one to the next size and so on and so on.
Place the cords at either end of the sticks to give your tree skeleton more balance. One tie in the middle of each stick is an alternate option but it will become quite a balancing act to hang the pom poms on later!

Make a chain of 50 (or there about) to create a loop for hanging and attached it to the top of the smallest stick.
Mine was a bit wonky at this stage but that’s part of the rustic charm and I knew I would have the option to straighten it out when I started adding the pom poms!
Step 4: Make the pom poms
Make some pom poms. Make ALL the pom poms.
I love bright colours as you will have seen from last week’s ‘paper chain’ pattern but this time I decided to be less organised with it.
I just used all my scraps of yarn to make lots of pom poms, mixing up the yarn colours in some cases. You know I love a stash busting project!

I confess that the twin cardboard circle technique I remember vividly using as a kid (always cut from empty cereal boxes, ‘Blue Peter’ style), has given way to using actual pom pom makers .
Your pom pom may need some shaping – mine are always a little wonky!
Make sure you leave a long tail from the tie so you can hang them on your tree.
Step 5: Secure the pom poms to the tree
This is where you can get really creative. You’ll need to balance the poms so that your tree doesn’t end up lopsided, but that is the only real rule!

Once you’ve finished the game of jenga and got them where you want them, tie the tail tight and snip off the ends and safely dispose of the scraps.
This is what my tree looks like but I’ve decided I’m going to keep going until there is no room left… I do love pom-poms.

When you’re done, hang and enjoy!
I hope you enjoy this project, and as always, don’t forget to tag me in your finished makes! Nothing makes me happier than seeing my designs brought to life by others. I love the colour choices and personal touches you add to the patterns.
On Instagram, you can use the hashtag #HookMeHappy or just tag @doradexplored. You can tweet me your pictures, or add your them to my Facebook page. And if socials aren’t your thing, feel free to email me your efforts. It really does make my day!
I’m also a huge fan of Pinterest so if you like my patterns I’d love it if you pin them, or visit my Pinterest page which showcases some wonderful inspirational crochet patterns – the talent out there blows my mind!
Until next time.
Happy Pom-ing!!
Dx

Copyright Dora Does Limited, Registered in England, Company Number 13992263. This pattern is for personal use only and may not be shared or reproduced in written, photo, video or any other form without prior written consent. All rights reserved. Terms of service.


One Comment