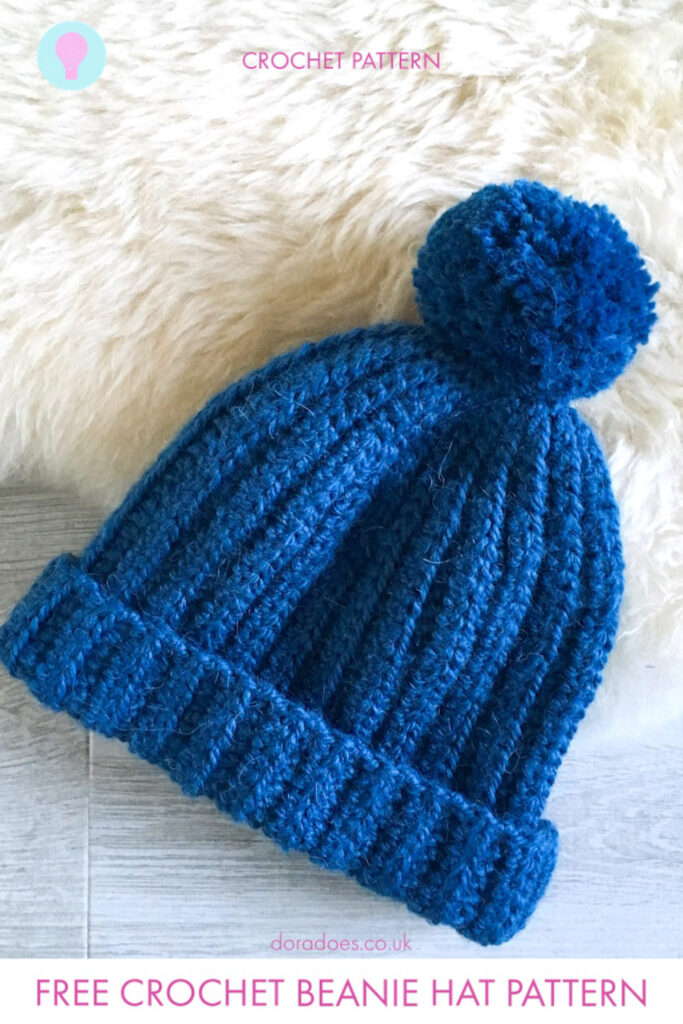
My Brother’s Beanie

My brother is a nightmare to buy gifts for. He’s one of those people who buys everything he wants for himself. So the past couple of years I have made birthday presents for him.
Last year I made him the Studio Stripe Scarf (only in grey and without the stripe) and when I saw him last weekend to give him this year’s present he was wearing it. He teases me that it’s out of politeness but I think he actually wears it when I’m not watching too!! 😉
Anyway, this year I decided to make him a beanie as he has some follicular challenges now we are not so young!
For a small fee, you can purchase an add-free version of this pattern from Love Crafts Crochet, Ravelry or Etsy

This post contains affiliate links. This means if you click a link to a product and go on to make a purchase, I receive a small percentage of the sale at no extra cost to you. You can read my full affiliate disclosure here.
I wanted something classic and unfussy so that, like the scarf, he would actually wear it! So I decided to have a go at the classic ribbed beanie and “My Brother’s Beanie” was my take on it.
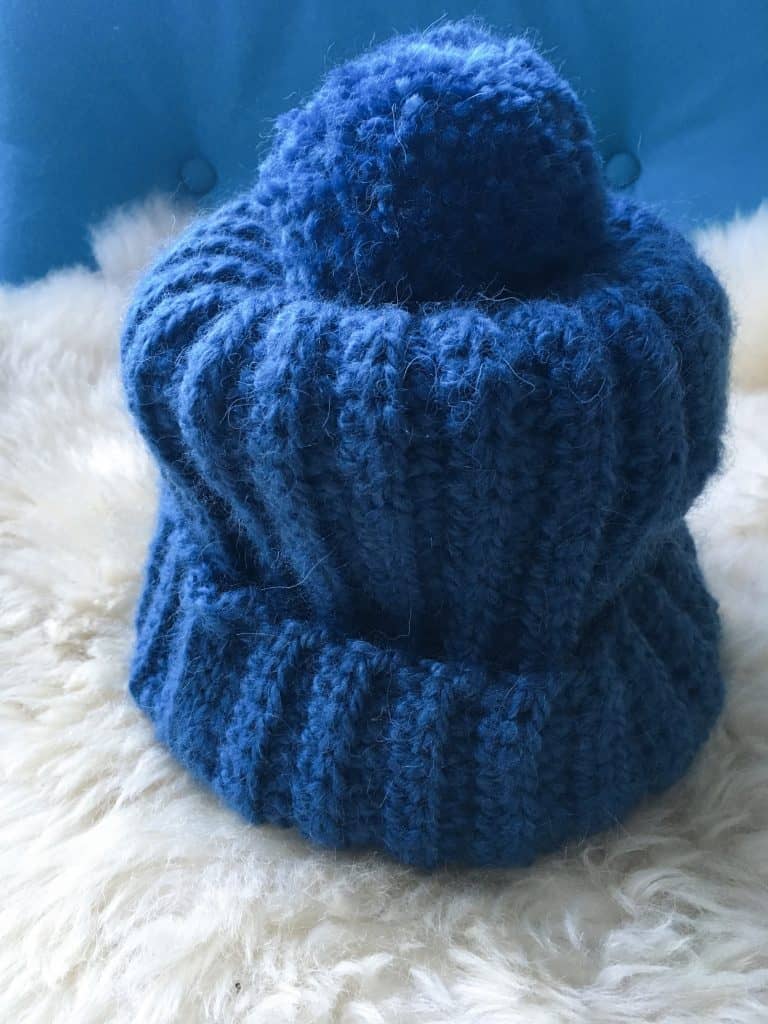
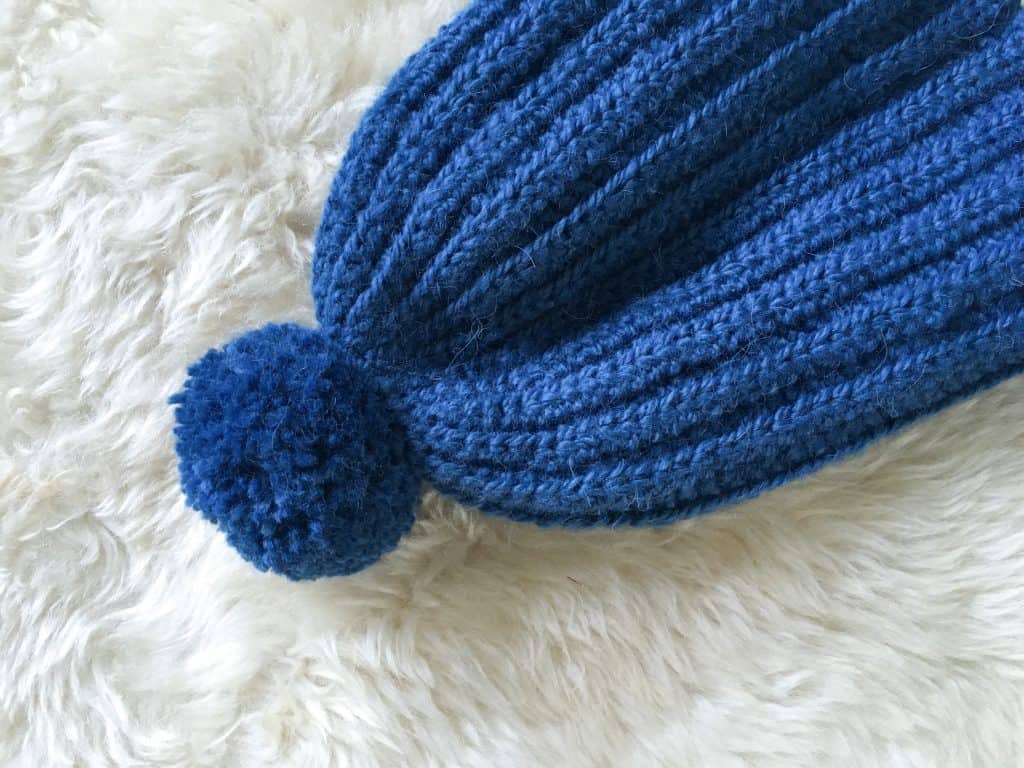
I wanted to keep the one I made him so much that I made myself one… with a pom pom… and one for his girlfriend… and one for my sister… they are that addictive and are perfect one skein projects so ideal for last minute gifts.
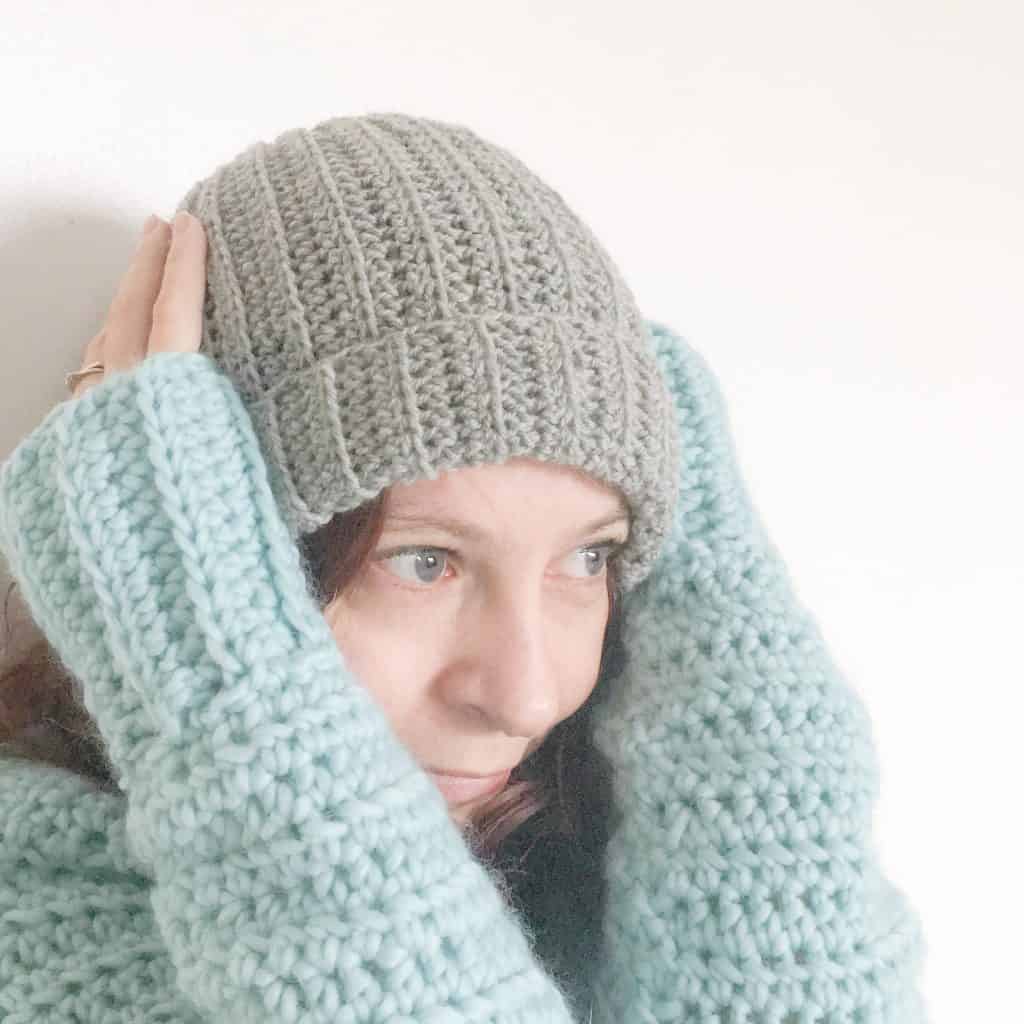
I’ve shared some pics of the various versions I’ve made, all using aran / worsted weight yarns and a 5mm hook.


Skills Needed
This is a simple pattern which assumes basic crochet knowledge
The hat starts by working into a magic ring (modification given) then working in rows into the back loop only
You can learn more about crochet hat construction in this tutorial.
Photo Tutorial
Note that I have now created a separate step by step picture tutorial to accompany this pattern which you can find here.
Materials
5mm hook
Approximately 170m of aran or worsted weight yarn. Pretty much any acrylic or wool yarn which meets the gauge will work with this pattern – it’s pretty forgiving!
This post may help you when choosing yarn.
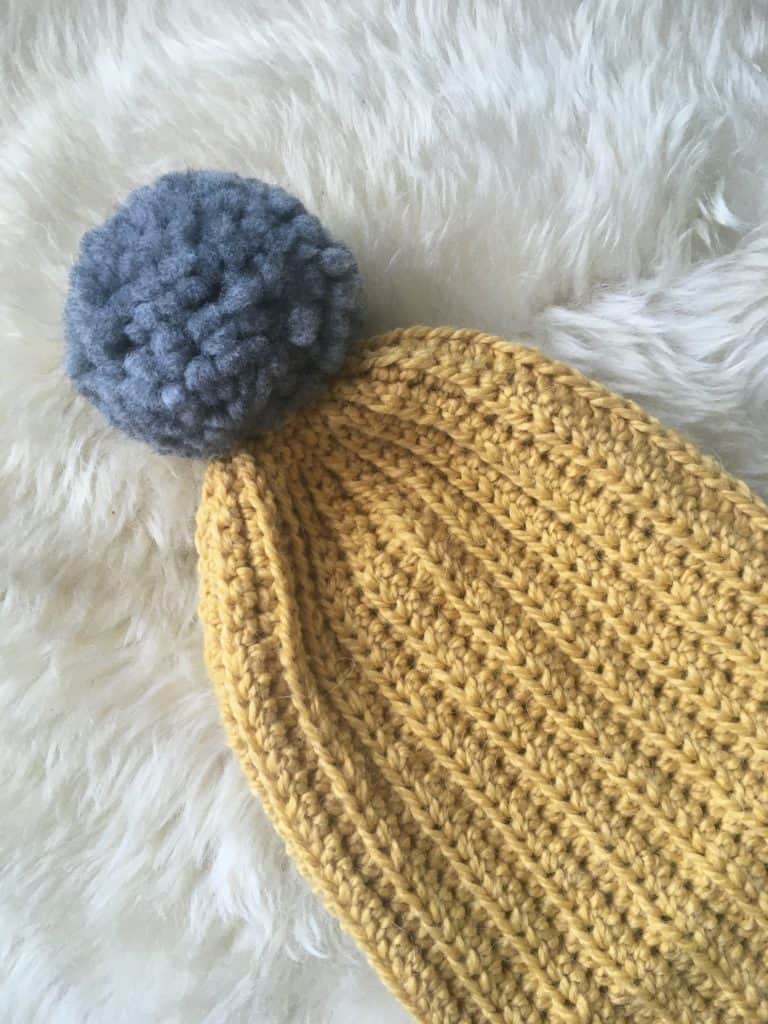
For the petrol blue and mustard beanies I used 1 x 100g ball Leader of the Pac yarn from Hobbycraft which was also sufficient to make the Pom Pom for the petrol blue version.
The grey beanie you see uses Rowan Pure Wool Worsted which is a little less chunky but super warm!
Size
This pattern makes an adult size beanie with a circumference of approximately 50cm / 20in and a length of 30cm / 12in (unfolded). There is a lot of stretch in the stitch pattern so this will fit most adults.
I have added guidance directly after the pattern on how to modify the size if you want to make a shorter or smaller version.
Gauge
15 sts x 9 rows in 10cm (4in) x 10cm (4in) of half double crochet (UK half treble) worked in the back loop only using a 5mm hook or size needed to meet gauge.
How to purchase a Dora Does crochet pattern:
I sell my PDF crochet patterns in my Etsy, Ravelry and Love Crafts stores. You can purchase this pattern on any of these platforms, depending on your preference. Simply click the relevant links throughout this pattern page to be taken to the listing, or visit the store homepages in the links at the start of this paragraph.

Pattern Notes
- Please read through the pattern and all associated notes before starting your project
- This pattern uses standard US crochet terminology (UK equivalents are given in brackets in the abbreviations list)
- Numbers at the end of a row / round indicate the number of stitches in that row / round
- Turning chains do not count as stitches
- Unless otherwise indicated stitches should be worked in consecutive stitches
- The hat is worked from the top down, starting by working a small crown in rounds then working at right angles around the crown in rows until the two sides of the beanie meet.
Stitches and Abreviations (US Terms)
(UK Equivalent in Brackets)
- BLO = back loop only
- ch = chainhdc = half double crochet (UK half treble)
- MR = magic ring – see special stitches for instructions & modification
- rep = repeat
- RS = Right Side
- sc = single crochet (UK double crochet)
- sk = skip (UK miss)
- ss = slip stitch
- st(s) = stitch(es)
- WS = Wrong side
Special Stitches
Magic Ring (MR)
The magic ring is a technique used to start projects worked in the round, whereby you work stitches into a loop and pull the tail to close the centre. You can see a video tutorial here.
If you do not wish to use the magic ring, modify by chaining 4 and join to the first stitch with a slip stitch to create a loop. You will then work the required number of stitches into that loop.
Disclaimer
Information in this crochet pattern is given for reference only. Any reliance on information given in this document and associated reference materials is at your own risk. This pattern falls under Dora Does Terms of Service.
Pom pom safety warning
Pom poms can be a choking hazard if the small pieces of yarn come loose.
This hat is intended for adults only. I do not recommend handmade pom poms are added to hats or other items intended for use by babies, infants, toddlers or children.
Children, toddlers, infants and babies should never be left unattended with pom poms.

The Pattern
You will start by creating the crown with a magic ring (MR) or chain 4 and join to first ch with a ss to make a loop.
Round 1: Ch2 (does not count as a st here or throughout), work 8hdc into the MR, ss to top of first st to join, turn. 8 sts
Round 2: Ch2, *1hdc in next st, 2hdc in next st,* 4 times, ss to top of first st, turn. 12 sts
Now we will move to work rows at right angles around the crown
Row 1 (WS): Ch40, 1hdc in 3rd ch from hook and next 31 sts, 4sc, 2ss, ss into first st on Round 2 of crown, turn. 38 sts
Row 2 (RS): Sk 1 ss, 2ss in BLO, 6sc in BLO, 29hdc in BLO, 1hdc through both loops, turn
Row 3: Ch2, 32hdc in BLO, 4sc in BLO, 2ss in BLO, ss into the same st in Round 2 of the crown, turn
Row 4: Rep Row 2
Row 5: Ch2, 32hdc in BLO, 4sc in BLO, 2ss in BLO, ss into the NEXT st on Round 2 of the crown, turn
Row 6: Rep Row 2
Rows 7 – 48: Repeat rows 3 – 6, working around the crown until the two sides of the beanie meet.
Joining and finishing
To join, ss through the back loop of each stitch in the row you just worked and the front loop of the starting ch, matching stitch for stitch.
Fasten off, sew in ends
Add Pom Pom if desired
Size Adjustments
If you want to change the length of your beanie (this one leaves space to fold over or wear slouchy), you can do so by changing the number of stitches in Row 1.
Note that you should keep the single crochet and slip stitch sections as written as this creates the crown shaping. Adjustments should only be made to the number of half double crochets worked.
If you want to change the circumference of your beanie, you can work fewer rows around the crown.
As the pattern is written, you slip stitch into each crown stitch twice which equates to 4 rows for each crown stitch (4 x 12 = 48 rows). There are two ways to reduce the number of rows to make a smaller beanie:
1) You can work more or fewer stitches into Round 1 and 2 of the crown:
For example if you only had 10 stitches in Round 2 of the crown and worked the pattern as above (4 rows for each crown stitch), you would only have 40 rows.
2) You could alter the number of times you slip stitch into each of the crown stitches:
For example, instead of slip stitching twice into each crown stitch, you could slip stitch into the first crown stitch only once, the second twice, the third one once and so on, so you would end up with 36 rows. Or, for example, you could slip stitch 3 times into every 4th row which would give you 6 extra rows and a larger beanie.

I hope you enjoy this pattern and, as always don’t forget to share using the buttons below or tag me on Instagram @doraexplored, or use #hookmehappy. I’d love to see and share your efforts!
Happy hooking
Dx

Copyright Dora Does Limited, Registered in England, Company Number 13992263. This pattern is for personal use only and may not be shared or reproduced in written, photo, video or any other form without prior written consent. All rights reserved. Terms of service.
This is one of my favourite patterns hat patterns – it’s so easy, fits well and is so cosy.
Thank you!
This is so great to hear! I’m glad you get so much wear out of it. I love this crochet hat pattern too! 🙂
I love this pattern! I just finished my first and am going to start on another. I crochet a lot of things for charity. This is perfect.
Thank you so much for the lovely feedback. I’m so glad you like the pattern and the hat you made from it 🙂
Hi there, first off, thanks for posting this pattern 🙂
Second, I’m a bit confused about the Row 2 Sk1 ss instruction. Does this mean missing doing a slip stitch and crocheting into the next stitch along? Or is there a slip stitch over the previous row but not into the stitch?
When I do the first, I have to crochet into the turning chain at the end of the row in order to maintain a stitch count of 38. But you said the ch2 does not count as a stitch throughout, so I’m not sure if I should be using it.
Thanks, a crochet beginner.
You miss the slip stitch you made when you ss into the crown (at the very end of the previous row). This way your stitch count should remain the same on the rows.
You don’t crochet into the turning chain. The first stitch made in rows working from the brim to the crown are worked into the last stitch or the previous row. I hope that helps!
When I turned up the bottom the lines were curved and not straight with the rest of the hat. What did I do wrong?
Hi, I’m not quire sure what you mean – do you mean when you folded the brim, the lines of ribbing didn’t align? It may be that a gentle blocking would help this if that’s the case. I can’t quite visualise where there would be a curve other than at the crown, it’s hard for me to say without seeing the work! (Feel free to drop me an email with a photo if that would help)
I would like to make this a bit bigger…23 in to 25 inch (my men have big head). Can you advise how to do this?
It will stretch to fit, but you can make it larger by adding more rows. Just slip stitch a couple of extra times into the crown, trying to space your extra rows evenly around.
Ok Thank you so much for your help!-JImmy
Hello, I am making this tobogan for the second time. Everything was perfect the first time I made it! For the second time, I by mistake bought some weight three yarn. Would it be ok to use it here?
Hi, yes, it could still work. You’ll need to work more rows (weight 3 is about DK if m memory serves – I’m not so used to using numbers!). Add some more stitches to the crown and increase your row count until the brim reaches the desired circumference.