The C2C Block Rockin’ Poncho – Free Crochet Pattern

Corner to Corner is such an enjoyable and versatile crochet stitch pattern to work. Those little square blocks have so much potential! Though c2c is more commonly used for home wears, I decided to try it as a wearable and the Block Rocking Poncho is the result.
The C2C Block Rocking Poncho is a fun and simple crochet pattern suitable for confident / adventurous beginners.
You can purchase an add free printable PDF of this pattern for a small fee on Ravelry, Love Crafts Crochet or Etsy

This post contains affiliate links. This means if you click a link to a product and go on to make a purchase, I receive a small percentage of the sale at no extra cost to you. You can read my full affiliate disclosure here.


Pattern Notes
- This pattern uses US crochet terms
- Instructions written after *asterisks should be repeated as indicated
- Instructions given in (brackets) should be worked into the same stitch or space
- This pattern is worked using the corner to corner (c2c) stitch, a simple stitch pattern working 3 double crochets into a blocks. You can find a c2c tutorial here if you need some assistance
- The Poncho is worked seamlessly from the bottom front point, up to the neckline, where the head hole is created and down the back to finish
Skills Used
- Knowledge of basic crochet stitches is assumed
- The pattern uses simple stitches and requires working into a chain, slip stitching and working in rows
This pattern uses the corner to corner block pattern made with double crochet. You can find a corner to corner (c2c) tutorial here and more details below.
Materials Required
Hook: 4.5mm hook or as needed to meet gauge
Yarn: 2 x Infinity Hearts Azelea (print 8) which is a Sport weight / 4ply, wool blend. Approx 300g, 1200m, 1400yds is required to make the poncho shown.
Substitution Options: This pattern can be worked with almost any yarn and appropriate hook. I recommend not going above a chunky weight yarn and using a hook a size or two larger than the size recommended for your yarn. This will keep your blocks loose and give good drape.
I also suggest blocking the poncho once it’s completed for the same reason!
Other: Yarn needle & scissors
Gauge
Gauge is not essential in this pattern but for the item pictured, the gauge measures as follows (note that the gauge is given in blocks rather than stitches due to the diagonal nature of the stitch pattern):
4in (10cm) x 4in (10cm) = 5 blocks across x 5 block tall (measured across the diagonals)

Measurements & finished size
You can keep working your poncho until you are happy with it’s size
The Poncho described here measures approximately 115cm . 46in wide and long on the diagonal after blocking.
When worn it will stretch a little.
How to purchase a Dora Does crochet pattern:
I sell my PDF crochet patterns in my Etsy, Ravelry and Love Crafts stores. You can purchase this pattern on any of these platforms, depending on your preference. Simply click the relevant links throughout this pattern page to be taken to the listing, or visit the store homepages in the links at the start of this paragraph.
Stitches & Abbreviations: US terms
(UK Equivalent in Brackets)
- ch = chain
- dc = double crochet (UK treble)
- rep = repeat
- sc = single crochet (UK double crochet)
- sk = skip (UK: miss)
- sp = space
- ss = slip stitch
- st(s) = stitch(es)
- tr = treble crochet (UK double treble)
Corner to Corner Stitch Pattern
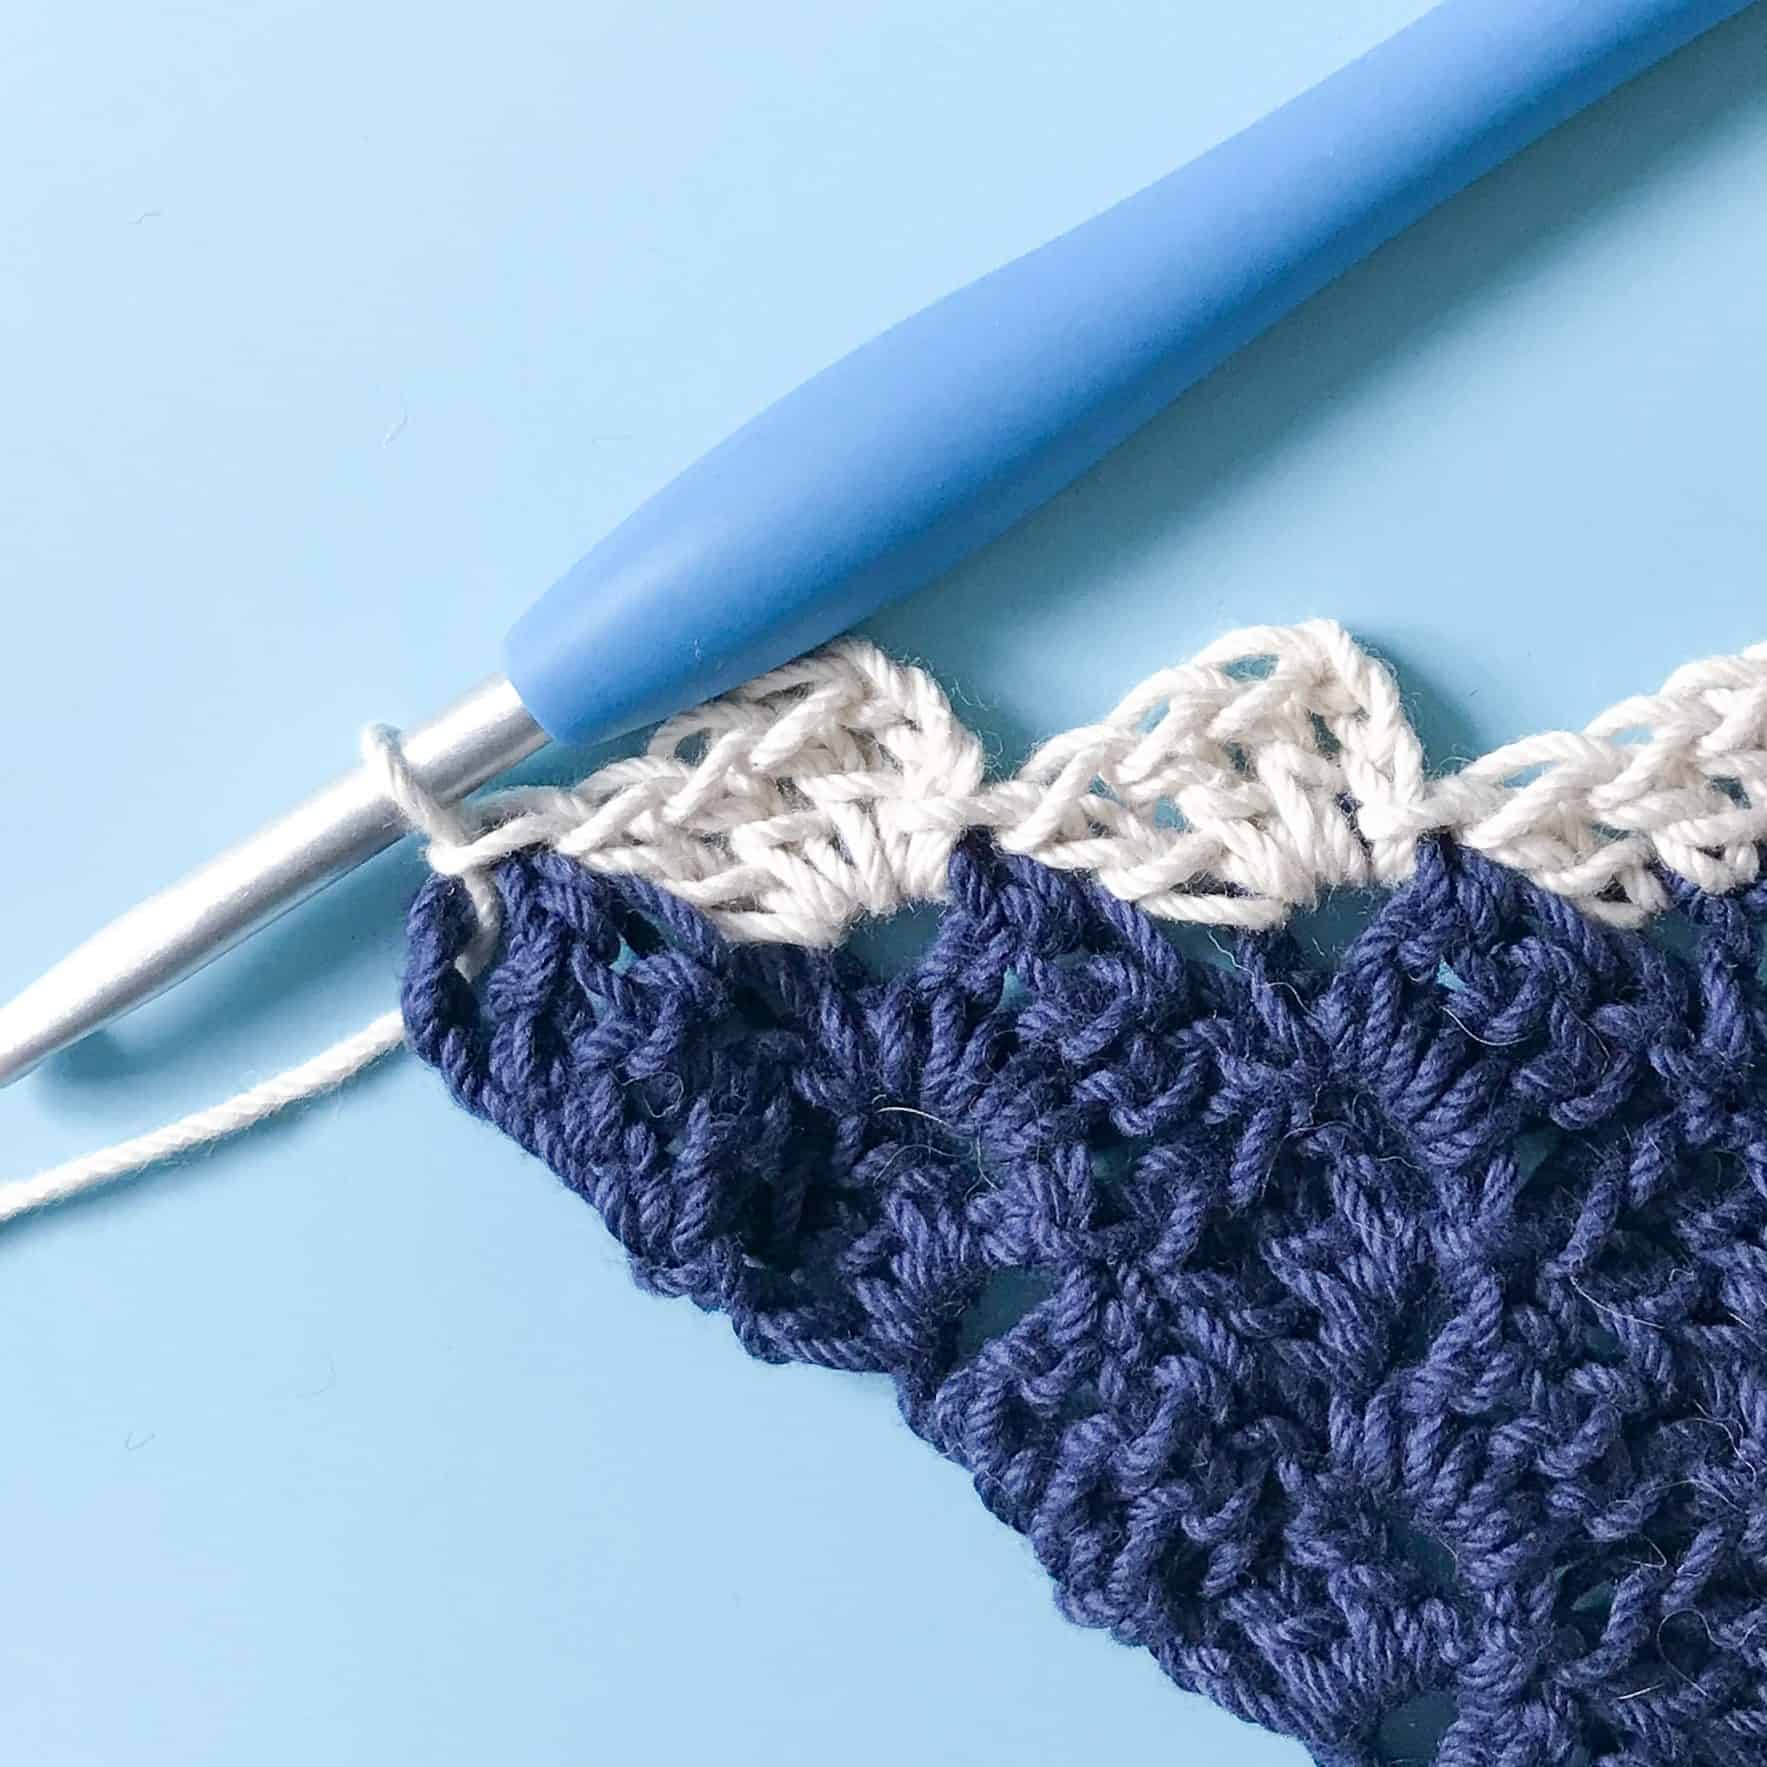
The corner to corner (c2c) stitch pattern is a simple repeating stitch pattern worked on the diagonal using groups of ch3 and 3dc as the building blocks. The full instructions are given in the pattern below and you can also find a step by step picture tutorial here.
Pictures for creating the neckline are included within the pattern as this is likely to be less familiar.
Guidance on working with graduated / ombre yarns
If you’re working with a graduated or ombre yarn and want the colour change pattern to match on the front and back, you will need two skeins / cakes (or more depending on the size of the poncho and weight of yarn). Work one cake from outside in and the second centre out so you have the same colour along the neckline.
When you finish the increase and have created the head hole, weigh the amount of yarn you have left and pull away a similar amount of yarn from the centre of the second cake (if you worked the first one from the outside in), cut it off and start the back side with the remainder of the cake.
I pulled out slightly less than I thought I needed because I didn’t want to run out of yarn in the decrease – that would be the worst game of yarn chicken to lose!
Put the excess yarn aside to finish the neckline later.

The Corner to Corner Block Rockin’ Poncho Pattern
The pictures are for illustration only – your poncho will be much bigger than this!
Front – Increase Section
Row 1: Ch6, 1dc in 4th ch from hook and next 2 ch, turn. (ch3, 3 dc / 1 block made)
Row 2: Ch6, 1dc in 4th ch from hook and next 2ch, ss into top of ch at start of previous block, ch3, 3dc in ch3-sp, turn. (2 blocks made)
Row 3: Ch6, 1dc in 4th ch from hook and next 2 ch, *ss into ch3 sp in next block, ch3, 3dc in ch3-sp, rep from * to end, turn. (3 blocks made)
Rows 4 – 52: Repeat Row 3 (52 blocks)
I have worked this poncho to 52 blocks. The next row will be the final increase row which will make the poncho 53 blocks at the widest part. You can carry on making the poncho bigger if you like or stop sooner, depending on what yarn you are using.
The widest part will sit across your arms from wrist, over the shoulders and back to the other wrist, so make sure you are happy with the width before you go on to create the neckline.
Note that Row 3 is the ‘pattern repeat’ row – when the ‘pattern repeat’ is referred to throughout the pattern, you should follow the instructions after the asterisk as given on this row

Head Hole & Neckline
Decide how big you want your neckline by counting the number of blocks you are going to skip to create the head hole and making sure you have an even number of blocks either side.
For this pattern, I skipped 13 blocks and worked 20 blocks either side (53 blocks in total)
This gives a neckline width of approximately 16 inches before the border is added at the end.
For each block you are skipping you will need to chain 6 (as below) when making the head hole so I worked a ch of 78 (13 x 6).
Making the head hole:
Work the first 20 blocks through to the 20th ss using the standard increase row 3 repeat, ch 78, skip 13 blocks, *ss into next ch3-sp, ch3, 3dc in ch3 sp, rep from * to the end (you will have 20 blocks on either side of the chain)

Back – Decrease Section
Here we will work across the back of the head hole you just made and begin to decrease the size down the back of the poncho.
Please refer to the corner to corner tutorial for help with then decrease section.
Back Neckline
Decrease Set-up Row: Turn, ss across the last 3dc of the previous row and into the ch3-sp, ch3, 3dc into the ch3-sp and continue with the pattern repeat until you get to the long chain you just made for the neckline

*sk 2 ch and ss into the 3rd ch, ch3, 1dc in each of the next 3 ch


Repeat from * to the end of the ch, ss into the ch3 sp from the last block you made before starting the long ch on the previous row.
You may want to count the number of blocks you made on this side of the chain to ensure they match the front.


Continue the pattern repeat to the last block, finishing with a ss into the ch3-sp – do not work 3dc in the last block as this is a decrease row.
Turn.

Decrease Row: Without making a ch, ss across 3dc from the end of the previous row, and into the ch3-sp, ch3, 3dc in ch3 sp, continue pattern repeat to the last block stopping with a ss into the ch3 without working the 3dc
You will decrease by 1 block each decrease row
Repeat the decrease row until you are left with a single block
Fasten off, sew in ends
Neckline & Finishing
Row 1: Join your yarn (using the excess you put aside earlier if using graduated yarn) to one side of the shoulder seam so you are ready to work across the front of the neckline
Front: Ss into the first ch3-sp (as if you were continuing the pattern repeat), *ch1, (1sc, 1hdc, 1dc) in the ch3-sp, ss into next ch3-sp; rep from * to other shoulder seam
Back: Working into the chain you made when creating the head hole, *ss into the bottom of the ch that the 3rd dc was made in, ch1, (1sc, 1hdc, 1dc) in the ch2 space, rep from * to the other shoulder seam, join to first top st with a ss, turn
Row 2: Ch1 (does not count as a st), 1sc in each st around the whole neckline (excluding the ch1s), join to top of first st with a ss.
Fasten off, sew in ends, block to size and shape if required
Get rocking your blocks!

I hope you enjoy this pattern and, as always don’t forget to share using the buttons below or tag me on Instagram @doraexplored, or use #doradoes. I’d love to see and share your efforts!
Happy hooking
Dx

Copyright Dora Does Limited, Registered in England, Company Number 13992263. This pattern is for personal use only and may not be shared or reproduced in written, photo, video or any other form without prior written consent. All rights reserved. Terms of service.
Hello, I wonder if you can do this with a rectangle, not a square? I know that’s a bizarre question. A friend has picked out a C2C afghan with a Dalmatian design on it, she wants a sweater but I’m not smart enough to figure that out. Seems like it could work as a poncho, what do you think? Thanks
Hi there, I guess it could work, but the front and back would not be even with a rectangle so you’d need to think about where to place the head hole to get the best shape.
I have finished the front of the poncho worked up very quickly and have done the neck. But now I’m a little stumped is the decrease worked on both sides or just on the one side. Is it the the first decrease before you work on the head hole or at the end after you have worked on your head hole?
Yours is the first C2C project I have attempted. Thx
Hi Heather, the short answer is yes – after you worked the head hole row where you make the chain – you begin the decrease rows so you ss into the first 3 sts to start then don’t work the last block. You decrease
By 1 block per row. You may want to check out the c2c tutorial here: https://doradoes.co.uk/2018/09/10/crochet-corner-to-corner-c2c-stitch-pattern-tutorial/
😊
How do you get the size you need ? Like i am a 2 to 3 x!
The easiest way is to keep working until you are happy with the width then you can add the neckline and start decreasing. You can alter the size of the neckline to suit. Guidance on this is given in the head hole and neckline section. If you want to be more precise you can use your gauge to calculate your desired width. This post explains how to use gauge to calculate your stitch count (in this example I would work in ‘blocks’ rather than stitches. https://doradoes.co.uk/2019/05/22/crochet-design-basics-how-to-use-gauge-to-crochet-to-measure-adjust-to-fit/
Just finished making this C2c poncho for my granddaughter I tagged you on Instagram love yr pattern
Ahhh. Thank you – I’ll go see! So glad you enjoyed the pattern! 🤗
What’s your insta name? I didn’t see the tag (if you have a private account I won’t)
Love this pattern, am making one for my 8 year old niece. She saw the pic and wanted just like this; so, of course, her auntie almost has it done. Easy pattern which goes fast…..love it
Ahh. As an aunty to 9 I can relate!! Thank you for your feedback. I hope she likes it! 😊
What does the back of the poncho look like?
It’s the same as the front 😊
Thank you so much for sharing this pattern. I plan on making a few of them for some special people in my life.
You’re welcome! I look forward to see how you get on! 🙂
Thank you so much!
What a great idea! I can’t wait to start on this. I want to make a smaller one for my 3 year old granddaughter, I just have to figure out the size differences. I’ve wanted to make a poncho for her for awhile but I was looking for a pattern that would be a little warmer and I think this is the perfect idea! Thank you for sharing this
I’m so glad you like it. This pattern has been in my head for months and I’m so happy to finally get it out!
Size wise for your granddaughter, measure from wrist to wrist and work the increase until it gets to that size!
Depending on her age you might want to make a smaller head hole too – just skip fewer blocks!
I just saw she’s 3! I’d measure to check but about 6/7in should probably work for the head hole!!