Step On – Free Crochet Sock Pattern
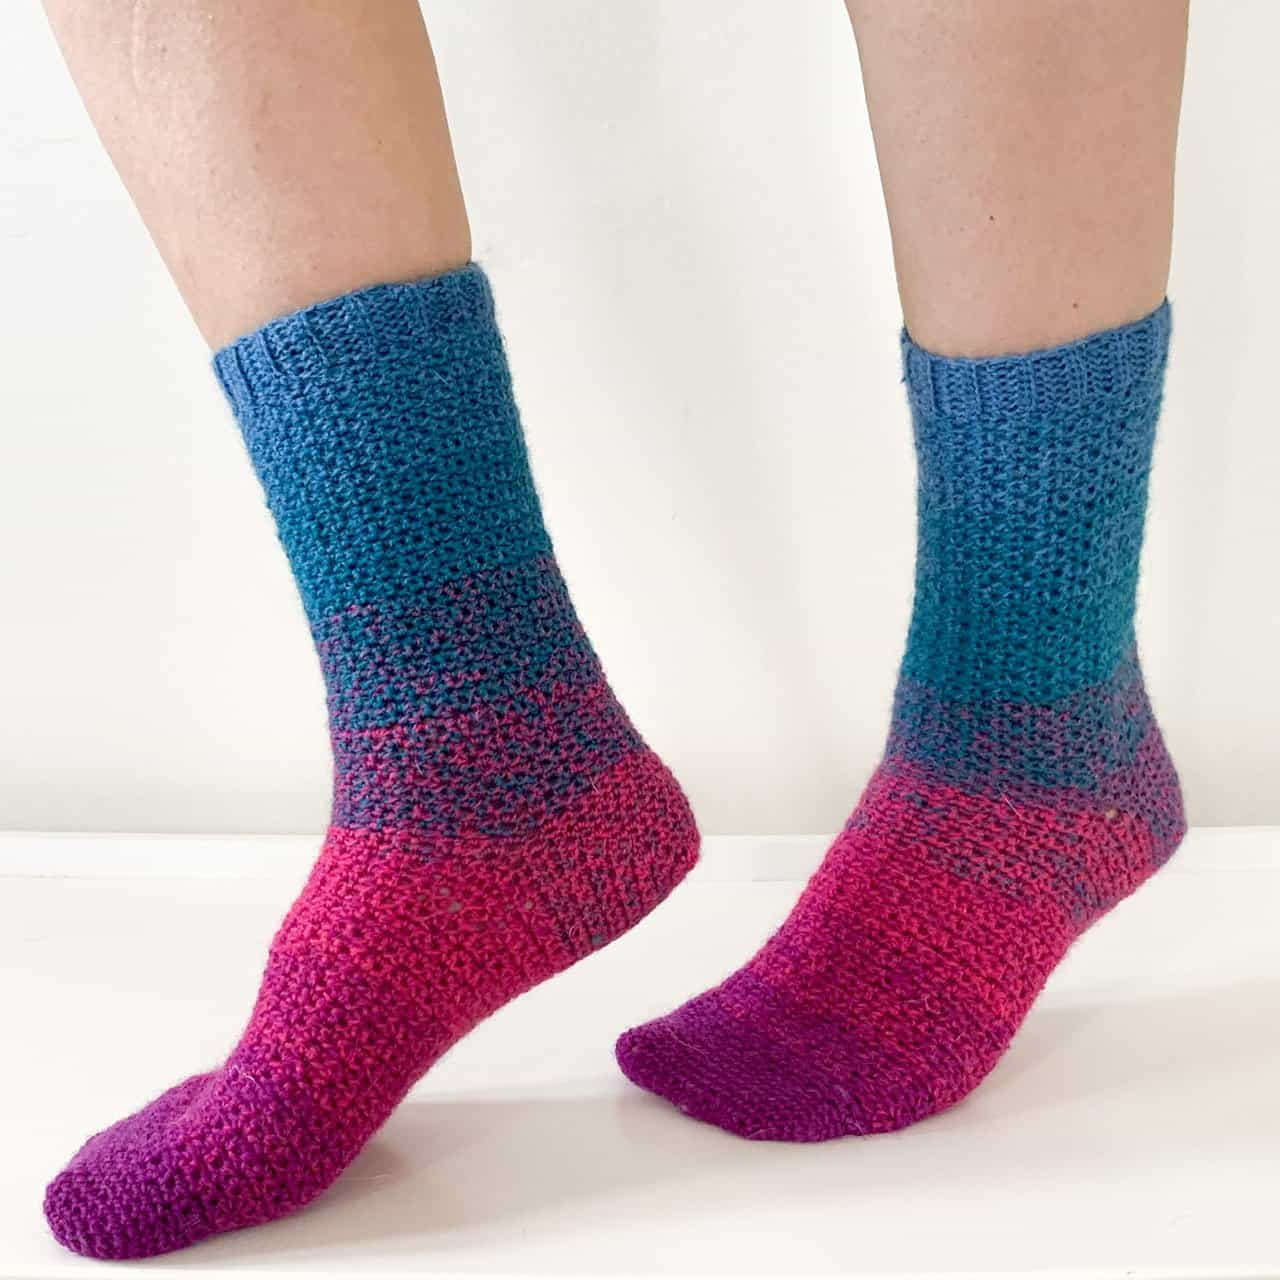
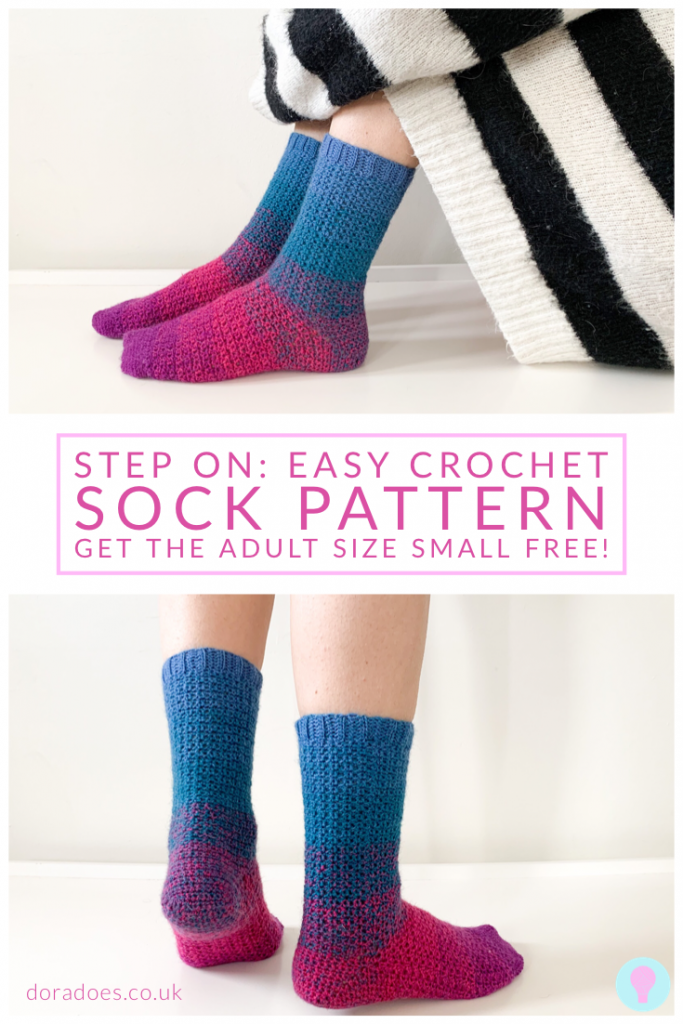
The Step On crochet sock pattern is my way of showing you that crochet socks need not be scary. I am putting my money where my mouth is and giving you the pattern for the adult small size free below (with modifications to adjust to fit).
You can purchase the full pattern in 6 sizes from Toddler (UK 8-10J, EU 28-30, US 10-12) to Large Adult (UK 10-12, EU 43-45m US 12-14) from Ravelry, Etsy or Love Crafts Crochet.
This post contains affiliate links. This means if you click a link to a product and go on to make a purchase, I receive a small percentage of the sale at no extra cost to you. You can read my full affiliate disclosure here. As an Amazon Associate I earn from qualifying purchases.

This blog will teach your more about how crochet socks are constructed if you want some background before starting this pattern.

Okay, lets have a look at these easy socks!
They are worked from the toe up, mostly with single crochet (UK double crochet) using a short row heel.
Socks should be worked with negative ease (i.e should be smaller than your foot so that they stretch to fit). I will give you an idea throughout the pattern where you can adjust them and where you might like to try them on to check the fit.
If you make any adjustments to the pattern, be sure to write them down so you can repeat them on the other sock. You think you will remember, but, if you’re like me, you won’t!
Measurements and Finished Size
The free pattern below is for a size small which is an adult UK size 4-6, EU 37-39 and US 5-8. This should fit a foot length from around 23 – 25cm. Multiple sizes are available in the full PDF or you can adjust the pattern as you work.
You can work the ankle as tall as you want it to be. Just keep repeating the ankle round until you reach the desired length (remembering you’ll add the cuff after!).
How to purchase a Dora Does crochet pattern:
I sell my PDF crochet patterns in my Etsy, Ravelry and Love Crafts stores. You can purchase this pattern on any of these platforms, depending on your preference. Simply click the relevant links throughout this pattern page to be taken to the listing, or visit the store homepages in the links at the start of this paragraph.

Pattern Notes
General Notes
- Please read all the pattern notes before starting your project
- This pattern uses US crochet terms (UK equivalents are given in brackets in the abbreviations list)
- Numbers at the end of a row / round indicate the number of stitches in that row / round and are only given at the start of a section or where there is a change
- Turning chains to not count as stitches
- Instructions written after * asterisks should be repeated as indicated
- Instructions in [square brackets] should be repeated the specific number of times stated
Construction
- These socks are worked from the toe up in rounds
- This pattern uses the short row heel method and each sock is worked in one piece
- A ribbed cuff is added at the top of the ankle
Skills Needed
- Knowledge of basic crochet stitches, techniques and terminology is assumed
- Working into both sides of a chain
- Working in rows and rounds
- Picking up stitches from previous rows
- Working in the back loops (for the cuff)
Materials
Hook: 4mm crochet hook, or size needed to obtain gauge, for the body of the sock. 3.5mm hook for the toes and ribbed cuff.
For me, the clover amour hooks were well worth investing in. I’ve been using them for years and never had one break… just hide down the back of the sofa!
Yarn: This pattern will work with any sock weight yarn which meets gauge. (Learn about yarn weights here.)
For a tall sock with around a 20cm high ankle (which reaches the lower calf), you’ll need around 480m of yarn for the pair. For a shorter ankle sock, it will be closer to 350m (so you should get a pair out of a 100g ball of standard sock yarn (normally about 400m per ball).
The great thing about toe-up socks is that you just stop when you’re done!
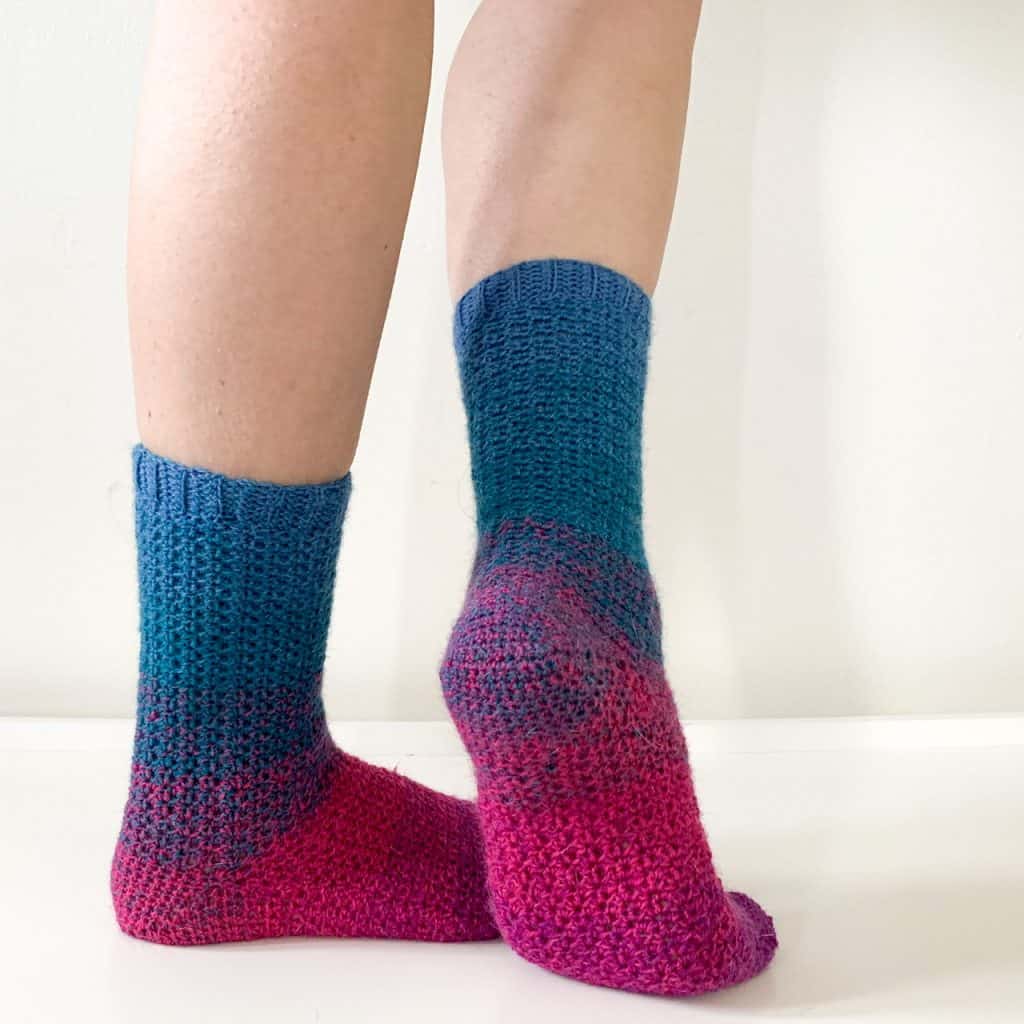
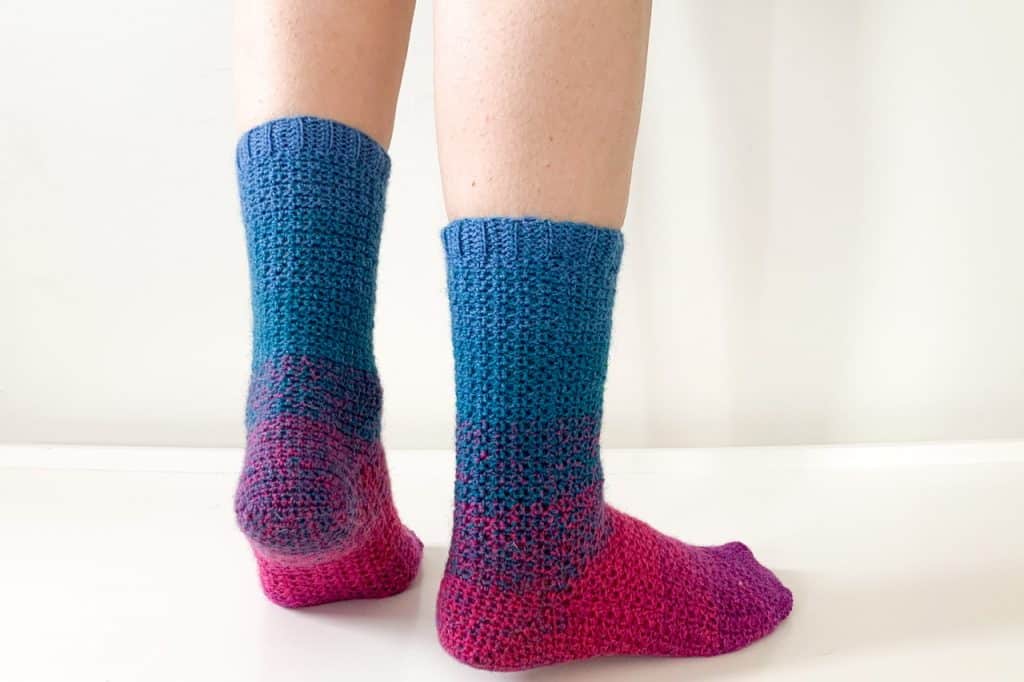
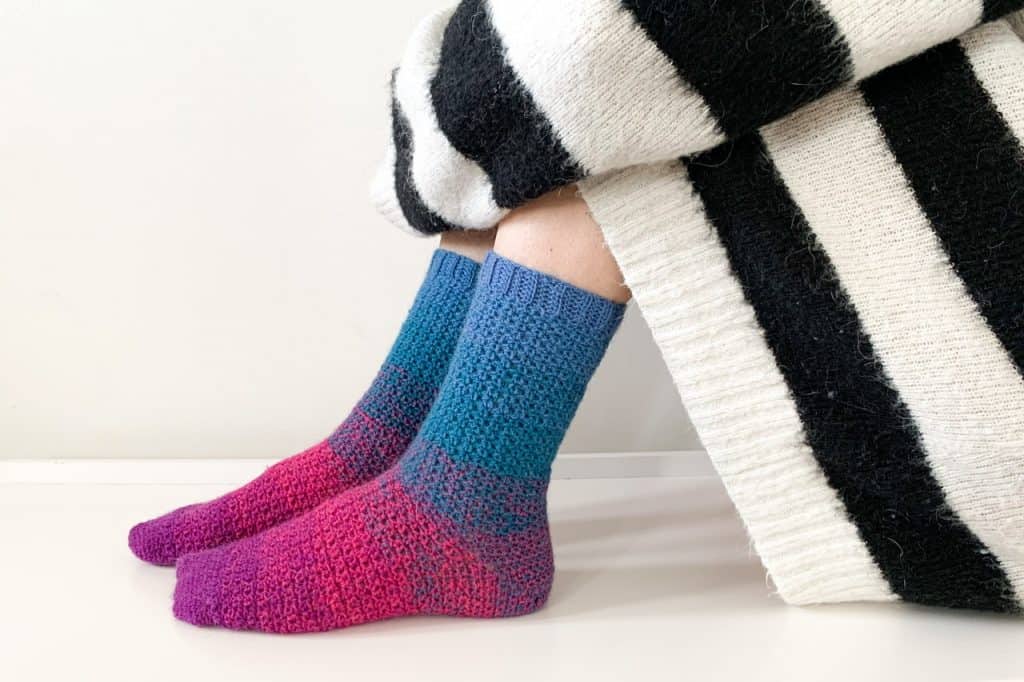
The pink and blue graduated socks pictured are a size XS and used just under 2 x 50g balls of Two of a Kind sock yarn from Knitcraft (sadly now discontinued).
The speckled khaki socks are made using Paintbox Yarns Sock Yarn in Bon Bon which is available from Love Crafts Crochet (though the colour ways are subject to change and availability!).

Substitution Options
Any 4ply / sock yarn which meets gauge and has a fibre suitable for making socks will work for this pattern. Traditionally, sock yarn is a blend of wool and nylon (for durability). I recommend something with some wool or natural fibre content because of the warmth and sweat wicking properties.
Other Materials
- Place Marker (optional)
- Yarn needle & scissors
Stitches & Abbreviations: US terms
(UK Equivalent in Brackets)
- blo = back loop only
- ch = chain
- dec = decrease
- hdc = half double crochet (UK half treble)
- inc = increase – denotes increase round / row
- patt = pattern
- rep = repeat
- RS = right side
- sc = single crochet (UK double crochet)
- sk = skip (UK miss)
- sp = space
- ss = slip stitch
- st(s) = stitch(es)
- WS = wrong side
Gauge
24 sts and 30 rows in 10cm of pattern repeat (see below) using a 4mm crochet hook or size needed to obtain gauge.
Pattern repeat for gauge
The majority of this pattern uses a simple pattern repeat as follows:
Pattern Row: Working with an even number of stitches, ch1 (does not count as a st), *Sk 1 st, 2sc in next st; rep from * to end, turn
The full add-free PDF pattern, contains a photo guide to help with construction, including the toe, the heel and the cuff. Download the PDF pattern from Ravelry, Etsy or Love Crafts Crochet.
The Step On Sock Pattern
Make 2
Toe
Using a 3.5mm hook;
Round 1 (RS): Ch13, 2sc in second ch from hook, 1sc in next 10 ch, 2sc in last ch, 2sc in the back of the same ch, then, working round the back of the starting ch, 1sc in next 10 ch, 2sc in back off first ch, ss to top of first st, do not turn. 28 sts
Round 2: Ch1 (does not count as st throughout), 2sc in first st, 1sc in next 12 sts, 2sc in next 2 sts, 1sc in next 12 sts, 2sc in last st, ss to top of first st, do not turn. 32 sts
Round 3: Ch1, 2sc in first st, 1sc in next 14 sts, 2sc in next 2 sts, 1sc in next 14 sts, 2sc in last st, ss to top of first st, do not turn. 36 sts
Round 4: Ch1, 2sc in first st, 1sc in next 16 sts, 2sc in next 2 sts, 1sc in next 16 sts, 2sc in last st, ss to top of first st, do not turn. 40 sts
Round 5: Ch1, 2sc in first st, 1sc in next 18 sts, 2sc in next 2 sts, 1sc in next 18 sts, 2sc in last st, ss to top of first st, do not turn. 44 sts
Round 6: Ch1, 2sc in first st, 1sc in next 20 sts, 2sc in next 2 sts, 1sc in next 20 sts, 2sc in last st, ss to top of first st, do not turn. 48 sts
Round 7: Ch1, 2sc in first st, 1sc in next 22 sts, 2sc in next 2 sts, 1sc in next 22 sts, 2sc in last st, ss to top of first st, do not turn. 52 sts
Rounds 8 – 10: Ch1, 1sc in each st to end, ss to top of first st, do not turn.
Foot
For the rest of the pattern you will turn at the end of each round.
You may want to use a place marker in the first st of the round to make it easy to see where to ss to at the end, moving it up at the end of each round.
Without fastening off, change to a 4mm hook;
Round 1 (RS): Ch1, *sk 1 st, 2sc in next st; rep from * to end, ss to top of first st, turn. 52 sts
Round 2): Ch1, sk ss, *sk 1 st, 2sc in next st; rep from * to end, ss to top of first st, turn. 52 sts
Rounds 3 – 38: Rep Round 2, ending on WS row.
To personalise the pattern you can repeat the foot round until you reach a couple of cm from the front of the ankle (where the right angle is between the foot and the front of the ankle / bottom of the leg).
If you customise the number or rounds in the foot section, make sure you write it down somewhere so you can do the same on the other side!

Gusset Increase
Gusset Round 1 (RS) (inc): Ch1, sk ss, *2sc in next 2 sts, [sk 1 st, 2sc in next st] 12 times; rep from * to end, ss to top of first st, turn. 56 sts
Gusset Round 2 (WS): Ch1, sk ss, *sk 1 st, 2sc in next st; rep from * to end, ss to top of first st, turn
Gusset Rounds 3 – 5: Repeat Gusset Round 2
Finish the Gusset on a RS round and then continue to Heel
Heel
You will work the heel in short rows.
You can find a picture tutorial for the heel here.
Without fastening off;
Heel Set-up Row (WS): Ch1, 1sc in next 26 sts, turn
Heel Dec Row: Ch1, sk first st, 1sc in each st to end, turn. 25 sts
Repeat the heel decrease row until you have 8 sts. This should be a WS row

Now you will begin increasing the number of stitches again (starting on the RS) which will ‘turn the heel’.
Heel Inc Row: Ch1, 1sc in each st to end, 1sc in missed st from 2 rows down (work over ch1 turning ch), turn. 9 sts
Repeat the heel increase row until you have increased back to 26 sts (which should be a WS row).
Ankle set up Round: without turning, continue to crochet around the top of the foot in patt to the end of the round as follows: *sk 1 st 2sc in next st; rep from * to end of round, ss to top of first st (which is the first sc of the last heel row), turn. 56 sts
Ankle
You will now work in patt for the ankle, working as many rounds to suit the desired length.
Without fastening off;
Round 1 (RS): Ch1, sk ss, *sk 1 st, 2sc in next st; rep from * to end, ss to top of first st, turn. 56 sts
Repeat Round 1 until your sock reaches the desired length, finishing on a WS round

For the pink and blue socks, I worked 50 rounds and for the Paintbox khaki socks, I worked 24 rounds before the cuff.
Write down how many rounds you work!
Cuff
Working at right angles to the last round of the ankle, you will now start to work in rows.
Without fastening off, change to a 3.5mm hook;
Row 1 (RS): Ch9, 1hdc in 3rd ch from hook and next 6 sts, ss into next 3 sts on the final round of the ankle, turn (7 hdc, 3 ss)
Row 2: Sk 3 ss, 1hdc in blo of next 7 sts, turn. 7 hdc
Row 3: Ch2, 1hdc in blo of next 7 sts, ss into next 3 sts on the final round of the ankle, turn. 7 hdc, 3 ss
Repeat Rows 2 and 3 round the top of the sock until you arrive back at the start.
Note that for the last row you will only ss into 2 sts (instead of 3) at the end of the cuff.
To join the sides of the cuff, ch1, turn your cuff so that the starting ch is facing you, ss through the back of the starting ch and the blo of the corresponding hdc in the row you just worked. Repeat down the starting ch. This should leave the joining seam inside the cuff and make it hard to see the join from the outside.
Fasten off and weave in ends

Now do it all again!!
Then get your Step On!
Sharing your finished makes
I love seeing your finished makes – it gives me all the happy feels!
Here’s how you can share them on social media, if that’s your cup of tea!
- On Instagram, you can use the hashtag #HookMeHappy or #StepOnSocks or just tag me @doradexplored
- You can tweet me your pictures, or add them to my Facebook page
- If you have the bug for creating garments, why not join my dedicated facebook group “My Crochet Wardrobe” and share them there?
- If Pinterest is your happy place, you can add them there too – check out my Pinterest account for lots more crochet inspiration from makers across the web!
Happy Hooking
Dx
Copyright Dora Does Limited, Registered in England, Company Number 13992263. This pattern is for personal use only and may not be shared or reproduced in written, photo, video or any other form without prior written consent. All rights reserved. Terms of service.


I read the instructions on how to join the heel to the gusset. I don’t quiet understand what to do.
Hi there, have you used the short row heel tutorial here: https://doradoes.co.uk/2020/03/07/how-to-crochet-a-short-row-heel-on-toe-up-socks/
If so and you’re still struggling, let me know which specific part you’re getting stuck on and I’ll be able to offer tailored advice 🙂 Dora
Hello I need clarification on the heel please.
The heel set up row says sc in next 26 stitches:
1. Does that include the ss or do we skip ss as before?
2. Is it 26 or 28 stitches? Half the circumference of the gusset (56 stitches) is 28 stitches.
Thank you.
Hi there,
Thanks for the question. The slip stitch never counts as a stitch here, it’s just used to join the rounds. The heel is half the width or the ankle / foot (52 sts) which is where the 26 comes from.
I hope that helps 🙂
I’m really struggling with the gusset and don’t know where else to ask. It says that there should be 56 sts after round 1, but there’s no way it can go from 52 to 56??? The highest I can get is to 54.. idk what I’m doing wrong 🙁
At this stage you are adding 4 stitches to go from 52 to 56, two on each side of the ankle. Break that specific round down and work each section slowly, making sure you’re reading what is there, rather than what has been there before. If you are still struggling, please do drop me an email to the pattern support address on the front of the pdf pattern. I hope that helps in the meantime.
Me again 😊 . Ignore my previous comment. I’m using #3 yarn instead of #1. I misread the ‘4ply’ in the instructions as #4. 🤦♀️
Hi! I just found your pattern. I started working on it, but it seems huge, and I’m even using a smaller hook (3.5mm). I’ve completed the toe and 3 rounds of the foot, but I think it’s time to start over. The toe portion extends a good 2.5 cm beyond the width of my toes. I followed your pattern exactly, and have an average foot size, so I’m not sure what went wrong. This sock doesn’t look like it will fit snugly, as in the pics. It looks like it would fit more like a lounging slipper sock. Help?
Hi, my first suggestion was to check that you match gauge. But I’ve just seen your second comment that you were using a different weight yarn. The suggestion stands regardless – if ever something is coming up a different size to the pattern, always check your gauge. And if it’s something that needs to be a good fit then hopfully you swatched beforehand! If you’re new to gauge, start here: https://doradoes.co.uk/2019/04/03/why-do-i-need-to-make-a-gauge-swatch-an-explanation-of-gauge-why-it-matters/
Hey, so I love your pattern, but I have come across something that I think is an issue. I am now finished with the heel ‘flap’, but it sticks out beyond where my heel ends. It seems like my decreased heel part is much longer than yours, despite having followed the exact pattern for the decreased heel part. Is it okay for the part to be longer? Or how do I fix it?
Hi there, it’s hard to answer this without seeing a picture of your project. However, the heel should turn in on itself and be a comfortable fit around the back of your foot. It may be that you have too much length in the foot section. In terms of the heel itself. This post has a photo tutorial which may help check you have the same result as intended. https://doradoes.co.uk/2020/03/07/how-to-crochet-a-short-row-heel-on-toe-up-socks/
Hi ! I was wondering if it was possible to have some clarifications on one step of the pattern. When doing the ‘heel increase rows’, how is that part attached to the ‘heel decrease rows’? I am having difficulty understanding that step. Are we to sew both parts together afterwards ?
Hi, so on the increase rows, you pick up the stitches from the decrease rows (the skipped stitches) to turn the heel. If you look at the start of the heel, there is a link to a tutorial which takes you through the process step by step.
Hi, how do I custom them to men’s sizing? Size 10 foot. I’m new to making socks 🤦♀️ And your pattern is the only one I really like.
Hi Abi, thanks for the complement! The full PDF of the pattern has 6 sizes included and goes up to a UK 10-12 with guidance for adjustments included 😊
This sock pattern is beautiful. I love the yarn you selected.
Thank you!! I loved the vibrancy of the ombré colours too! 😍