How to hand dye yarn at home with everyday materials
At the end of 2017 I went to a hand dying yarn workshop at Toft’s stunning alpaca farm and yarn sanctuary. It was so much fun and I’ve wanted to have another go ever since. Finally I got around to it and wanted to share the experience and give you some pitfalls to avoid if you want to give it a go!
I will to outline the process for hand dying at home, then I will share my experience of what did and didn’t work for me – the theory then the reality!!
Note that there are so many variations in the dying process, depending on the type of dye and the fibre you use. This post focuses on how you can use everyday / low cost materials at home to dye yarn.
How to hand dye yarn
- Gather the appropriate materials
- Soak and prepare the yarn
- Apply dye in your chosen style
- Heat yarn to fix the dye
- Rinse and dry the yarn
1. Gather the materials
You will need:
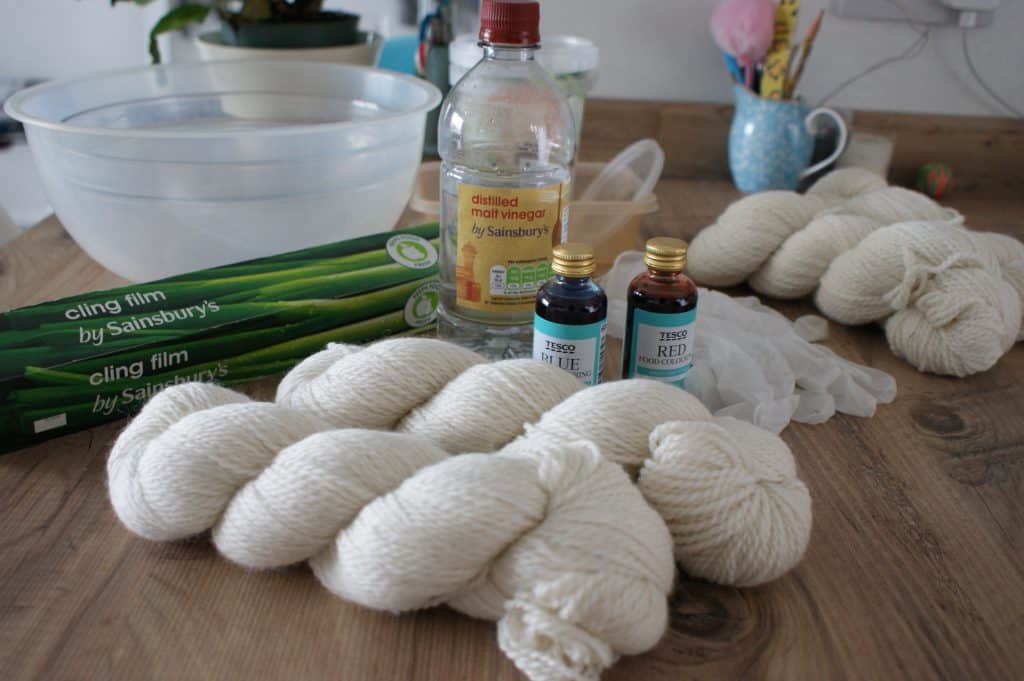
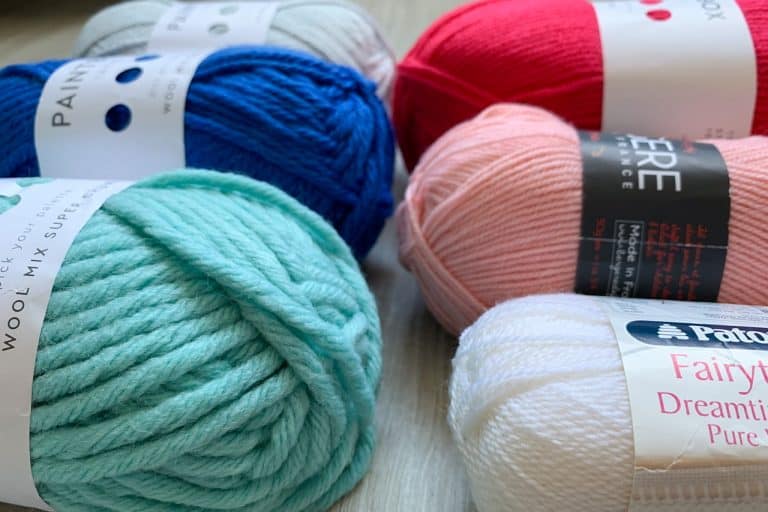
Yarn
I would recommend you use a natural fibre if hand dyeing at home (wool, cotton etc.). Acrylic yarn will not work well – have you ever tried to paint on plastic? It just chips right off doesn’t it? It’s the same with yarn.
Protein (animal) fibres take on dye in a different way to cellulose (plant based) fibres so this is something you may want to take into account with your preparation and dye choices.
I used this lovely Falkland Aran Merino wool from Laxtons. I had 2 skeins of 100% Falkland Merino and 2 skeins with some added sparkle.
Acid (citric acid or vinegar) and or a mordant to prepare your yarn
Before dyeing, wool yarn needs to be soaked in an acid bath. This sounds scary but white vinegar which you may already have in your cupboard will do just fine.
Some acid dyes contain the acid in them so you don’t need to do the acid bath – however, we are using everyday materials here so I stuck with the vinegar bath.
“What is a mordant?”
I hear you ask. Well this is where things get a bit technical so I will just touch on it here. A mordant is something which helps natural dyes stick to the fibre so that when you wash it, the colour does not fade.
Vinegar is not a mordant but does help clean up the yarn and open the fibres up to help the dye stick.
Mordants tend to be metal based minerals and can be quite toxic. Not what we are looking for when dying in our kitchens or homes! Some fibres can be bought already treated with a mordant. Alum is a common mordant but again, we will just be using everyday items.
If you want to learn more about mordants and fixatives for natural dying, I found this post super helpful!
Containers
A large container to soak your yarn. Plastic or metal is fine (apparently aluminium gives brighter colours) but something which won’t stain.
Ensure that you do not use toxic substances, mordants or dyes in containers which are used to prepare or serve food.
Smaller containers for the dye – the size will depend on how you are going to tackle the dying process – are you going to soak it or paint it? (See below for techniques)
At the mention of staining, make sure you protect surfaces to avoid staining from any spills – I spread a bin bag on the surface I was using.
Dye
There are all sorts of dyes you can purchase but as we’re working with items which are inexpensive and easily to hand, food colouring was the path of least resistance for my initial approach. I hear that Kool aid also works but it’s not something we have readily available in the UK.
Natural dyes can also be easily sourced. Some of the options are Onion skins, Avocado Skins, Nettles, Elderberries and a host of other plants and flowers.
Different dyes will also work differently with different fibres so you may want to research this further or get experimental!
Other bits and bobs
These are mainly optional depending on your approach, but I recommend having them to hand! Gloves, spoons, cups, squeezey bottles, paint brushes, cling film
2. Soak the yarn
You will need to prepare your yarn by washing it in an acid bath.
Soak it in a mixture of vinegar and warm water for at least 30 minutes. Ratios seem to vary depending on sources but, as a start, add approximately 3 tables spoons of white vinegar per skein to enough water to cover the yarn.
The reason you need to soak the yarn is to remove any oils from the fibres which may prevent the dye from taking. This can help the dye to take better.
If you are using a mordant then prepare your yarn in your mordant solution.
3. Apply the dye
Cover your work surface with clingfilm (you will use this later) and or a protective covering (as mentioned previously, I opened up a bin bag which I laid out underneath the cling film because I am extra clumsy).
Rinse all the excess liquid out of the yarn from its soak (leaving it damp) and place it on the cling film ready to dye.
There are lots of ways you can dye your yarn – I have listed the main ones below:
Solid Colour
If you want a single solid colour, mix your colour in a large container and soak the whole skein. You will need to make sure the dye concentration is high enough to achieve a strong colour.
Dip dye
Dip parts of your yarn in different colours of different strengths of the same colour (start with the lightest colour and layer up).

Painting
literally paint the dye onto the yarn hank – make sure colours don’t run or if they do that it’s intentional.
Also, be careful not to damage or felt the yarn. Use your fingers to make sure the dye goes right through to the other side of the hank.
Speckling
Add tiny speckles of intense colour. This worked beautifully on top of other methods

This project was about experimenting so I tried a little of everything
4. Fix the dye with heat
The way you apply heat will depend on the way you apply the dye.
If you are using a natural / solid dye in a pot, you can heat the yarn directly on the hob in the dye solution.
If you are painting or speckling your yarn then the easiest way, is to wrap the dyed yarn in the cling film you used to cover the work surface and put it in the microwave. About 1-2 minutes 2 or 3 times over on a medium heat should do it.
(Do not put yarn with metallic threads in the microwave!!)

Let the yarn cool completely.
5. Rinse and dry the yarn
Once the yarn is cool, rinse all the colour out in cold water. It’s important to rinse the dye thoroughly so it does not come off on your skin or furniture once the yarn has been worked up into a finished item.
However, you must also be careful with the yarn so you do not felt it. This is partly why it’s important to wait until the yarn is properly cooled and only use cold water.
Rinse out all the excess water and hang it on the line to dry!

Wind your yarn and get crocheting / knitting!
That’s the theory… How did it work in reality?
So now you know the process, lets have a look at my experience!!
When I first started this project, I had visions of dying with natural berries and foraged items. Then I started reading about mordents and separate pots and it all sounded a bit complicated so I decided to use food colouring!!
Unfortunately, my first attempt at food colouring was a disaster (see below) so I reverted to the natural approach – using nettles which was more successful.
Not to be defeated, I went back for a second try at using food colouring with better luck. Hopefully you will learn from my mistakes and have more success first time round – either with natural dyes or food colouring!
Dying with food colouring
For my first attempt, I followed the instructions I outlined above. However, my mistake was to use liquid food colouring from the supermarket and then dilute it further. It looked great as I was working (dip dyeing, painting and speckling) it but as soon as I rinsed the yarn, most of the colour just washed right out…

Some kind soul on instagram (where you can see the whole journey in my “yarn dye” story highlights) told me that gel food colouring works so I picked up a tube in my local Hobbycraft – this was a lot more successful!

I mixed the gel colouring with water in a small pot and just went to town with the colour allocation using different dilutions and a few splodges of neat colour applied directly to the yarn.
I used less than one tube of gel food colouring for both skeins.
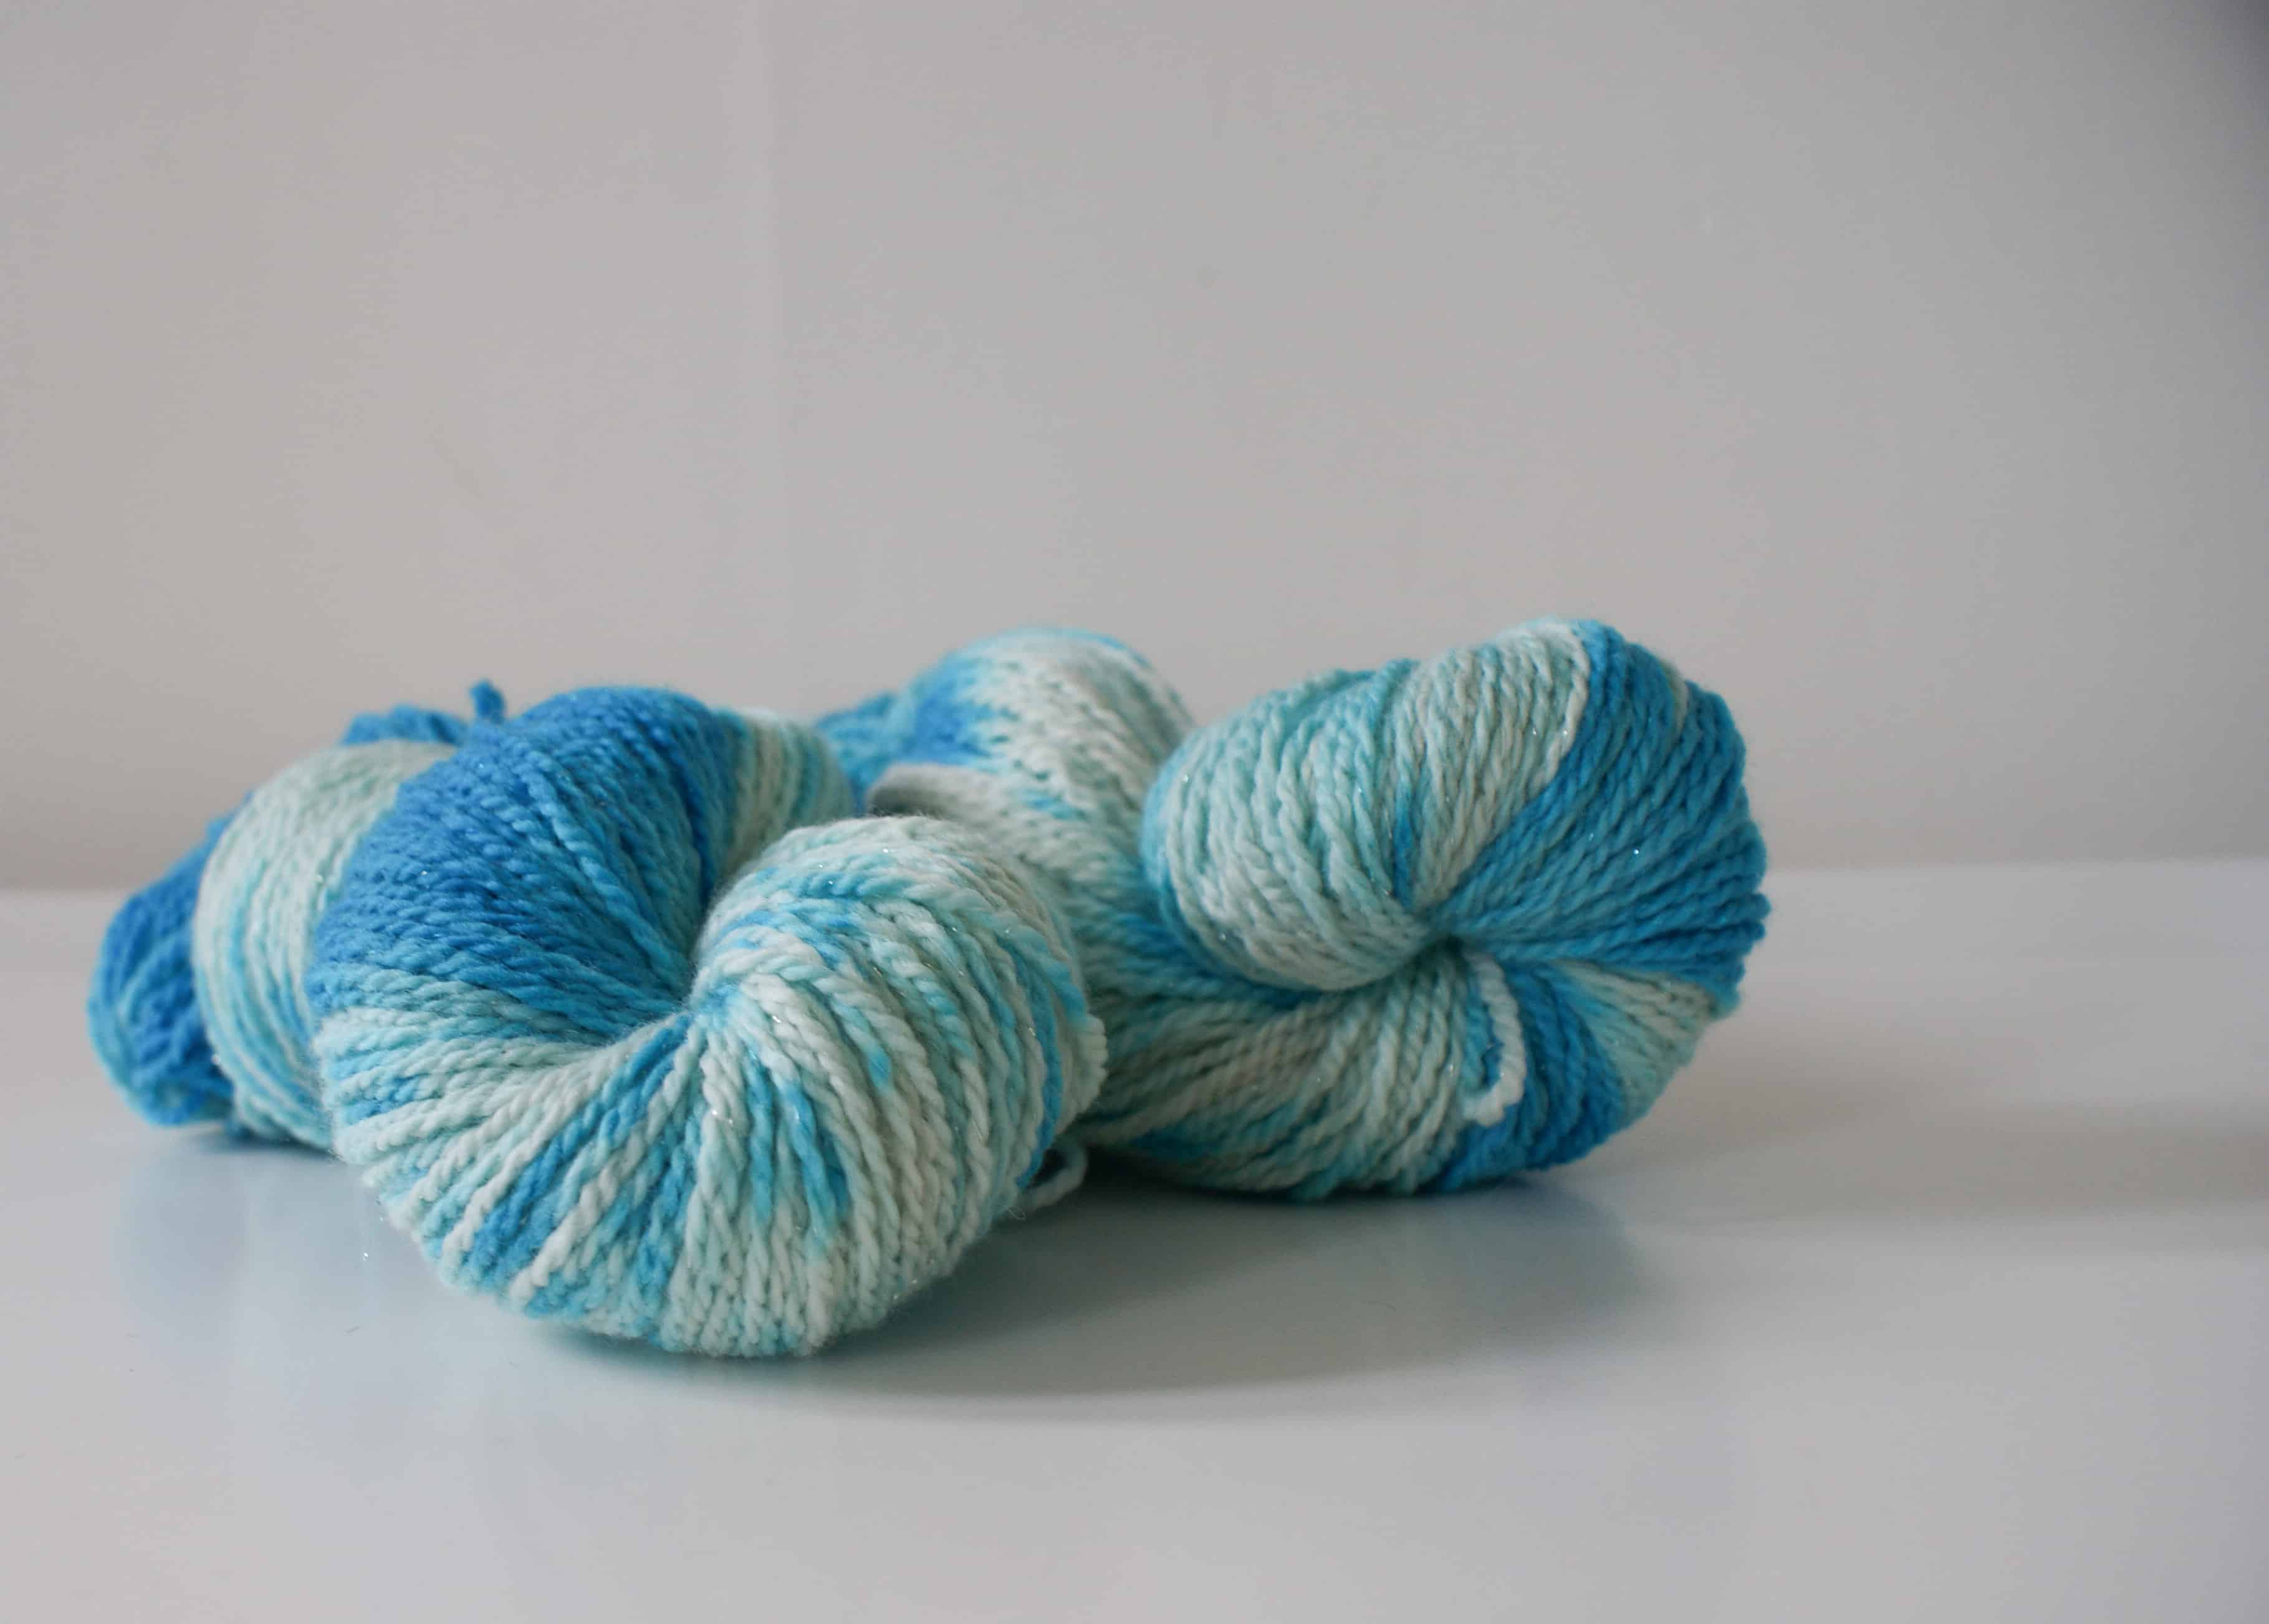
This time the colour stuck when I rinsed the yarn. In fact it was a lot stronger than I had anticipated – I might go a little easier next time but I was pretty happy with the result! (Though my skein twisting needs some work!)

If I were to name the colourway I would call it “Winter is Here”! (Yes, I write this in the throes of Game of Thrones final season obsession!)
Dying with Nettles
I wanted to keep this experiment something everyone can try and, if you’re in the UK then stinging nettles can be found in any hedge row or wooded area at this time of year. But be careful collecting them – they sting – wear protective gloves and clothing!!
I found a fabulous post about dying with nettles here, which goes into lots of detail.
I have outlined the method I followed below. It is a lot slower than the instant hit you get with food colouring but somehow felt more fulfilling.
Pick the nettles – carefully – and make sure there are no caterpillars or bugs hiding in them!
Put them in a suitable pot, covering with cold water, heat on the hob, but do not boil. Let cool then repeat the process. This brings out all the pigment without breaking it down so the theory goes…

After leaving this mix for around 24 hours I decided it was time to add the yarn.
The blogs I was reading suggested straining out the nettle leaves to get the dye mixture, but I just put an old colander into the pot and put my yarn inside that to keep it separate from the leaves.

Now as I mentioned earlier, natural dyes take better with mordants. But wanting to avoid toxic mordants, I didn’t want to buy something specifically for the fixing process (or new pans – because it’s a big no to use toxic substances in any pans or containers that are used to prepare or serve food – I hope I have drilled that one home enough!).
In my research, I had read that copper can be used as a mordant and people improvise with bits of copper piping or coins. So I raided my penny jar and threw in a bunch of coppers hoping that would help a bit.
SAFETY NOTE: Although the levels of copper in coins should not be toxic, I am not an expert in this area so once again – do not use pans that will be used for preparing or serving food.
Sadly I did not notice that one of the coins had a biro leak on it so I did get some extra unexpected purple colouring in areas… but live and learn!
I soaked the yarn overnight, then the next day I put it on the heat and let it simmer very gently for an hour. Then I let it cool and repeated the process.
Once the yarn was cool, I removed it, rinsed it and let it dry, then caked it. I have to say I was pretty happy with how it turned out!

Another instagram helper told me that if you add lemon juice it turns the dye more pinky, so with a second hank, I put some lemon juice from the cupboard into the same dye solution.
I added a few more nettles at this stage but did not let them stew for as long as the first lot. I soaked the second hank of yarn overnight and decided to leave it in it’s twisted up hank to see if I would get an ombré type effect.
There was no pink in the second hank but it did come out a lovely, almost minty olive green colour.

I learned so much from this first attempt at dying. It ended up being a lot more time consuming than I expected but then that is the nature of experimentation! I hope this post will help you avoid some of the pitfalls I fell into!
I will definitely give this another go some time. I think I would prefer to continue playing with the natural dyes. I have an elderflower tree right near my house so when the berries come out I will use the harvest!
In the meantime, I’m off to make some gifts from my unique hand dyed yarns!


Bonjour, merci pour toutes ces informations et du temps que vous nous accordez, votre patience et votre gentillesse.
Bonne journée à vous.
Vesna
I want to dye just one side of a hank. Should I soak the entire hand before dipping? Or just the side in dying?
Hi, it’s a great question. Unfortunately I don’t know the answer as it’s not something I’ve tried! This post is really just about me experimenting with what I’ve read online about dying yarn. I don’t have any special knowledge of yarn dying.
Thanks so much, this was really interesting. I have dyed wool using food colouring but you have inspired me to try using berries, elderberries, raspberries or blackberries.
I’m glad you found it helpful! I would do some research on berries as some of them just stain rather than dye so the colour fades with time (I *think* elderberries fall into this category (though you can use their flowers I believe) but it’s worth reading up on it first!