Drawstring Gift Bag – Free Crochet Pattern & Tutorial

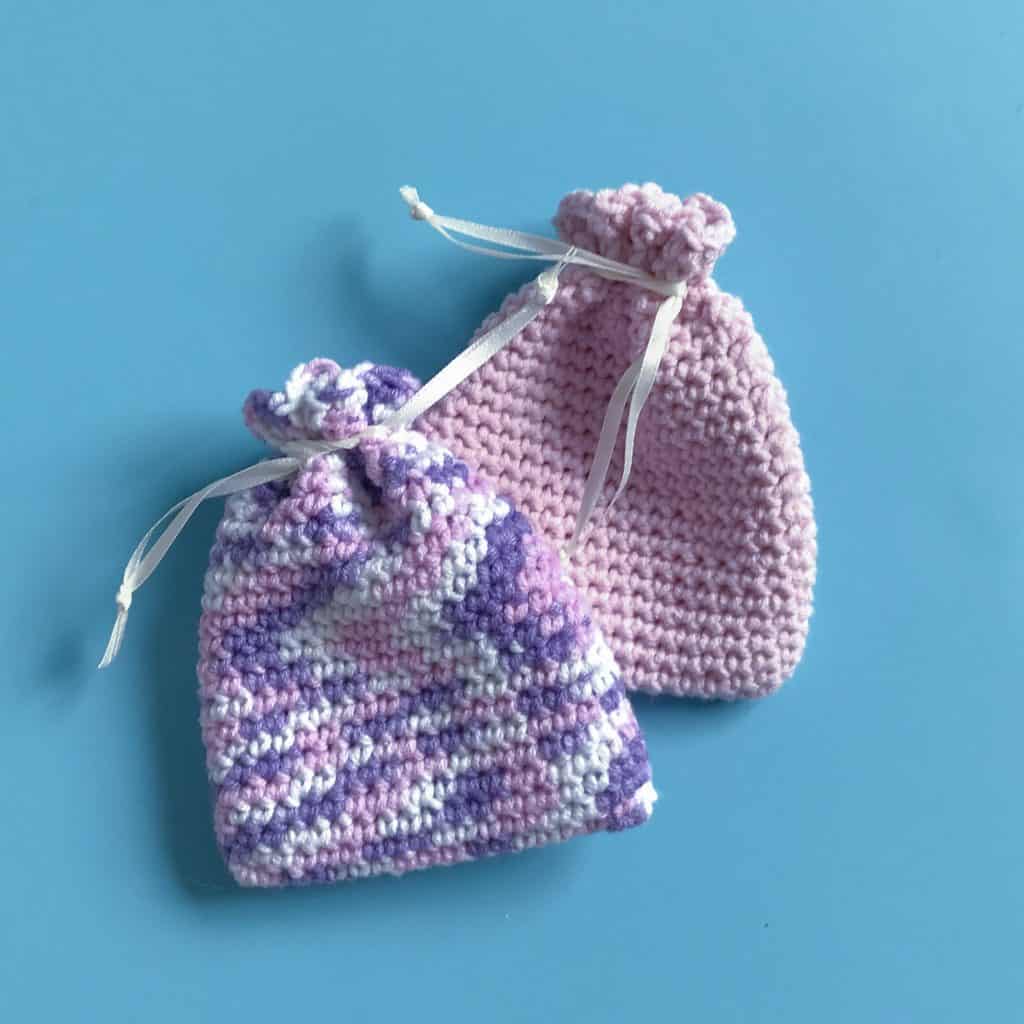
These quick cute crochet drawstring bags can be used for all sorts including favours, gift bags, jewellery pouches or lavender sachets (check out this how to here).
This is a beginner level, quick and easy, stash-busting pattern using only a small amount of any yarn.

This post contains affiliate links. This means if you click a link to a product and go on to make a purchase, I receive a small percentage of the sale at no extra cost to you. You can read my full affiliate disclosure here.

Pattern Notes
- This is a beginner level pattern using simple stitches and simple decreases
- The pattern uses US crochet terms
- The pattern starts by working around the front and back of a chain and then in continuous rounds
- Numbers in brackets indicate the number of stitches in that round and will only be given where there is a change
- Unless instructed otherwise, stitch instructions should be worked in consecutive stitches
Materials
For the bag you see pictured, I used around 10-15g of James C. Brett Cotton On DK cotton blend double knit yarn which I had in my stash and a 4mm hook (Clover Amour Hooks are my favourite!)
I used some spare ribbon for the drawstring but you can also use the same yarn you’re working with. You’ll need two lengths about 8in each.
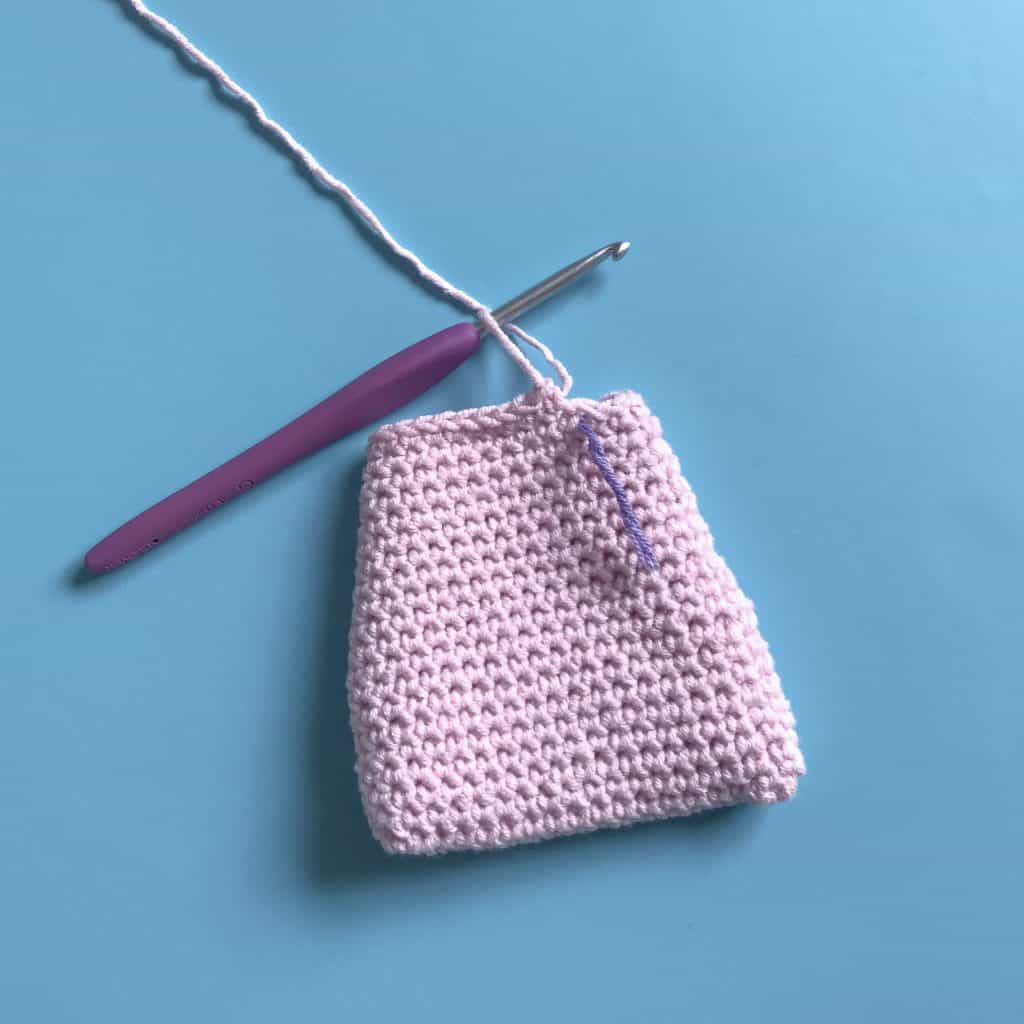
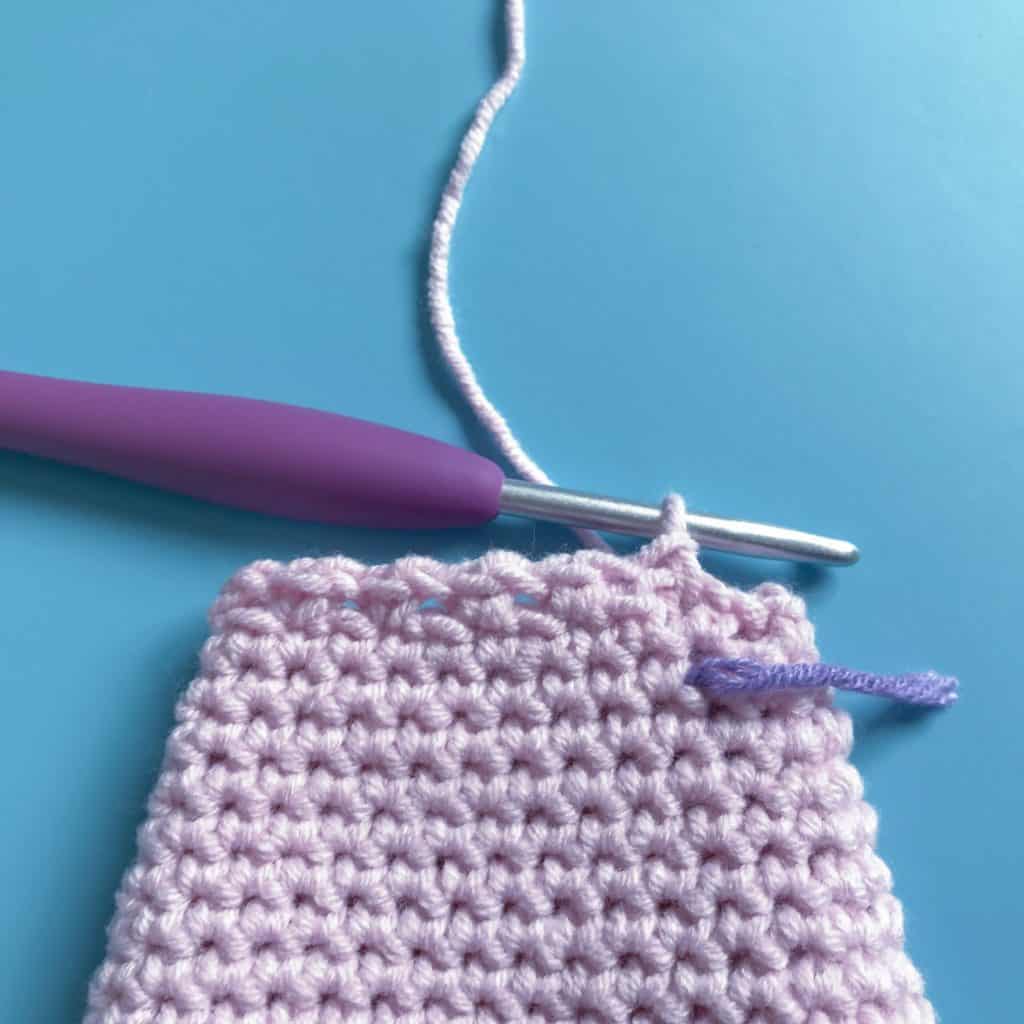
As this pattern is worked in continuous rounds, you may find it useful to use a stitch marker / place maker and move this up at the end of each round. I use a scrap of contrasting yarn.

Size & Gauge
Gauge is not essential in this pattern. Using the materials listed, this pattern makes a bag around 4in long by 4in wide at the bottom. If you are working with a different yarn weight, the finished size will differ.
Gauge: 20 sts and 20 rows of single crochet in 10cm / 4in using James Bret Cotton On DK and a 4mm hook
Stitches & Abbreviations (US Terms)
- ch = chain
- rep = repeat
- sc = single crochet (UK double crochet)
- Sc2tog = single crochet 2 together (UK double crochet 2 together) – see special stitches
- ss = slip stitch
- sk = skip (uk miss)
- st(s) = stitch(es)
Special Stitches
Single crochet 2 together (sc2tog)
Insert hook, yarn over, pull up a loop (2 loops on hook), insert hook into next stitch, yarn over, pull up a loop (3 loops on hook), yarn over, pull through all 3 loops – decrease made
Crochet Drawstring Bag Pattern
Making the bag
Using a 4mm hook (or appropriate hook size for your chosen yarn), Ch17
Round 1: Ch17, 5sc in second ch from hook, 1sc in the next 14ch, 5sc in the next ch (this will be the last ch of the 17 you made to start), working round the back of the ch, make 1sc in the back of the next 14ch. Do not join (38 sts)


Round 2-9: 1sc in each of the next 38 sts


Round 10: 1sc in each of the next 2 sts, sc2tog, 1sc in the next 17 sts, sc2tog, 1sc in the next 15 sts (36 sts)
Round 11: 1sc in each of the next 36 sts

Round 12: 1sc in each of the next 2 sts, sc2tog, 1sc in the next 16 sts, sc2tog, 1sc in the next 14 sts (34 sts)
Round 13: 1sc in each of the next 34 sts
Round 14: 1sc in each of the next 2 sts, sc2tog, 1sc in the next 15 sts, sc2tog, 1sc in the next 13 sts (32 sts)
Round 15: 1sc in each of the next 32 sts
Round 16: 1sc in each of the next 2 sts, sc2tog, 1sc in the next 14 sts, sc2tog, 1sc in the next 12 sts (30 sts)
Round 17: 1sc in each of the next 30 sts

Round 18: 1sc in each of the next 2 sts, sc2tog, 1sc in the next 13 sts, sc2tog, 1sc in the next 11 sts (28 sts)
Round 19: 1sc in each of the next 28 sts
Round 20: 1sc in each of the next 2 sts, sc2tog, 1sc in the next 12 sts, sc2tog, 1sc in the next 10 sts (26 sts)
Round 21: 1sc in each of the next 26 sts

Round 22: Ch1, 1sc in first st, ch1, sk 1 st, *1sc, ch1, sk 1 st, rep from * to end of row and join to top of the first sc with ss, do not turn
This creates the eyelets you will weave your ribbon through later to create the drawstring

Round 23-24: Ch1, 1sc in the next 26sts

Fasten off and sew in ends.
Adding the drawstring
Thread your ribbon onto a yarn needle and starting on one side of the bag, weave it in and out of the eyelets until you get round to the start.


Starting on the opposite side of the bag, weave the ribbon in and out of the eyelets the opposite way to the first side.

Tie the ends of the ribbon together and trim.
Pull on either end of both loops of ribbon to close the bag and tie each ribbon together to seal!
You can learn about how to use these bags to create a lavender sachet to scent your draws here.

I hope you enjoy the pattern and, as always don’t forget to tag me in Instagram @doraexplored, or use #doradoes. I’d love to see and share your efforts!
Happy hooking
Dx
Copyright Dora Does Limited, Registered in England, Company Number 13992263. This pattern is for personal use only and may not be shared or reproduced in written, photo, video or any other form without prior written consent. All rights reserved. Terms of service.

i’m not sure i understand the first bit? don’t join? but the pics suggest you do?
Hi There, in the first round you crochet around both sides of the chain, you then work in continual rounds rather than slip stitching to join at the end of each round. I hope that helps.
Dora
how about the next design?
I’m not sure what you mean. Are you referring to a different pattern? Thanks 🙂
Please help, went to make this bag and row 11 is missing, or am i missing something, thank u
Hi Mary,
Looks like you spotted a typo in my round numbers!!! Thanks for asking the question! I’ve checked my notes and updated it now so hopefully you should be able to get stuck in! 🙂
Dx