Crochet Lightning Bolt Motif
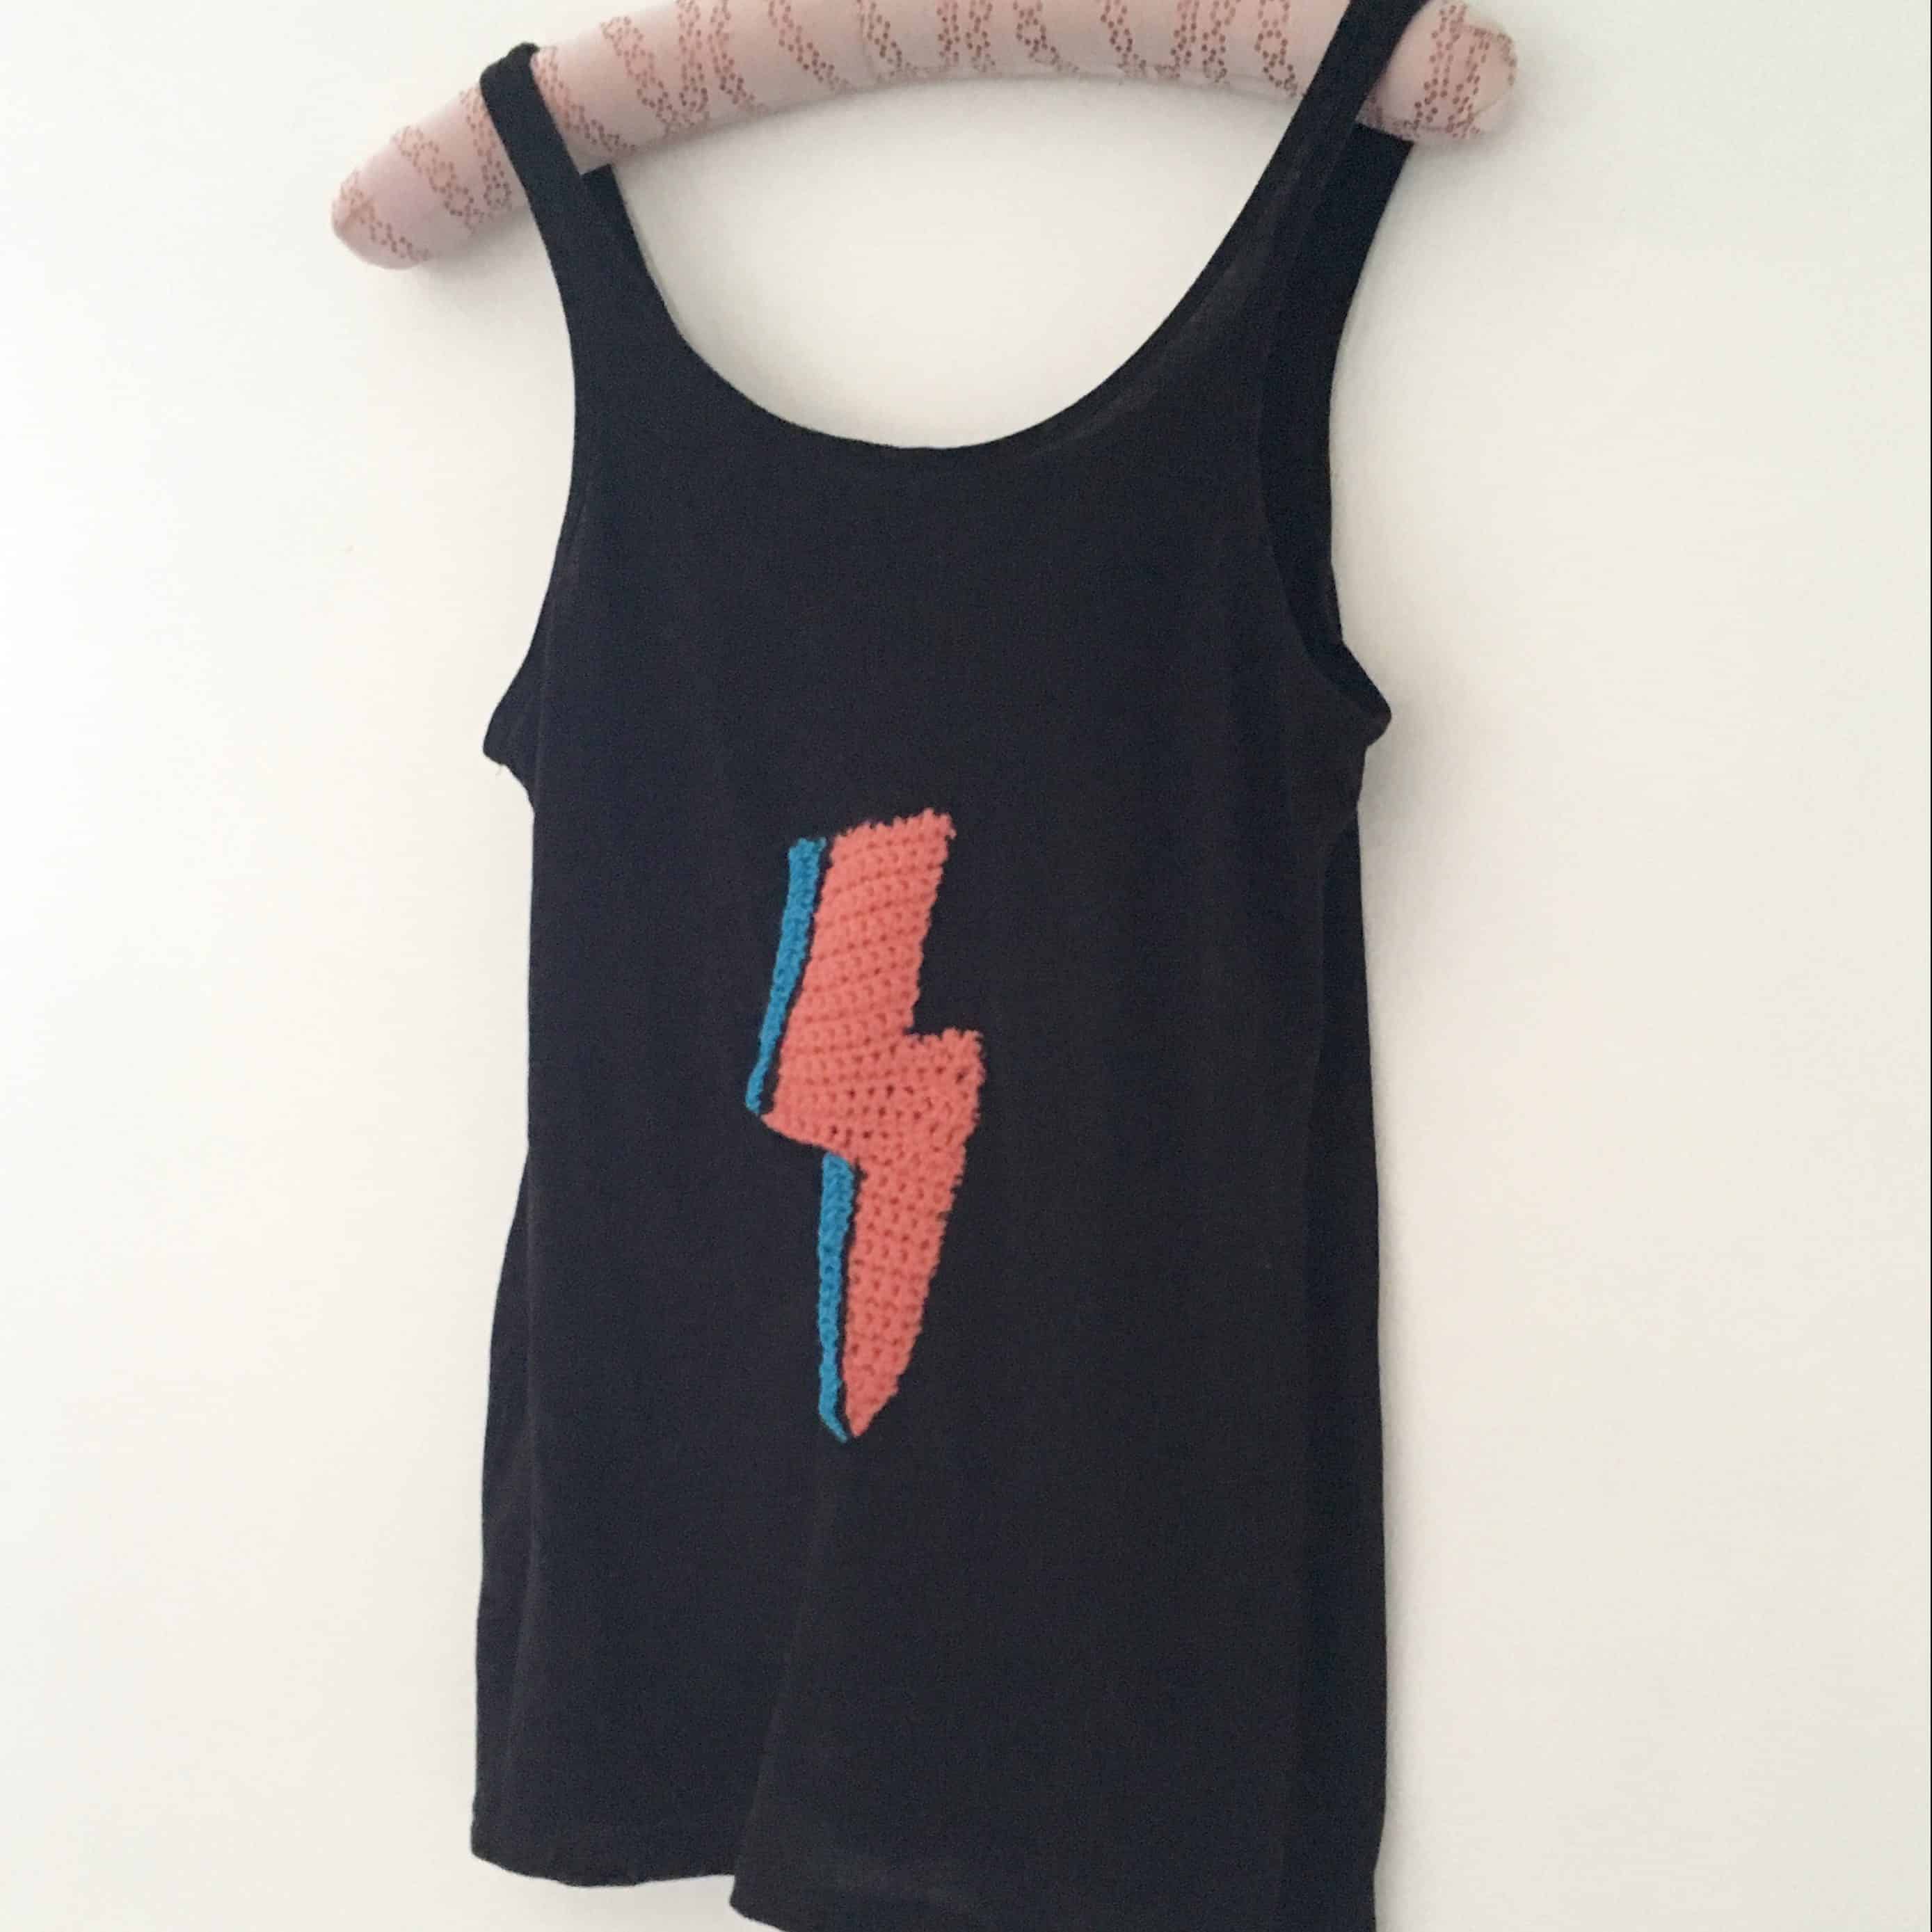
A while back I was invited to a David Bowie party at quite short notice. Needing something quick and easy to make the effort, I designed this lightning bolt motif which I stitched onto a vest from my wardrobe!
I love a bit of fancy dress and even more so when I get to make my own costumes. I might not have gone all out here and won best costume prize but I have a t-shirt I still wear today – and I get to share the pattern with you!
You can see the original tutorial (including a photo guide) and blog post here, or keep reading for the written pattern
This post contains affiliate links. This means if you click a link to a product and go on to make a purchase, I receive a small percentage of the sale at no extra cost to you. You can read my full affiliate disclosure policy here
Materials
I used double knit acrylic yarn in Orange and Turquoise from my stash – Stylecraft Special DK and Paintbox Simply DK have a great range of colours.
You will also need a 4mm (USG/6) crochet hook. My preference is Clover Amour
I also used black embroidery thread to sew the motif onto the vest.
Stitch Abbreviations (in US terms)
ch = chain (don’t start singing again!)
st = stitch
sl st = slip stitch
sc = single crochet (UK double)
hdc = half double crochet (UK half treble)
dc = double crochet (UK Treble)
fsc = foundation single crochet you can find left and right handed tutorials for this here
sc2tog = single crochet 2 together (UK double crochet 2 together); Insert hook into st, yo, pull up a loop, insert st into next st, yo, pull up a loop, yo, pull through 3 loops.

Pattern Notes
I have not added a gauge measurement here as it’s not central to the design. The final size of the motif is about 7 inches tall by 3.5 inches wide.
This will obviously change if you are using different yarns.
The pattern is worked in rows back and forth, turning at the end of each row. Turning chains do not count as stitches.
The numbers in brackets at the end of each row are the number of stitches in that row.
The blue is worked up the side of the flash, as it is facing you, in two sections, the bottom and top.
Lightning Bolt Crochet Pattern
Using Orange
Row 1: fsc (or ch 2, sc in first ch) (1) Ch1, turn
Row 2: 2 sc in the next st (2) Ch1, turn
Row 3: sc in the next 2 st (2) Ch1, turn
Row 4: 2sc in the next st, sc in next st (3) Ch1, turn
Row 5: sc in the next 3 st (3) Ch1, turn
Row 6: sc in the next 3 st (3) Ch1, turn
Row 7: sc in the next 2 st, 2sc in the next st (4) Ch 1, turn
Row 8: sc in the next 4 st (4) Ch1, turn
Row 9: sc in the next 4 st (4) Ch1, turn
Row 10: 2 sc in the next st, sc in the next 3 st (5) Ch1, turn
Row 11: sc in the next 5 st (5) Ch1, turn
Row 12: sc in the next 5 st (5) Ch1, turn
Row 13: sc in the next 5 st (5) Ch1, turn
Row 14: 2sc in the next st, sc in the next 4 st (6) Ch2, turn
Row 15: dc in the next 3 st, hdc in the next 3 st then work 6 fsc. If you do not use fsc, chain 7 and start the next row in the second chain from the hook (12) Ch1, turn
Row 16: sc in the next 6 st, hdc in the next 3 st, dc in the next 3 st (12) Ch2, turn
Row 17: dc in the next 2 st, hdc in the next 2 st, sc in the next 8 st (12) Ch1, turn
Row 18: sc2tog, sc in the next 5 st, 2sc in the next st, hdc in the next 2 st, dc in the next 2 st (12) Ch2, turn
Row 19: dc, hdc in the next 3 st, sc in the next 8 st (12) Ch1, turn
Row 20: sc2tog, sc in the next 5 st, 2sc in the next st (8) Ch1, turn
Row 21: sc in the next 8 st (8) Ch1 turn
Row 22 – 33: Repeat rows 20-21 6 times
Fasten off
Adding the blue
Bottom section
Using Blue
Row 1: Starting on the left (when facing you) of the bottom section, sl st up the side working 16 sl st (16) Ch2, turn
Row 2: hdc in the next 5 sl st, sc in the next 5 sl st, sl st in the next 6 sl st (16)
Fasten off
Top section
Using Blue
Row 1: Starting at the bottom left (when facing you) of the top section, sl st up the side, working 19 st (19) Ch2, turn
Row 2: hdc in the next 8 sl st, sc in the next 5 sl st, sl st in the next 6 sl st (19)
Fasten off
You can either sew in the ends as I did or use them to attach the flash to whatever you may be embellishing. I used black embroidery thread to attach mine to a black vest, working along the line between blue and orange.
I hope you enjoy this pattern and, as always don’t forget to share using the buttons below or tag me on Instagram @doraexplored, or use #hookmehappy. I’d love to see and share your efforts!
Happy hooking
Dx
You may sell what you make from this pattern but the pattern is for personal use only and may not be shared or reproduced without prior written consent. Photos may be shared with credit.
Copyright Dora Does 2019